
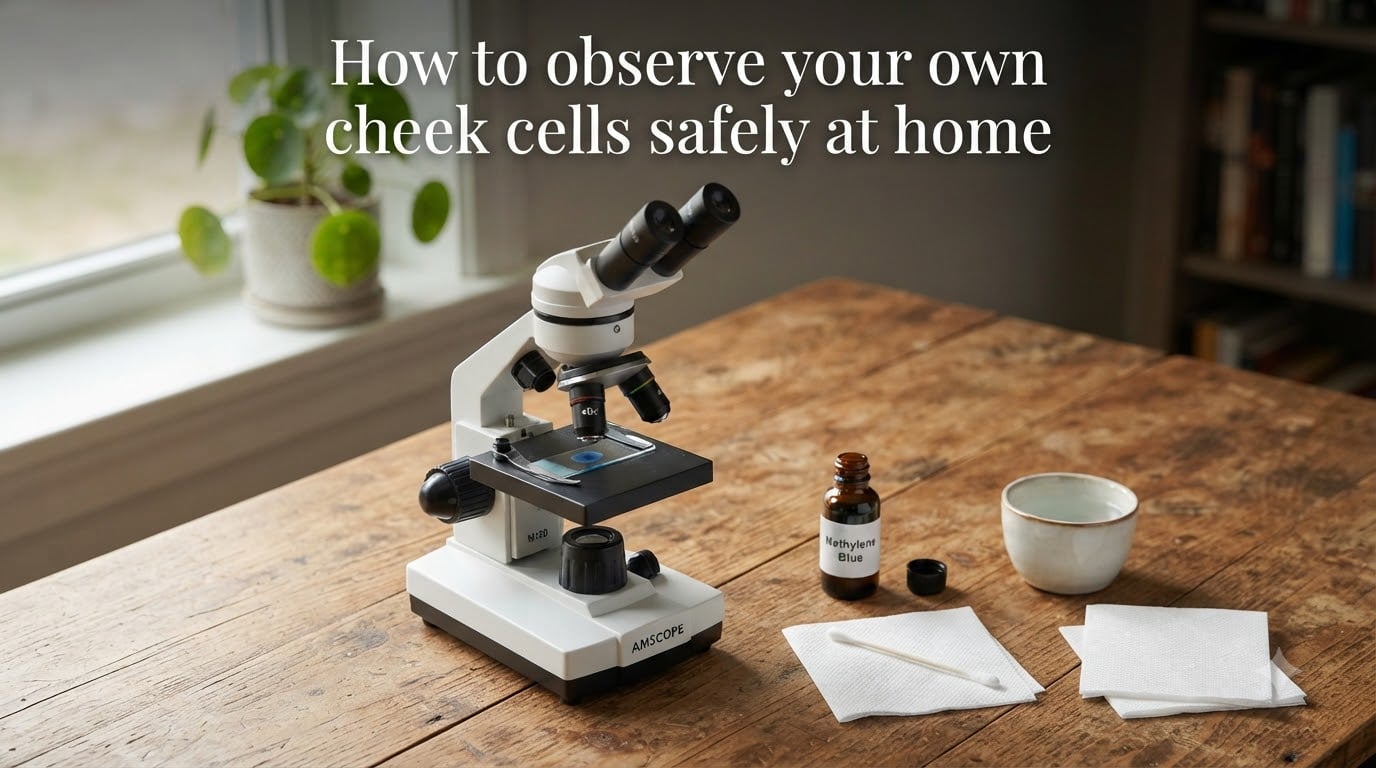
Want to see your own biology up close without leaving the kitchen? I’ll show you exactly how to observe cheek cells at home using a basic microscope, a few household items, and one widely available stain. This is the same wet mount technique science teachers use, and you’ll be looking at your own living cells in about 15 minutes.
Inside this guide, I’ll walk you through every step: gathering the right materials, scraping the cells safely, preparing the slide, staining with methylene blue, and distinguishing real cells from air bubbles. I’ll also tackle the most common beginner mistakes I hear about on microscopy forums.
Table of Contents
What Are Cheek Cells and Why Observe Them at Home?
Cheek cells are epithelial cells that line the inside of your mouth. They form a thin protective layer on the inner cheeks, and they’re constantly being shed and replaced.
That last point matters: because cheek cells regrow every few days, removing a few for a microscope slide does no harm. I repeat this fact in nearly every workshop I run, because the most common concern beginners raise is whether scraping hurts. It doesn’t, and the body replaces those cells quickly.
Cheek cells are ideal for home observation because they’re flat, thin, and easy to collect. Under a microscope, they show clear structure: a defined cell membrane, a visible nucleus once stained, and a thin layer of cytoplasm.
Observing cheek cells at home is one of the most direct ways to see a real human cell without lab equipment. For students, homeschoolers, and curious adults, this single experiment teaches more about cellular biology than a textbook diagram ever could.
Materials Checklist: What You Need Before You Start
You don’t need a professional lab. Here’s the full list of materials I keep in my home science kit for this exact experiment:
Compound microscope with at least 40x, 100x, and 400x magnification. A monocular student scope works perfectly.
Glass microscope slides (plain, non-frosted).
Cover slips (thin glass squares).
Clean cotton swab or wooden toothpick for cell collection.
Dropper for water and stain.
Methylene blue stain, 0.5% to 1% solution (widely available online and in pet-fish stores).
Distilled water or clean tap water in a small cup.
Paper towels for cleanup.
Disinfectant or rubbing alcohol for cleaning your workspace.
Tip: if you don’t have methylene blue, you can substitute with a tiny drop of iodine diluted in water, or even blue food coloring in a pinch. Methylene blue gives the clearest contrast, though, especially for first-time observers.
Why Cheek Cells Need Transmitted Light to Be Visible?
Cheek cells are nearly transparent, which is why you can’t see them in your mouth even with a magnifying glass. Light passes straight through them.
To see a transparent object under a microscope, you need transmitted light: illumination that comes from below the specimen, passes through it, and into the objective lens above. The contrast is created by staining and by the slight differences in density between the nucleus, cytoplasm, and surrounding water.
If you try to look at cheek cells using only reflected light (light bouncing off the top of the slide), they’ll vanish from view entirely. Every compound microscope has a built-in light source under the stage for exactly this reason. Make sure that light is switched on, and use the diaphragm lever underneath the stage to adjust brightness.
Step-by-Step: How to Prepare a Cheek Cell Wet Mount?
This is the core of the experiment. Follow these steps in order and you’ll have a working slide ready to view.
Step 1: Wash Your Hands and Rinse Your Mouth
Wash your hands thoroughly with soap and water. Rinse your mouth with clean water two or three times to remove food particles. This step sounds obvious, but a clean sample is the difference between seeing clear cells and seeing a field full of debris.
Step 2: Gently Scrape the Inside of Your Cheek
Take a clean cotton swab or the flat end of a wooden toothpick. Press it gently against the inside of your cheek and rub it up and down a few times. You only need a small amount of material. Avoid pressing hard enough to cause discomfort; a light, steady scraping motion is all that’s required.
Step 3: Smear the Cells Onto a Clean Glass Slide
Hold the slide by its edges to avoid fingerprints. Gently roll the tip of the swab in a small circular area near the center of the slide. You should see a faint, slightly cloudy mark. That thin smear is your cell sample.
Step 4: Add a Drop of Water
Use your dropper to place one small drop of water directly onto the smear. The drop should be just large enough to cover the sample, not so big that it spreads to the slide’s edges.
Step 5: Apply a Small Drop of Methylene Blue
Add a single drop of methylene blue stain right next to the water drop. Less is more here; many beginners drown their slide in stain, which makes the cells appear as a dark blob. One drop is enough.
Step 6: Lower the Cover Slip at an Angle
Hold a cover slip at a 45-degree angle, with one edge touching the slide next to the liquid. Slowly lower it over the sample. The liquid will spread along the edge of the slip by capillary action, reducing the number of trapped air bubbles.
Step 7: Blot Excess Liquid
Gently touch a paper towel to the edge of the cover slip to wick away excess liquid. Your slide is now ready.
How to View Cheek Cells Under the Microscope
Place the slide on the stage and secure it with the clips. Always start at the lowest magnification.
Begin with the 4x or 10x objective (giving you 40x or 100x total magnification). Use the coarse focus knob to bring the sample into rough focus, then switch to the fine focus knob for sharp detail. Cheek cells are large enough that you’ll spot them easily at this magnification once you find the right plane.
Center a few cells in your field of view, then rotate to the next higher objective. At 400x total magnification, you’ll clearly see the cell membrane, cytoplasm, and dark-stained nucleus if methylene blue was applied correctly. Adjust the diaphragm to reduce glare if the image looks washed out.
What Healthy Cheek Cells Look Like Under the Microscope
Healthy cheek cells have a distinctive appearance that becomes obvious once you know what to look for.
Each cell appears as a flat, irregular polygon, similar to a piece of broken pottery. The edges are rounded but uneven. The cell membrane forms a soft outline that’s clearly defined once stained. In the center of each cell sits a small, dark blue dot: the nucleus, which absorbed the methylene blue stain.
Typical cheek cells measure 50 to 60 micrometers across, which is why they appear at low magnification already. The cytoplasm around the nucleus looks faintly granular and slightly tinted blue.
If you see cells with a clear nucleus and an even, unbroken membrane, you’re looking at healthy squamous epithelial cells. That’s exactly what you want.
How to Tell Real Cheek Cells From Air Bubbles and Debris?
This is the question beginners ask most on microscopy forums, and it’s the source of the most frustration. Air bubbles and debris are everywhere in a fresh slide, and they can look cell-like at first glance.
Here’s my quick rule of thumb for telling them apart:
Air bubbles have sharp, very dark borders and a bright, completely clear center. They may also show rainbow edges from light refraction. Real cells never look like this.
Debris (food, fibers, dust) is irregular and lacks any internal structure. There’s no nucleus, no defined membrane shape.
Real cheek cells have soft, fuzzy outlines, a faintly granular cytoplasm, and a visible dark blue nucleus near the center.
If you’re still unsure, gently tap the fine focus knob up and down. Bubbles will shift in shape dramatically, while real cells stay roughly the same. Cells also tend to drift slightly in currents of liquid; bubbles usually don’t move on their own.
Common Mistakes Beginners Should Avoid
I’ve coached dozens of first-time microscopists, and the same handful of mistakes trip everyone up. Watch out for these.
Adding too much stain. If your slide looks navy blue and you can’t see through it, you’ve added too much methylene blue. Dilute it in water or restart with a smaller drop.
Starting at high magnification. Trying to find cells at 400x is like trying to find a friend in a stadium through binoculars. Always start low, find your sample, then zoom in.
Sample too thick. If you scraped too aggressively, you’ll have clumps that block all light. Use a thinner smear next time, or dilute the existing sample with another drop of water.
Forgot to add water. Without water, cells dry out almost instantly under the microscope light and become shapeless blobs. Always keep the slide hydrated.
Safety and Hygiene Notes for Home Cheek Cell Observation
This is a very safe experiment, but a few hygiene habits keep it that way. Wash your hands before collecting the sample and immediately after. Use only clean, single-use swabs if possible.
Standard glass slides and cover slips can be reused if washed with soap and water, then wiped with a paper towel dampened in rubbing alcohol. Alternatively, dispose of slides in regular household trash once you’re done.
Methylene blue is generally safe in dilute solutions, but avoid drinking it and keep it away from eyes. If you spill it on clothing, rinse with cold water. Always supervise children during this experiment, especially around glass slides and stain bottles.
Bonus Extension: Extracting DNA From Your Own Cheek Cells
Once you’ve seen your cheek cells under a microscope, the natural next step is to pull their DNA out of solution. No microscope needed.
Swish about 10 ml of salt water in your mouth for 30 seconds. Spit the liquid into a clear glass. Add a few drops of dish soap and gently swirl; the soap breaks open the cell membranes.
Drip cold isopropyl alcohol slowly down the inside of the glass so it forms a layer on top of the soapy mixture. Within a few seconds, you’ll see white stringy strands form at the boundary. That’s your DNA, visible to the naked eye.
This activity comes from the same family as our cheek cell experiment, and it shows up well in any home science program for 2026.
Frequently Asked Questions
How can I observe cheek cells at home without a microscope?
The easiest way is the DNA extraction method. Swish salt water in your mouth, collect it in a glass, add a few drops of dish soap, then pour cold isopropyl alcohol down the side of the glass. White, stringy DNA will appear at the boundary between the liquids. You won’t see the individual cells this way, but you will see what the cells contain.
What stain is used for cheek cells?
Methylene blue is the standard stain for cheek cells. It binds to nucleic acids in the nucleus, making the nucleus appear dark blue against the lighter cytoplasm. A 0.5% to 1% solution works well. Iodine and dilute blue food coloring are weaker substitutes.
What magnification do I need to see cheek cells clearly?
Cheek cells are visible at 40x total magnification, but the nucleus becomes clearly defined at 100x. For detailed observation of the cell membrane, cytoplasm, and nucleus together, use 400x (the 40x objective). Anything beyond 400x offers little extra value for this sample.
Is methylene blue safe to use at home?
Dilute methylene blue is widely used in biology classrooms and fish-keeping, and is safe to handle with normal hygiene. Avoid drinking it, keep it away from eyes, and wash your hands after use. Supplied in dropper bottles, it stains fabric, so handle it over a paper towel.
Do cheek cells regrow after being scraped?
Yes. The inner lining of the mouth is shed and replaced continuously, with cheek cells turning over every few days. Gently scraping a small number for a microscope slide causes no lasting damage, and the body replaces them within days.
Final Thoughts on Observing Cheek Cells at Home
Learning how to observe cheek cells at home is one of the most rewarding beginner microscopy experiments you can run. It needs only a basic compound microscope, a glass slide, methylene blue, and ten minutes of careful work.
Once you’ve mastered the wet mount, you’ll have a permanent skill you can apply to pond water, plant cells, and dozens of other samples. Give this experiment a try this week, and you’ll see your own biology for the first time.