
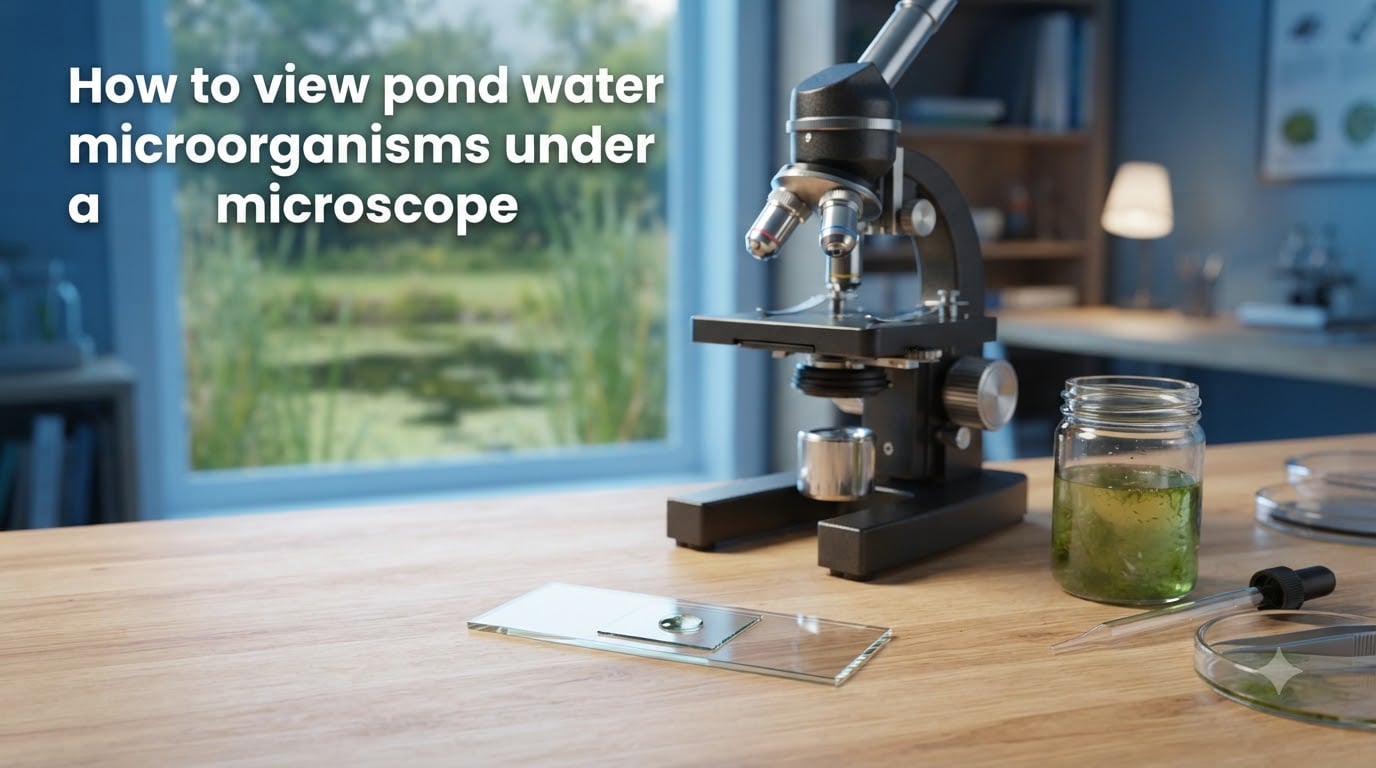
A single drop of pond water contains an entire world that your eyes cannot see. When you view pond water microorganisms under a microscope, you step into a hidden ecosystem teeming with paramecia, amoebas, rotifers, algae, and countless other tiny life forms darting, spinning, and crawling across your slide.
This is not a new discovery. In 1674, a Dutch draper named Antonie van Leeuwenhoek peered through a handcrafted microscope at a drop of lake water and became the first human to see single-celled organisms. He called them “animalcules,” and his observations fundamentally changed our understanding of biology. Today, you can repeat that same moment of wonder using equipment available in most schools and homes.
Whether you are a student working on a biology lab activity, a homeschool parent planning a science experiment, or a hobbyist microscopist exploring nature, this guide walks you through every step. I have spent years examining pond samples and testing different techniques, and I will share what actually works from collection through observation.
Table of Contents
Materials Needed to View Pond Water Microorganisms Under a Microscope
To get started viewing pond water microorganisms, you need a short list of affordable materials. Most of these are available at any science supply store or online education retailer. Here is what you should gather before heading out:
Compound microscope with at least 40x, 100x, and 400x magnification (three objective lenses plus a 10x ocular lens)
Glass microscope slides (flat, precleaned slides work best)
Cover slips (thin square glass squares that go over your sample)
Dropper or pipette for transferring water samples
Collection containers (small jars or vials with tight-fitting lids)
Paper towels or lens paper for cleaning slides
A few optional items can improve your results. Methylene blue stain helps highlight cell structures by increasing contrast. A digital microscope camera lets you capture photos and video of what you find. A notebook for sketching organisms is a valuable learning tool that forces you to look closely at details.
How to Collect the Best Pond Water Samples
Where and how you collect your sample determines almost everything about what you will find. The biggest mistake beginners make is scooping clear water from the middle of a pond. That water looks clean because it has very little life in it.
Best Locations for Collecting Samples
Microorganisms concentrate where food is abundant. The richest samples come from these spots:
Along the edges of ponds where plants, reeds, or cattails grow
Near algae blooms or patches of green pond scum on the surface
From the bottom sediment layer where decomposing leaves and mud collect
Standing water in bird baths, puddles, or rain barrels that has been sitting for days
I have had the most success collecting from shallow pond margins where duckweed or water lilies grow. The roots and stems of aquatic plants create microhabitats that organisms flock to.
Collection Techniques
Use these techniques to maximize the organisms in your sample. First, skim the surface film gently with your container. That thin layer at the top of the water is packed with bacteria, algae, and small protozoa. Next, scoop some of the bottom sediment and floating debris. Forum users on r/microscopy consistently report that sediment samples yield far more organisms than clear water.
Fill your collection container about three-quarters full. Leave air space at the top so the sample stays oxygenated during transport. Collect from multiple locations to increase diversity, using separate containers for each spot.
Best Time and Season
Late spring through early fall produces the richest samples because warm water supports rapid microbial growth. The best time of day is late morning to early afternoon when sunlight warms shallow water and triggers photosynthetic activity in algae. Avoid collecting immediately after heavy rain, which dilutes the microbial concentration.
Safety Precautions
Pond water can contain harmful bacteria and parasites. Always wash your hands thoroughly after collecting samples. Supervise children during collection, and never drink pond water. If you have open cuts on your hands, wear gloves while handling samples.
How to Prepare a Wet Mount Slide of Pond Water
Preparing a wet mount slide is the most important technical skill in this entire process. A well-made slide gives you a clear, stable view of organisms. A poorly made slide traps air bubbles, lets organisms swim out of view, and ruins your observation session.
Follow these steps to prepare a wet mount of pond water:
Clean your slide. Wipe a glass slide with lens paper to remove dust and fingerprints. Hold it by the edges to avoid smudging.
Stir your sample. Gently swirl your collection container to distribute organisms evenly. Sediment tends to settle at the bottom, so this step matters.
Draw a sample. Use your dropper to pull water from near the bottom of the container where organisms cluster. If you see visible debris or specks in the water, grab those. They are often colonies of microorganisms.
Place one drop on the slide. A single drop is all you need. Too much water causes the cover slip to float and organisms to drift away too fast.
Add the cover slip at an angle. Hold the cover slip at a 45-degree angle against the edge of the water drop. Lower it slowly like a hinge. This technique pushes air out instead of trapping it under the glass.
Press gently. If excess water squeezes out from under the cover slip, dab it away with the corner of a paper towel. Do not press hard enough to crack the cover slip.
If you want to slow organisms down for easier viewing, add a tiny drop of methyl cellulose or glycerin to your sample before placing the cover slip. This thickens the water slightly without harming the organisms. For optional staining, add a tiny drop of methylene blue to your sample and mix gently with a toothpick. This stains cell nuclei and internal structures, making them easier to distinguish.
Best Magnification for Viewing Pond Microorganisms
The right magnification depends on what you are looking for. Starting at low power and working your way up is the correct approach every time. Here is how each magnification level serves a different purpose:
40x magnification (4x objective with 10x ocular): This is your scanning power. Use it to survey the entire slide and locate areas where organisms are concentrated. At 40x, you can see larger organisms like rotifers, nematodes, water bears (tardigrades), and insect larvae. Move the slide slowly across the stage to cover the full area.
100x magnification (10x objective with 10x ocular): This is your workhorse magnification for pond water. At 100x, paramecia, amoebas, euglena, and larger algae species come into clear focus. You can see cilia beating, pseudopods extending, and flagella whipping. This is where most of your observation time will happen.
400x magnification (40x objective with 10x ocular): This level reveals smaller organisms and fine internal details. Bacteria become visible as tiny dots and rods. You can see chloroplasts inside algal cells and the internal organelles of protozoa. At 400x, your field of view is small, so you must position your slide precisely. Always use a cover slip at this magnification to protect the objective lens.
One common mistake I see beginners make is jumping straight to 400x. You will miss organisms entirely this way because your field of view is too narrow. Always start at 40x, find something interesting, center it, then rotate to higher power.
Common Microorganisms You Will Find in Pond Water
Pond water is home to a remarkable diversity of microscopic life. Knowing what to look for makes the experience far more rewarding. Here are the organisms you are most likely to encounter, along with their key identifying features and approximate sizes.
Paramecium
Paramecia are the most commonly observed pond organisms, and they are perfect for beginners. These slipper-shaped protozoa measure 50 to 300 micrometers long and are covered in tiny hair-like structures called cilia that beat rhythmically to propel them through the water. At 100x magnification, you can watch them cruise across your field of view, often changing direction with remarkable agility.
Amoeba
Amoebas move by extending finger-like projections called pseudopods, which means “false feet.” They slowly flow across the slide rather than swimming, changing shape constantly. Amoebas range from 200 to 600 micrometers and often appear as irregular, grayish blobs with visible internal granules. Look for them near sediment and debris on your slide.
Euglena
Euglena are fascinating because they straddle the line between plant and animal. These spindle-shaped organisms use a single whip-like flagellum to swim and contain chloroplasts that allow them to perform photosynthesis. Many species have a red eyespot near the front that detects light. They measure 40 to 60 micrometers and are common in green-tinted pond water.
Rotifers
Rotifers are multicellular organisms and a favorite among microscopy enthusiasts. Forum users consistently describe them as the most entertaining organisms to watch. They feed using a crown of beating cilia that looks like two spinning wheels, which gives them their name (rota means “wheel” in Latin). Rotifers range from 100 to 2,000 micrometers and are clearly visible at 40x magnification.
Algae and Diatoms
Algae appear in many forms in pond water. Single-celled green algae float as individual spheres, while colonial algae form beautiful geometric patterns. Spirogyra forms spiral-shaped green filaments that are easy to recognize. Diatoms are particularly stunning, with intricate glass-like shells patterned in symmetrical designs that look engineered. They range from 10 to 200 micrometers.
Tardigrades (Water Bears)
Tardigrades are the holy grail of pond water microscopy. These eight-legged micro-animals measure 100 to 1,000 micrometers and look like tiny bears lumbering across your slide. They are rare finds, but experienced microscopists know to look for them in moss and lichen samples soaked in water. Finding your first tardigrade is an unforgettable moment.
Nematodes and Larvae
Nematodes are tiny roundworms that thrash and wiggle through pond water. They are extremely common and easy to spot at 40x. Mosquito larvae and other insect larvae may also appear in samples collected from stagnant water, and they are large enough to see with a hand lens.
Troubleshooting Common Problems When Viewing Pond Water Under a Microscope
Even with good technique, you will run into problems. No competitor I reviewed covers this comprehensively, so here are solutions to the most common issues based on forum discussions and my own experience.
I Do Not See Any Organisms in My Sample
This is the number one complaint from beginners. The cause is almost always the collection method. Clear water from the middle of a pond will be nearly empty. Collect from the edge near plants, skim the surface film, and include bottom sediment. Let your sample sit for 15 minutes after collection so organisms settle and become active. Examine the edges of your cover slip first, as organisms often gather there.
Air Bubbles Are Blocking My View
Air bubbles look like dark circles with bright rims, and they are easy to confuse with organisms at first. To prevent them, place the cover slip at a 45-degree angle and lower it slowly like a hinge. If bubbles are already trapped, remove the cover slip, clean the slide, and start over. Never try to press bubbles out, as this usually cracks the glass.
Organisms Are Moving Too Fast to Observe
Fast-swimming organisms like paramecia can be frustrating to track. Add a small drop of methyl cellulose solution or a tiny fiber from a piece of cotton to your slide before adding the cover slip. The fiber creates obstacles that slow organisms down, and the methyl cellulose thickens the medium. Both techniques let you observe behavior in detail.
The Image Is Blurry or Dark
Blurry images usually mean your objective lens is dirty or you have not focused properly. Clean the lens with lens paper, not regular tissues. If the image is too dark, adjust the diaphragm under the stage to let more light through. At 400x, you need maximum light, so open the iris diaphragm fully and ensure your light source is bright.
There Is Too Much Debris on My Slide
Heavy debris makes it hard to find organisms. If your sample is too murky, let the large particles settle for a minute, then draw your drop from the middle layer of the container. Alternatively, filter your sample through a single layer of cheesecloth to remove large debris while keeping microorganisms in the water.
Frequently Asked Questions
How do you view a pond water sample under a microscope?
To view a pond water sample under a microscope, place one drop of pond water on a clean glass slide, lower a cover slip over it at a 45-degree angle to avoid air bubbles, then observe starting at 40x magnification. Scan the slide to find organisms, then increase to 100x or 400x to see them in detail.
How can you prove that microorganisms are present in pond water?
You can prove microorganisms are present in pond water by preparing a wet mount slide and examining it under a compound microscope at 40x to 400x magnification. Living organisms like paramecia, amoebas, and rotifers will be visible moving across the field of view.
Which scientist saw microorganisms in pond water?
Antonie van Leeuwenhoek, a Dutch scientist, first saw microorganisms in pond water in 1674 using a single-lens microscope he built himself. He called the tiny organisms he observed animalcules, and his discovery founded the field of microbiology.
How do I test my pond water for bacteria?
To test pond water for bacteria, you can prepare a wet mount slide and observe at 400x magnification, though most bacteria are very small and difficult to see. For accurate bacterial testing, use a gram staining kit or send a sample to a water testing laboratory that can culture and identify bacterial colonies.
What can you see in pond water under a microscope?
Under a microscope, pond water reveals paramecia, amoebas, euglena, rotifers, algae, diatoms, nematodes, and occasionally tardigrades. At 40x you can see larger multicellular organisms, while 400x reveals single-celled protozoa and bacteria in detail.
Conclusion
Learning how to view pond water microorganisms under a microscope opens a window into one of nature’s most accessible and rewarding scientific experiences. The process is straightforward: collect from the right locations, prepare a careful wet mount, start at low magnification, and work your way up. Every pond, puddle, and stagnant water source holds a different community of organisms waiting to be discovered.
Grab a jar, find a pond, and take your first drop of water to the microscope. Antonie van Leeuwenhoek did it 350 years ago with a tiny handmade lens, and the organisms you will see today are the same ones that amazed him.