
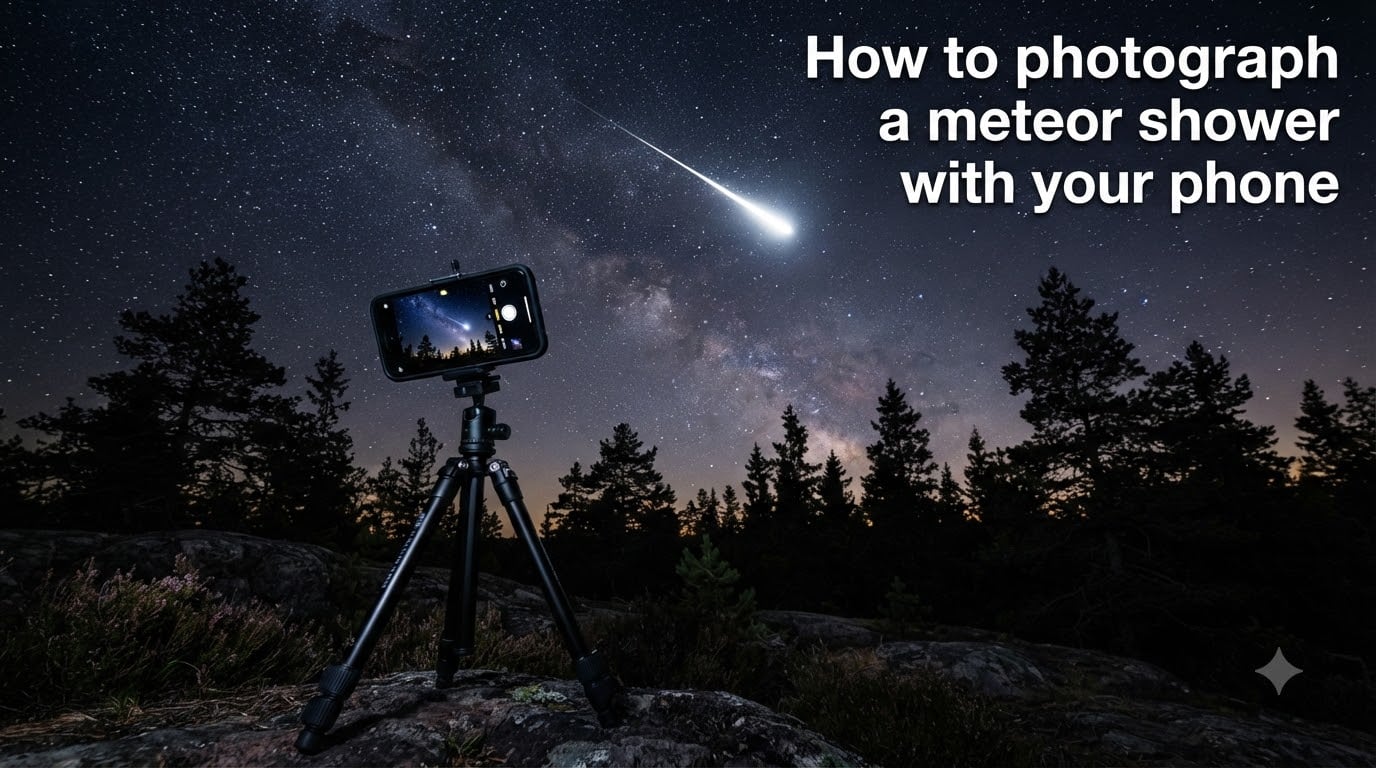
Learning how to photograph a meteor shower with your phone is easier than most people think. I started shooting the Perseids from my backyard three years ago with nothing but an iPhone, a $25 tripod, and a lot of patience. By the end of that first night I had two clean meteor streaks, and I have been hooked ever since.
Modern phones pack surprisingly capable sensors, dedicated night modes, and manual controls that rival entry-level cameras from a decade ago. With the right settings, a stable mount, and a dark sky, your phone can capture shooting stars you would normally only see with your eyes. This guide covers the gear, settings, timing, and step-by-step process I now teach to friends and family every August.
Table of Contents
What Gear Do You Need to Photograph a Meteor Shower with Your Phone?
A stable tripod is the single most important piece of gear. Phone cameras need to stay perfectly still for 10 to 30 seconds at a time, and human hands cannot do that. Any small phone tripod or even a cheap gorillapod works, as long as it does not wobble in the wind.
You will also want a phone tripod mount or a tripod with an adjustable phone clamp. Some tripods include one built in. If yours does not, a spring-loaded phone holder under $15 gets the job done.
Optional but helpful extras include a portable power bank (long exposures drain batteries fast), a Bluetooth remote or timer, and a small headlamp with a red-light mode so you can see your settings without ruining your night vision.
Best Locations and Timing for Meteor Photography
Light pollution is the enemy of meteor photography. Even a bright phone sensor cannot pull meteors out of a sky washed out by streetlights. Drive 30 to 60 minutes outside any major city for the best results, and use a dark-sky map to find the darkest spot near you.
Most major meteor showers peak between midnight and dawn, with the best window usually 2 to 4 a.m. local time. Pre-dawn hours give you the darkest skies and the highest meteor rates because you are on the leading side of Earth as it plows through debris.
For 2026, the top showers to plan around are the Perseids in mid-August, the Geminids in mid-December, and the Quadrantids in early January. Each produces 60 to 120 meteors per hour at peak under dark skies, which means more chances for your phone to catch one.
Camera Settings for Meteor Shower Photography
Use manual or pro mode whenever your phone allows it. Auto mode will fight you the entire night, dropping shutter speeds the moment it senses darkness and missing almost every meteor.
Start with these settings and adjust based on sky conditions:
ISO: 800 to 1600 on most phones. Push to 3200 if the sky is very dark, drop to 400 if you see heavy noise.
Shutter speed: 20 to 30 seconds for long exposures. Shorter (10 to 15 seconds) works on phones that overheat easily.
Focus: Tap a bright star or use manual focus set to infinity. Autofocus will hunt and miss in the dark.
White balance: Daylight or tungsten for accurate star colors. Shoot in RAW if your phone supports it (ProRAW on iPhone, RAW in Pro Mode on Samsung and Pixel).
The 400 rule is a quick starting point: divide 400 by your lens focal length to get the longest shutter speed before stars trail. For a 26mm phone lens, that gives roughly 15 seconds. Anything longer and stars begin to streak, which can distract from the meteor you are trying to capture.
How to Photograph a Meteor Shower with Your Phone: Step-by-Step
Follow these steps on the night of a shower. Plan for at least 90 minutes of shooting time. Meteors are unpredictable, and the longer you shoot, the better your odds.
Mount your phone on the tripod and frame a wide patch of sky away from the radiant (the point meteors appear to come from). Shooting 45 to 90 degrees off the radiant produces longer, more dramatic streaks.
Lock focus on a bright star or distant light, then switch to manual focus so it does not drift.
Set your exposure to 20 to 30 seconds, ISO 800 to 1600, and start with a 3 or 5-second timer to avoid shake.
Take a test shot and check the histogram. If shadows are crushed, raise ISO. If stars are blown out, lower ISO or shorten exposure.
Start continuous shooting or use an intervalometer app. Many meteors are faint, and you will throw away 90 percent of frames.
Review every 20 to 30 minutes and adjust framing, focus, or settings if needed.
Bring a chair and a warm drink. The boring part of meteor photography is the waiting, but it is also the part where the magic happens.
iPhone-Specific Tips for Meteor Photography
On iPhone, the built-in Night Mode caps at around 10 seconds and is not ideal for long meteor exposures. For best results, use a third-party app. NightCap Camera is the most popular choice among iPhone astrophotographers, and it is the one I reach for every Perseid peak.
NightCap unlocks manual ISO, shutter speed, and focus, plus a special meteor mode that combines long exposures with smart noise reduction. Open the app, switch to Meteor mode, set ISO around 800, and let it run for as long as your battery lasts.
If you shoot on iPhone 12 Pro or newer, turn on ProRAW in Settings and shoot in RAW format. RAW files hold far more detail in shadows, which means you can rescue faint meteors in post that would be lost in a JPEG.
Android Tips: Samsung Galaxy and Google Pixel Settings
Samsung Galaxy phones ship with Pro Mode in the native camera app. Open Pro, set ISO to 800, shutter to 25 seconds, focus to manual, and white balance to daylight. Hit the timer, then tap to shoot. On the S22 Ultra and newer, you also get a dedicated Astrophotography mode under More that does much of this automatically once the phone detects a tripod.
Google Pixel phones from the Pixel 4 onward include Night Sight with Astrophotography. Mount the phone on a tripod, open Night Sight, and point at the sky. When the phone is stable, it switches into Astrophotography mode and shoots multi-minute exposures automatically. I have captured Geminid meteors with a Pixel 7 Pro that I would have missed with manual settings alone.
For older or budget Android phones without a pro mode, apps like Footej Camera, Open Camera, or the Lightroom mobile camera unlock manual controls. ISO 800, 20-second shutter, manual focus to infinity is a solid starting recipe.
Common Mistakes to Avoid When Photographing Meteors
Most first-timers give up because they make one of these errors. Here is what to watch out for based on the issues I have seen (and committed myself) over three seasons of phone meteor photography.
Shooting in auto mode. Your phone will refuse to expose long enough, and you will get nothing but black frames.
Letting the phone overheat. Long exposures generate heat. Keep the phone out of direct sunlight during the day, and skip a few frames if it gets warm.
Ignoring focus. Autofocus will blur stars into mush. Lock focus manually before you start your interval sequence.
Aiming at the radiant. Meteors near the radiant are short and hard to spot. Aim 45 to 90 degrees away for longer, more visible streaks.
Giving up after 20 minutes. Patience wins. Most of my best meteor shots came after the first hour.
Post-Processing Your Meteor Photos
Lightroom Mobile, Snapseed, or the built-in Photos editor can pull a surprising amount of detail out of a RAW meteor frame. Bump shadows, drop highlights slightly, raise clarity and dehaze, and gently reduce noise.
If you want to go deeper, star-stacking apps like Sequator (PC) or StarStax combine dozens of frames so meteors from different exposures layer into one composite image. It is more advanced, but it is how dedicated astrophotographers get those dramatic multi-meteor shots.
Frequently Asked Questions
What camera settings should I use for meteor shower photography on my phone?
Use manual mode with ISO 800 to 1600, a shutter speed of 20 to 30 seconds, manual focus set to infinity, and shoot in RAW if your phone supports it. Start there and adjust based on sky darkness and noise levels.
Can I really capture meteors with a smartphone?
Yes. Modern phone sensors paired with long exposure apps like NightCap, Pro Mode on Samsung, and Astrophotography mode on Pixel can clearly capture bright meteors. You will not catch every faint streak, but you will absolutely catch the bright ones with patience.
What is the best app for photographing meteor showers?
For iPhone, NightCap Camera is the top choice because it offers manual ISO, shutter, and focus plus a dedicated meteor mode. On Android, the native Pro Mode on Samsung and Night Sight Astrophotography on Pixel work well, and Footej Camera or Open Camera are good third-party options.
Should I take photos or video of a meteor shower with my phone?
Photos almost always win. A long exposure of 20 to 30 seconds captures far more light than any video frame, and you can review each shot immediately. Video on phones is limited to short exposures per frame and rarely catches faint meteors.
Why can’t I see meteors in my phone photos even though I see them with my eyes?
Your eyes are far more sensitive to motion and faint light than any phone sensor. If your settings are wrong (wrong ISO, too short an exposure, or autofocus blur), the phone will record a sky that looks emptier than what you saw. Lock focus manually, lengthen the exposure, and increase ISO to fix this.
Start Photographing Your First Meteor Shower Tonight
That is everything you need to know about how to photograph a meteor shower with your phone. Grab a tripod, drive away from city lights, point your phone at the sky between midnight and dawn, and let it shoot for as long as your battery holds out. Most of your frames will be empty, but the few that catch a bright meteor streak make it worth every cold minute.
Check a meteor shower calendar for the next Perseid or Geminid peak, mark your calendar, and give it a try. The learning curve is short, the gear is cheap, and the photos you bring home can rival anything shot with a dedicated camera.