
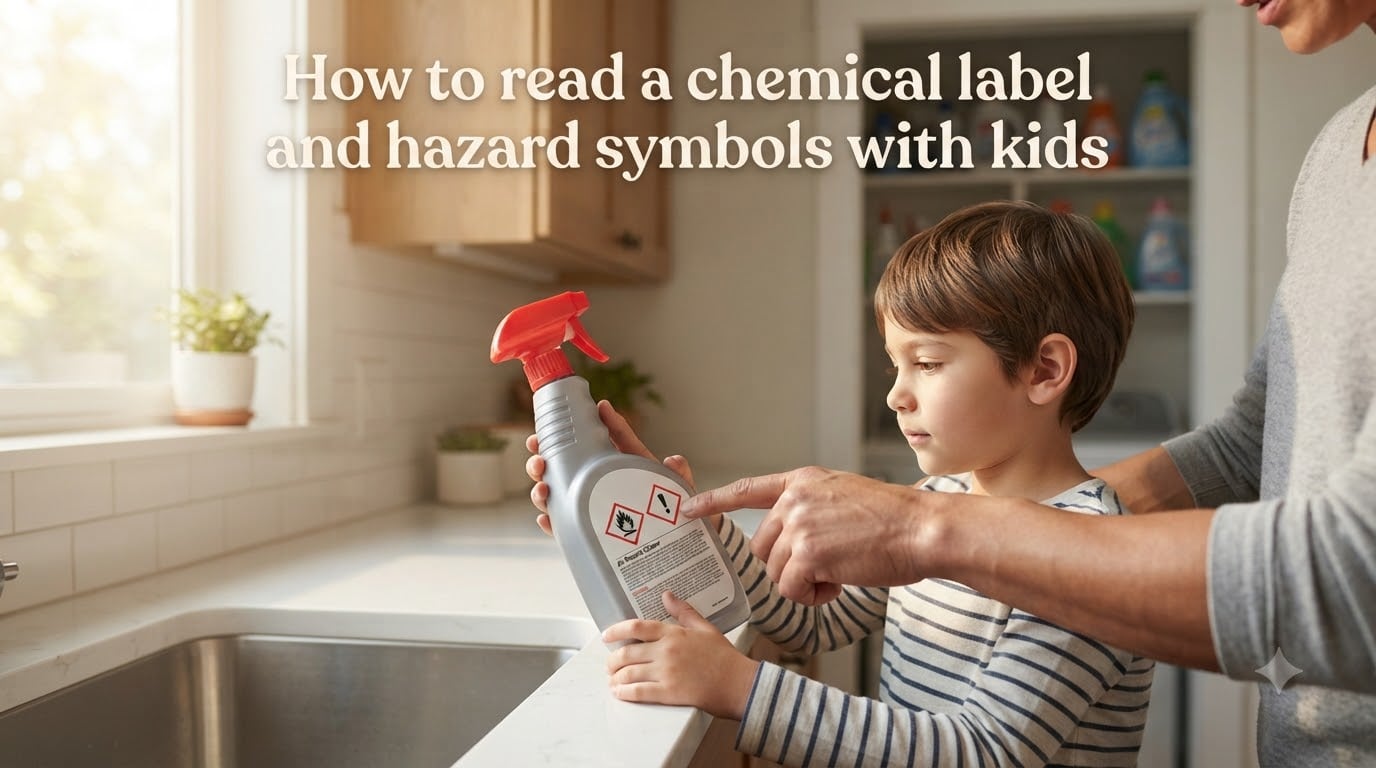
When my daughter was four, she pointed at a bottle of bleach under the kitchen sink and asked, “Why does that bottle have a funny picture on it?” That question sent me down a rabbit hole of research, and now I want to share what I learned with you. Knowing how to read a chemical label and hazard symbols with kids is one of the most practical safety skills a parent can teach, and it starts with understanding the symbols themselves.
Inside every garage, laundry room, and under every kitchen sink, there are dozens of products that can cause harm if used the wrong way. Cleaning supplies, lawn fertilizers, paints, and even some bath products carry warning symbols that most adults skim past. Teaching children to recognize these symbols early builds a habit of caution that will protect them for life.
In this guide, I’ll walk you through all 9 GHS hazard pictograms, explain signal words, decode hazard statements, and share age-appropriate teaching strategies. By the end, you’ll have a complete framework for turning your curious kid into a label-reading detective.
Table of Contents
What Are Chemical Labels and Why Do They Matter?
Chemical labels are standardized warnings placed on containers of products that contain substances which can cause harm to people, animals, or the environment. They exist so that anyone, in any country, can quickly understand the dangers of a product without needing to read a long technical document.
Most countries follow a system called the Globally Harmonized System, or GHS. This system was created by the United Nations to give every chemical warning the same look and meaning worldwide. The United Nations adopted GHS in 2003, and countries like the United States, Canada, the United Kingdom, and members of the European Union have all adopted versions of it.
Before GHS, the United States used a different system, and countries inside the EU used yet another, called CLP. That made things confusing for parents, workers, and travelers. GHS fixed this by creating one universal visual language for chemical safety. Now, whether your child sees a bottle in California or a bottle in Canada, the symbols mean the same thing.
For parents and educators, this universal language is a gift. It means the chemical safety lesson you teach at home will still apply when your child visits a friend’s house, attends science camp, or travels abroad. The red diamond they learn to recognize today will warn them tomorrow.
Understanding Chemical Labels: A Step-by-Step Guide
Every chemical label, whether it’s on a spray bottle of window cleaner or a drum of industrial solvent, has six required pieces of information. Walking through these in order gives kids a reliable routine for reading any label they encounter.
Product identifier: This is the product name or code, such as “Drain Opener” or “Sodium Hydroxide Solution.” It tells you exactly what is in the container.
Supplier information: The name, address, and phone number of the company that made or sold the product. If something goes wrong, this is who you call.
Signal word: A single word, either “Danger” or “Warning,” that shows how severe the hazard is. I explain this in detail just below.
Hazard statements: Short sentences describing what the chemical can do, like “Causes serious eye damage” or “May be fatal if swallowed.”
Precautionary statements: Instructions on how to handle the product safely, what to wear, and what to do if there is an accident.
Pictograms: The red diamond symbols that show the type of hazard at a glance, even from across the room.
Teaching kids to read labels in this order gives them a mental checklist. I tell my kids: Name, who made it, the big word, what it can do, what to do about it, and the symbol. That simple sequence has become second nature at our house.
Signal Words: Danger vs Warning Explained
The signal word is one of the fastest ways to gauge how serious a chemical hazard is. Only two signal words are used, and only one will appear on any given label.
Danger: Used for the most severe hazards, things that can cause serious injury, death, or permanent damage. If a product has “Danger” on the label, treat it with extra caution.
Warning: Used for less severe hazards, products that can still cause harm but are less dangerous than “Danger” products. They still deserve respect.
Think of it like a traffic light. “Danger” means the red light: stop, pay attention, do not touch without permission. “Warning” means the yellow light: slow down, be careful, follow the rules. Either way, the message is clear: this product needs your attention.
For kids, this is one of the easiest concepts to teach. I explain it as “scary stories” versus “kinda scary stories.” Both can hurt you, but one is more intense. Once they get that, the signal word becomes the first thing they look for on any bottle.
Hazard Statements and Precautionary Statements Explained
Beyond the symbols, every label includes short sentences called hazard statements and precautionary statements. These tell you, in plain words, what the product can do and how to stay safe around it.
Hazard statements describe the nature of the danger. Common examples include:
“Causes skin irritation”
“Toxic if swallowed”
“May cause cancer”
“Highly flammable liquid and vapor”
“Very toxic to aquatic life”
Precautionary statements tell you what to do to prevent harm. They cover four areas: prevention, response, storage, and disposal. You might see things like “Keep out of reach of children,” “Wear protective gloves,” “If in eyes, rinse cautiously with water,” or “Store in a well-ventilated place.”
For younger kids, focus on the precautionary statements. Phrases like “Keep out of reach of children” become a magical sentence that signals “do not touch.” I taught my kids to scan for these words first, since they often tell them exactly what to do (or not do).
The 9 GHS Hazard Pictograms Explained for Kids
Now for the main event. Each GHS pictogram is a red diamond with a white background and a black symbol inside. The diamond shape is the same on every one, so once a child learns to recognize the frame, they know it’s a warning. The symbol inside tells them what kind of warning it is.
Below, I’ll walk through all 9 pictograms with kid-friendly explanations you can use right away.
1. Explosive Pictogram (Unstable Explosive)
The explosive pictogram shows an exploding bomb. The bomb is bursting outward with lines of force radiating from it. This symbol warns that the product can explode if heated, dropped, or mishandled.
Household products rarely carry this symbol, but kids might see it on fireworks, some aerosols, or certain fuels. Tell them: “If you see a bomb with lines shooting out, don’t play with it. Parents only.” I explain that the lines mean the explosion is bursting out, so the product is even more dangerous than a regular fire.
2. Flammable Pictogram
The flammable pictogram shows a flame. It warns that the product can catch fire easily, sometimes from a single spark or hot surface.
You’ll find this on rubbing alcohol, nail polish remover, lighter fluid, gasoline, and many spray paints. Teach kids: “A picture of fire means the product is a fire starter, so it can make a flame, and fire is not a toy.” I have my kids point to the symbol and say the word “flame” out loud, so the connection between the image and the word is strong in their memory.
3. Oxidizing Pictogram
The oxidizing pictogram shows a flame over a circle, with a small “O” inside the flame. The “O” represents oxygen, the part of air that makes fire burn. This symbol warns that the product can make other fires burn hotter or cause things to catch fire that normally wouldn’t.
Bleach, hydrogen peroxide, and some pool chemicals carry this symbol. Many people get this one confused with the flammable symbol. The literal difference is the circle at the bottom of the flame, but the practical meaning is similar: this product feeds fire. Kids can remember it as “the flame with a present, and the present is more oxygen.” A weird image, but it sticks.
4. Compressed Gas Pictogram
The compressed gas pictogram shows a gas cylinder, a tall narrow tank with a rounded top. It warns that the product is a gas stored under pressure, so a damaged container can explode or the gas can shoot out and cause cold burns.
Helium tanks, propane tanks, and disposable gas cartridges all carry this symbol. For kids, the message is simple: “This is a pressurized tank. Dropping it or playing with the valve can cause an explosion.” I treat it like a warning to their hands and face.
5. Corrosive Pictogram
The corrosive pictogram shows drops of liquid falling onto a hand and a piece of metal, with damage visible on both. It warns that the product can destroy skin, eyes, and other materials on contact.
Drain cleaners, oven cleaners, battery acid, and strong household bleach all carry this symbol. I tell my kids: “This picture means the product can burn a hole through things, including skin. Always wear gloves and stay away.” The visual of damage on both surfaces is loud and clear, which makes it easy for kids to remember.
6. Acute Toxicity Pictogram (Skull and Crossbones)
The acute toxicity pictogram shows a skull and crossbones, the classic symbol for poison. It warns that the product can cause serious illness or death if touched, swallowed, or even breathed in small amounts.
Antifreeze, certain pesticides, and some strong cleaning products carry this symbol. Kids usually recognize the skull and crossbones from pirate stories, so this is one of the easiest symbols to learn. The key teaching point: “If you see a skull, never, ever put it in your mouth or touch it without a grown-up.”
7. Health Hazard Pictogram
The health hazard pictogram shows a starburst pattern on a person’s chest, like a silhouette making a snow angel with a glowing chest. It warns about long-term health effects, like cancer, organ damage, or reproductive harm.
This is one of the harder symbols for kids to grasp because the dangers aren’t immediate. They can show up years later. I explain it as “the slow poison” symbol. The product might not hurt you today, but it can cause big problems later. For middle schoolers and teens, you can start connecting this to habits like wearing gloves when working with solvents or not breathing in spray paint.
8. Environmental Hazard Pictogram
The environmental hazard pictogram shows a dead fish floating in water, with a tree and a bird on the bank. It warns that the product is toxic to fish, wildlife, and the wider environment.
Many pesticides, fuels, and some cleaners carry this symbol. The teaching point is more about consequences than immediate safety: “Pour this down the drain, and it can hurt the fish and the birds.” Kids generally connect with this one quickly because they care about animals. I use it as a doorway to talk about proper disposal and never pouring chemicals outside.
9. Exclamation Mark Pictogram (Irritant)
The exclamation mark pictogram shows a big black exclamation mark inside the red diamond. It is the catch-all warning for products that cause irritation or less severe health effects, like skin rashes, mild eye irritation, or dizziness.
You’ll find this on many everyday products: dish soap, laundry detergent, hand sanitizer, and some crafts supplies. I tell my kids that this one is the “be careful” symbol. It’s not the most dangerous, but it still means: don’t get it in your eyes, don’t drink it, and wash your hands after using it.
Age-Appropriate Teaching Tips for Every Stage
How you teach chemical labels depends heavily on your child’s age. What works for a three-year-old will bore a teenager, and what works for a teenager will confuse a kindergartner. Here is how I break it down.
Toddlers and Preschoolers (Ages 2-4)
At this age, the goal is recognition, not memorization. Children should learn that:
The red diamond means “ask a grown-up before touching.”
The skull and crossbones means “never put this in your mouth.”
The flame means “fire, stay back.”
Use simple language and short attention spans. A 30-second conversation while you’re putting away groceries is plenty.
Elementary Age (Ages 5-10)
Now you can introduce names and meanings. Kids this age love collecting things, so frame it as a “safety symbol collector” game. Teach them to point to a pictogram and say its name.
Play matching games with printed symbol cards.
Read labels together on common household products.
Reward them for spotting symbols in real life.
Tweens and Teens (Ages 11-16)
Older kids can handle the why behind the symbols. Connect chemical labels to real situations:
Why certain lab rules exist in science class.
Why mixing cleaning products (like bleach and ammonia) is dangerous.
How to read a Safety Data Sheet (SDS) for school projects.
The connection between chemical safety and future jobs in STEM fields.
This is also a great age to introduce the NFPA 704 fire diamond, which is used by firefighters in the United States. It uses a four-color diamond with numbers from 0 to 4 to show health, flammability, and reactivity hazards. It’s a tougher system, but a fun challenge for teens.
Hands-On Activities to Make Chemical Safety Stick
Reading about symbols is fine, but kids learn better by doing. Here are three activities that have worked for my family and the families I’ve shared them with.
The Label Scavenger Hunt
Take your child on a walk through your house and ask them to find three products with red diamond labels. For each one, ask them to identify the symbols and tell you what they mean. This works well in laundry rooms, kitchens, and garages. Make it a race for extra fun.
The Symbol Match Game
Print or draw cards with the 9 GHS pictograms on one set, and the names plus meanings on another set. Lay them out face down and play memory. Kids can match the flame to “flammable,” the skull to “toxic,” and so on. It’s a great rainy day activity.
Story Scenarios
Make up short stories where a character faces a chemical safety decision. For example: “You find a bottle under the sink with a flame on it. What do you do?” Walk through the right answer: tell a grown-up, never touch it, stay away. Storytelling makes the lesson feel less like a lecture and more like a real-world scenario.
Safe Storage Tips for Households with Children
Even the best-educated child needs a safe home environment. Here are storage habits that work alongside your chemical safety lessons.
Keep products in their original containers. The label is on the original container. Decanting cleaners into water bottles is a common cause of accidental poisoning.
Use locked cabinets when possible. A simple childproof latch on the under-sink cabinet is a small investment for big peace of mind.
Store products up high. For households without locks, putting hazardous products on the highest shelf is the next best option.
Separate incompatible products. Bleach and ammonia should never be stored together, because mixing them creates toxic gas.
Keep emergency numbers visible. Post the Poison Control number (1-800-222-1222 in the US) on the fridge.
These habits reinforce the lessons on the labels. When your child sees that you treat certain products with extra care, they learn to do the same.
Frequently Asked Questions
How do I read a chemical hazard label?
Start with the product name, then check the supplier information, signal word, hazard statements, precautionary statements, and pictograms. The signal word (Danger or Warning) tells you how severe the hazard is. The red diamond pictograms show the type of hazard at a glance. Read in this order each time, and the label will become easy to decode.
What are hazard symbols for kids?
Hazard symbols for kids are simple pictures inside red diamonds that warn about chemical dangers. They include a flame for flammable products, a skull and crossbones for poisons, a flame over a circle for oxidizers, an exploding bomb for explosives, drops on metal for corrosive products, a gas cylinder for compressed gases, a starburst shape for long-term health hazards, a fish and tree for environmental hazards, and an exclamation mark for irritants. Each one is designed to be recognized even without reading words.
What does the skull and crossbones mean on a chemical label?
The skull and crossbones means the product is acutely toxic, meaning it can cause serious illness or death if touched, swallowed, or breathed in. Kids should never touch or taste any product with this symbol and should always tell a grown-up if they see one.
What is the difference between Danger and Warning signal words?
Danger is used for the most severe hazards, products that can cause death, serious injury, or permanent damage. Warning is used for less severe hazards, products that can still cause harm but are less dangerous. Only one of these words will appear on any given label, and Danger always takes priority over Warning.
Are hazard symbols required by law?
Yes, in most countries. In the United States, OSHA requires GHS-compliant labels on hazardous chemicals in workplaces. The European Union uses the CLP regulation. Canada uses WHMIS. Many other countries have adopted GHS as their standard. Household products are also regulated, though enforcement details vary by country.
How do I talk to my child about chemical safety without scaring them?
Focus on empowerment, not fear. Teach children that the symbols are there to help them make smart choices, not to scare them. Use the phrase ‘ask a grown-up’ as a positive action. Praise them for spotting symbols, and avoid showing scary accident photos. The goal is to build steady caution, not anxiety.
Conclusion
Teaching kids how to read a chemical label and hazard symbols is one of those parenting tasks that pays off for a lifetime. The GHS pictograms are designed to be recognized across language and age, so the same symbols your child learns at home will guide them through school labs, work sites, and beyond.
Start small. Pick three common products, walk through the labels together, and let your child identify the pictograms. Add a new symbol each week. Before long, you’ll have a young label reader who notices warning signs you might have skimmed past. That’s the kind of safety habit that sticks, and it’s a gift that keeps giving throughout their life.
If you found this guide useful, share it with another parent or teacher. The more kids who learn these symbols, the safer our homes, schools, and communities become.