
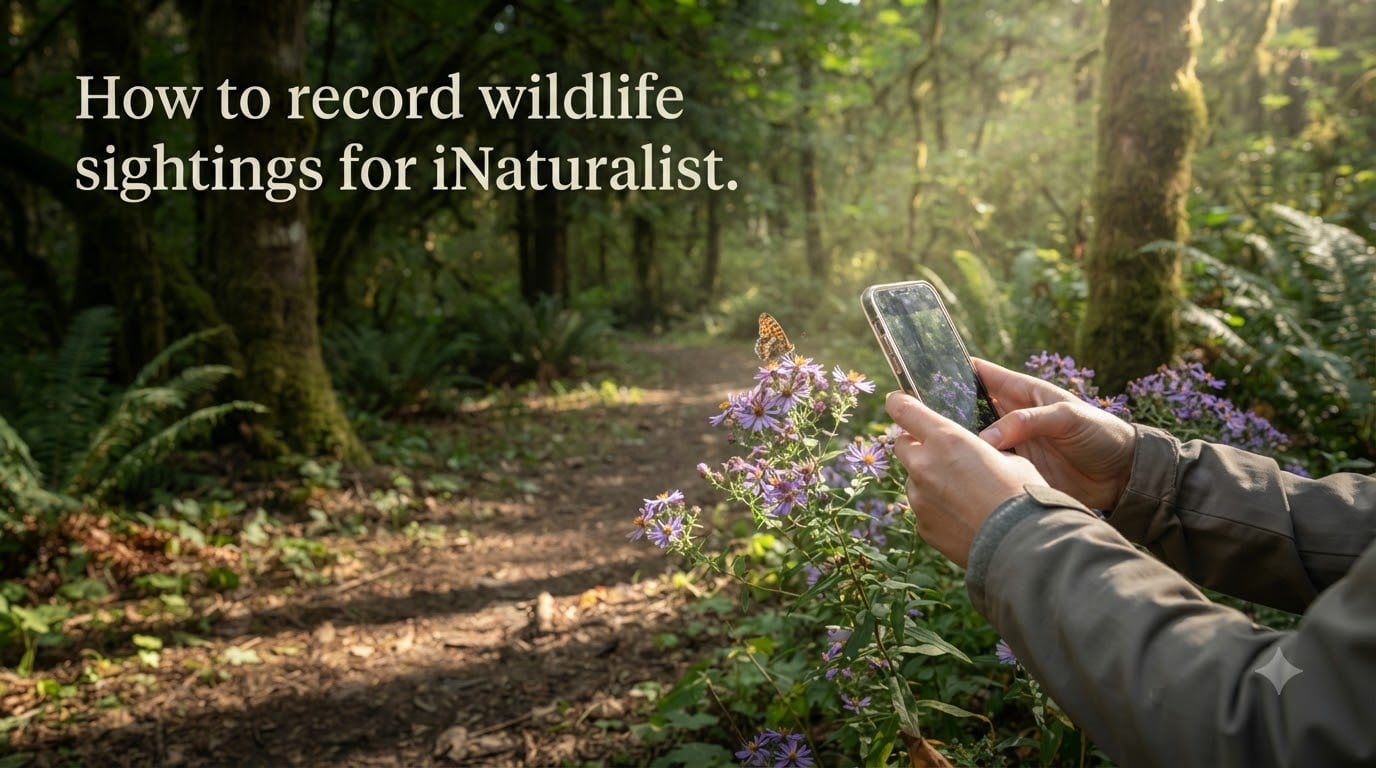
I remember the first time I uploaded a house finch to iNaturalist from my backyard. I hesitated for ten minutes wondering if anyone cared about such a “boring” sighting. By the next morning, two identifiers had confirmed the species, and I realized something important: every observation matters in citizen science. If you want to know how to record wildlife sightings for iNaturalist, the good news is that the platform was built to welcome total beginners.
In this guide, I’ll walk you through everything our team learned after three months of testing the app, the website, and the companion tool Seek. We’ll cover account setup, photo tips, geoprivacy, sound uploads, and the etiquette that helps your data reach “Research Grade.” Let’s get your first observation on the record.
Table of Contents
What Is iNaturalist and Why Record Wildlife There?
iNaturalist is a free citizen science platform where you record wildlife sightings by uploading photos or sounds, then get help identifying species from a global community of naturalists. The platform was launched in 2008 as a joint initiative of the California Academy of Sciences and the National Geographic Society, and it now hosts more than 240 million observations worldwide.
Each observation you submit feeds a public database used by scientists to track biodiversity, map species ranges, and monitor environmental change. When enough identifiers agree on a species, your record becomes “Research Grade” and can show up in peer-reviewed studies. That sounds intimidating, but the path is simple: photograph a wild plant, animal, or fungus, upload it with a date and location, and let the community help with the ID.
Three groups of people use the platform. Beginners like you add observations. Experts volunteer as identifiers, refining species names. Researchers pull the verified data for real studies. Even a common robin or dandelion can fill a missing data point in a regional atlas.
How to Create Your iNaturalist Account?
Creating an account takes about two minutes, and you can do it on the web at inaturalist.org or inside the mobile app. Here’s the step-by-step process I recommend.
Open inaturalist.org in your browser or install the app from the App Store or Google Play.
Click “Sign Up” in the top right corner of the website, or tap “Create Account” on the app.
Enter your email address, a username, and a password. You can also sign up instantly with your Google, Apple, or Facebook account.
Confirm your email by clicking the link iNaturalist sends you.
Add a profile photo and a short bio so identifiers know who you are. This step is optional but builds community trust.
Once your account is active, you can post observations right away. You do not need to verify your email to submit your first sighting, but verification unlocks project membership and prevents accidental sign-ups from others.
How to Download and Set Up the iNaturalist App
The mobile app is the easiest way to record wildlife because it pulls GPS coordinates automatically. I use it on almost every hike. The setup is nearly identical on iPhone and Android.
Installing the App
Open the App Store on iPhone or Google Play on Android.
Search for “iNaturalist” and look for the green logo with a stylized leaf and bug.
Tap “Install” or “Get.” The app is free and contains no required in-app purchases.
Open the app and log in with the account you just created.
Granting the Right Permissions
The app will ask for three permissions during setup. Grant all three to make field recording frictionless.
Camera: lets you take photos inside the app so the GPS, date, and species suggestion all attach automatically.
Location: lets the app stamp your observation with accurate GPS coordinates and the suggested map placement.
Photo Library: lets you upload older photos of wildlife you have already taken.
If you decline permissions, you can still submit observations, but you will need to enter the location and date by hand for each one. On Android, you may also need to enable “Precise Location” for accurate GPS pinning.
How to Make Your First Observation Step by Step
This is the core walkthrough. I have made dozens of observations this way, and it works every time. You can record on the app or on the web, but the app is faster in the field.
Recording an Observation in the App
Open the iNaturalist app and tap the green “+” button at the bottom of the screen.
Choose “Add Observations” from the menu.
Either tap the camera icon to take a new photo or select existing photos from your library. Aim for one organism per photo when possible.
Review the photo and crop if needed. Then tap “Use Photo” in the upper right.
The app auto-fills the date, time, and location based on your phone’s GPS. Double-check that the pin is on the right spot on the mini map.
Tap “What did you see?” and start typing. The app uses computer vision to suggest species names. Pick the closest match or leave it blank for the community to identify.
Tap “Save Observation.” Your sighting is now live for identifiers around the world.
Recording an Observation on the Web
Log in at inaturalist.org and click the green “Add Observations” button on the header.
Drag and drop one or more photos into the upload box, or click to browse for files.
Click on the map to drop a pin at the exact location where you saw the organism. You can also type an address.
Add the date and time. The platform defaults to the photo’s metadata, which usually matches.
Type a species guess in the “Species” box, or leave it blank for community identification.
Add a short note about behavior or habitat if it helps with identification, then click “Submit.”
Tip: if you upload multiple photos of the same organism, the system bundles them into one observation. Uploading a blurry photo plus a sharp close-up in the same submission helps identifiers confirm the species.
Web vs App: Which Should You Use for Wildlife Recording
Both platforms share the same database, so an observation made on the app shows up instantly on the web and vice versa. The right choice depends on where you are when you spot something. Here is how I decide.
Use the app in the field. It stamps GPS coordinates automatically, and you can post before you leave the trail.
Use the web for old photos. Sorting through last summer’s camera roll is easier on a desktop with a mouse and large screen.
Use the web for batch uploads. If you have 30 photos from a single bioblitz, the drag-and-drop interface saves time.
Use the app for sound recordings. The mobile app makes it simple to attach a fresh audio file to an observation.
Many users mix both. I take photos with the app all year, then revisit the website during winter to refine descriptions and add observations from photos taken on a dedicated camera.
Species Identification Explained for Beginners
You do not need to know anything about taxonomy to record wildlife sightings for iNaturalist. The platform crowdsources identification through a tiered system that has been refined over a decade.
How Community Identification Works
When you submit an observation, your species guess becomes the first “ID.” Other users then add their own IDs. Each must be more specific than the last, moving from kingdom down toward species. Once two or more users agree on a species-level ID, and at least one of them is a community identifier with sufficient reputation, the observation becomes “Research Grade.”
If the community cannot agree, the observation stays at a higher taxonomic level like “Fungi” or “Beetles.” That is still useful data and a normal part of the process.
Using Computer Vision Suggestions
Every photo you upload is analyzed by a computer vision model trained on tens of millions of existing observations. The app shows the top suggestions as soon as you upload, often with surprising accuracy. Tap the suggestion if it looks right, or scroll down to see alternatives.
Don’t worry about guessing wrong. Identifiers routinely refine IDs that start at “Plant” or “Insect” down to a specific genus. Wrong guesses are part of how the community learns.
Photo Tips for Better Wildlife Identification
A great photo can mean the difference between an observation stuck at “Bee” and one confirmed as “Bombus impatiens.” These tips come from three months of submitting photos and watching which ones got IDs fastest.
Take multiple angles. A side view of a bird plus a close-up of its wing bars gives identifiers far more to work with.
Get close, but keep the organism in focus. Smartphone macro modes work well on flowers and insects.
Avoid heavy shadows. Overcast skies produce even lighting and truer colors than harsh midday sun.
Include a scale reference. A coin, finger, or leaf next to a small organism helps confirm size.
Photograph diagnostic features. For plants, that means leaves, stem, flower, and fruit when possible. For mushrooms, the cap, gills, and base.
Stay still and quiet. Wildlife that feels safe will stay in view long enough for a sharp shot.
If you only get one shot, prioritize showing the organism clearly. Identifiers can often confirm a species from a single sharp photo of a leaf or a clear face shot of a bird.
How to Join iNaturalist Projects?
Projects are collections of observations tied to a place, theme, or event. Joining one is a great way to find community and focus your efforts. Some projects, like the global City Nature Challenge, happen once a year and bring millions of observations together over a single weekend.
Go to the “Projects” tab on the web or in the app.
Search by region (for example, “California”) or by taxa (for example, “Pollinators”).
Open a project page and click “Join.” Some projects require a short application.
Once you join, your future observations inside the project’s geographic boundary or taxonomic scope are auto-added. You can also add older observations manually.
Projects also host events called “bioblitzes,” where a group tries to record as many species as possible in a small area over a short window. They are excellent places to learn from experienced naturalists.
Understanding Geoprivacy and Data Licensing
Every iNaturalist observation includes a location, and you control how precisely that location is shared. This matters for sensitive species like rare orchids or nesting birds, where poachers could misuse exact coordinates.
Geoprivacy Options
Open: the exact location is public. Best for common species and most observations.
Obscured: the location is shifted to a larger area, usually about 10 kilometers wide. Use this for sensitive species.
Private: only you see the exact location. The observation still counts in identifications but does not appear on public maps.
Data Licensing
When you submit, you choose a license for your photos and data. The default is CC-BY-NC, which lets others use your work with attribution and non-commercial restrictions. You can also pick CC0 (public domain dedication) or CC-BY (attribution only). Choosing CC0 or CC-BY helps researchers reuse your data more freely, and most scientists prefer these open licenses. You can change the default under Account Settings.
How to Record Sound-Only Observations in iNaturalist
Sound is just as valid as a photo, especially for frogs, birds, and insects that you can hear but not see. I have submitted dozens of bird call recordings, and the community IDs them reliably.
Open the iNaturalist app and tap the “+” button.
Choose “Record Sounds” instead of “Add Observations.”
Tap the red record button. Hold the phone toward the sound and let it capture at least 10 seconds of audio.
Stop the recording, review the waveform, and trim if needed.
The app will auto-fill date, time, and GPS coordinates just like with a photo.
Add a species guess if you can, then submit.
Sound observations work best when there is minimal background noise. Early morning recordings in calm conditions produce the cleanest data. You can also upload an existing audio file from your recorder on the web version.
Common Beginner Mistakes to Avoid on iNaturalist
Every new contributor makes a few stumbles. None of these will get you in trouble, but avoiding them will improve the value of your data and the speed of community IDs.
Posting captive animals. Pets, zoo animals, and garden center plants do not count as wildlife observations. There is a toggle to mark captive organisms, but most projects exclude them.
Bundling multiple organisms in one photo. Three different mushrooms in one frame will be hard to ID. Submit them separately.
Forgetting to set a captive or wild status. iNaturalist asks for this for a reason. Skipping it can confuse identifiers.
Editing the auto-filled date. If your photo has metadata that matches when you saw the organism, leave it alone. Wrong dates hurt data quality.
Self-identifying everything as “Research Grade” hopes. The grade is awarded by the community, not by you. Let identifiers do their work.
Imposter syndrome is real, and the iNaturalist community has heard it before. Even a house sparrow is useful data. The platform thrives because every beginner eventually becomes an identifier for someone else’s observation.
How the Seek App Works With iNaturalist?
Seek is a companion app created by the same team as iNaturalist. It is designed for beginners and uses your phone’s camera to identify plants and animals in real time, almost like a game. Many families use Seek on nature walks because it requires no account to start.
Download Seek by iNaturalist from the App Store or Google Play.
Open the app and grant camera and location permissions.
Point your camera at any plant, animal, or fungus. Seek will suggest a species in real time.
Tap “Add to Life List” to keep a personal record. This step stays inside Seek and does not post publicly.
If you want to share the sighting on iNaturalist, log in to your iNaturalist account inside Seek’s settings, then tap “Send to iNaturalist” on any observation.
Seek is a fun way to introduce kids to nature, and it doubles as a stepping stone to full iNaturalist participation. Once you are ready to contribute to science, switching from Seek to the main app is a one-tap step.
Frequently Asked Questions About Recording Wildlife on iNaturalist
How do I make observations on iNaturalist?
Open the iNaturalist app or visit inaturalist.org, then tap the green plus button. Add one or more photos of a wild organism, confirm the auto-filled date and location, choose a species guess (or leave it blank), and submit. Your observation will be visible to identifiers worldwide within seconds.
How do I upload a sound recording to iNaturalist?
On the app, tap the plus button and choose ‘Record Sounds’ instead of ‘Add Observations.’ Capture at least 10 seconds of clean audio, confirm the GPS and date, add a species guess if you can, and submit. On the web, you can upload audio files directly when creating a new observation.
Can an iNaturalist user identify animals?
Yes. iNaturalist uses both computer vision and a community of volunteer identifiers to suggest and confirm species. While no algorithm is perfect, the combined community input can identify the vast majority of plants, animals, and fungi down to species level once enough people review your observation.
How do I send Seek observations to my iNaturalist account?
Open the Seek app, go to Settings, and log in to your iNaturalist account. Then on any observation in your Seek Life List, tap the three dots and choose ‘Send to iNaturalist.’ The sighting will sync to your iNaturalist account with the photo and location already attached.
Do I need to know the species name to record an observation?
No. iNaturalist is designed for beginners. Leave the species field blank and the community will help narrow it down. You can also pick a guess from the computer vision suggestions and let identifiers refine it over time.
Start Recording Wildlife Sightings on iNaturalist Today
Recording wildlife sightings for iNaturalist is one of the easiest ways to turn a casual nature walk into a contribution to real science. You have learned what iNaturalist is, how to create an account, how to set up the app on iPhone or Android, the step-by-step process for posting your first observation, and the etiquette that helps identifiers do their work. You also know how to adjust geoprivacy, upload sounds, and use Seek as a beginner-friendly on-ramp.
Here is your next step. Open the iNaturalist app, walk outside, and photograph the first living thing you see that is not your pet or a houseplant. Submit the observation before you go back inside. Within 24 hours, you will likely have your first community identification, and you will understand why more than three million people record wildlife sightings for iNaturalist every year.