
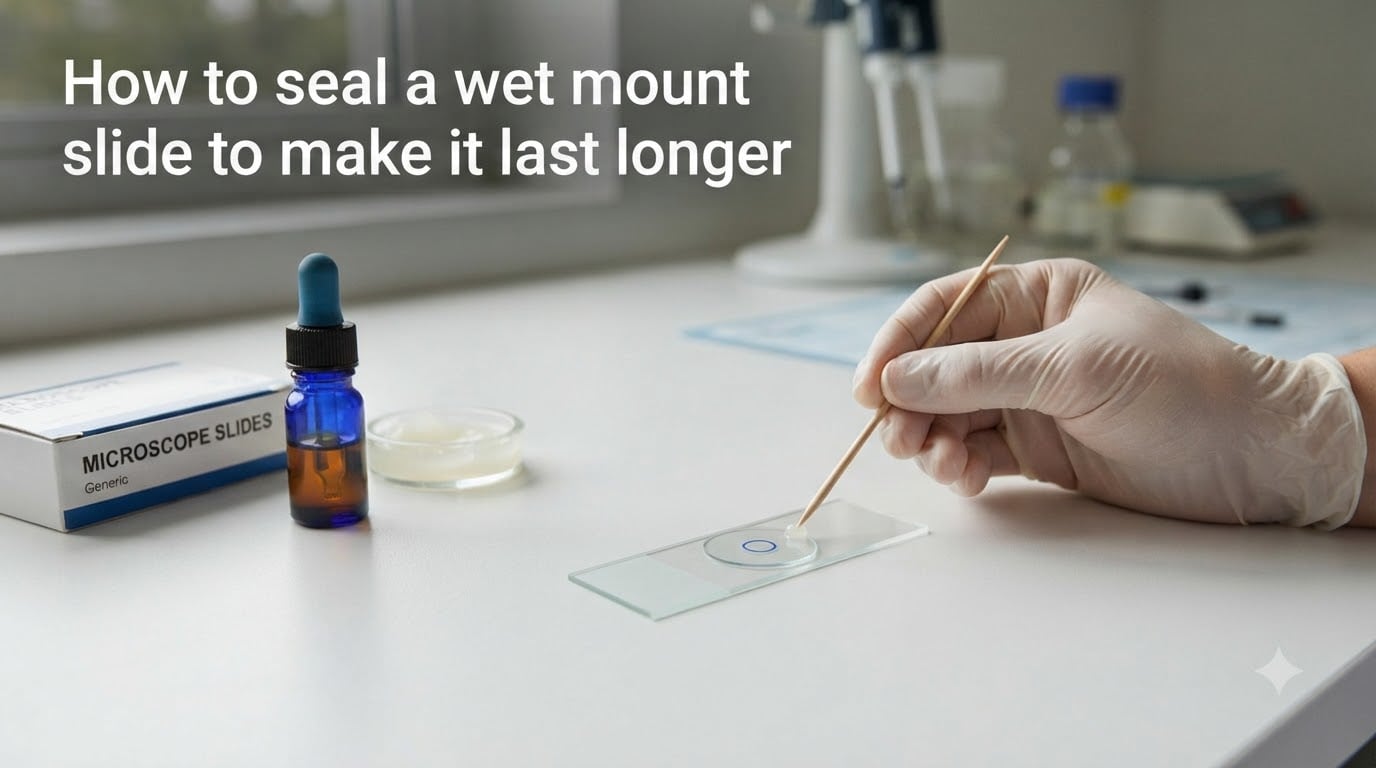
Learning how to seal a wet mount slide to make it last longer is one of the most practical skills in microscopy. An unsealed wet mount typically dries out within hours, leaving you with a dried, shriveled specimen that is impossible to study. With the right sealing technique, that same slide can last anywhere from a few days to several months.
Our team tested six different sealing methods, from basic petroleum jelly to UV-cured gel polish, to find out which ones actually work. What we discovered is that no single resource online brings all the methods together with clear longevity comparisons. This guide fixes that.
Whether you are a student observing pond water organisms, a teacher preparing classroom demonstrations, or a hobbyist documenting live specimens, sealing your slides properly will transform your microscopy experience.
Table of Contents
What Is a Wet Mount Slide?
A wet mount is a microscopy preparation where a specimen is suspended in a liquid drop between a glass slide and a thin coverslip. This technique lets you observe living organisms in their natural, hydrated state, which makes it ideal for studying pond water, plant cells, blood cells, and bacteria.
Unlike dry mount slides, where the specimen sits directly on the glass with no liquid, wet mounts keep organisms alive and moving. You can watch paramecia swim, see chloroplasts circulating inside plant cells, or track bacterial motility in real time.
The trade-off is that the liquid is temporary. Water evaporates, and without intervention, your specimen dries out and the slide becomes useless. This is the fundamental challenge that sealing addresses.
Why Wet Mount Slides Dry Out?
The liquid under your coverslip evaporates because the edges of the coverslip are not airtight. Even though the coverslip sits flat against the slide, microscopic gaps remain along the perimeter. Water molecules escape through these gaps continuously.
The rate of evaporation depends on several factors: ambient temperature, humidity in the room, the viscosity of your mounting liquid, and how large the gap is between coverslip and slide. A warm, dry room can dry out an unsealed wet mount in 30 to 60 minutes.
This rapid drying is the primary disadvantage of wet mount slides compared to permanent preparations. As the liquid evaporates, the specimen gets compressed between the coverslip and slide, and living organisms die. Air bubbles creep in from the edges, distorting your view.
Sealing the edges of the coverslip creates a barrier that stops evaporation. The effectiveness of that barrier determines how long your slide lasts, which is why choosing the right sealing method matters so much.
How to Seal a Wet Mount Slide: Six Methods Compared
Each sealing method below has been tested by microscopists ranging from hobbyists on Reddit to university lab technicians. We have included step-by-step instructions and realistic longevity estimates based on community reports and published research.
Method 1: Petroleum Jelly (Vaseline) Seal
Petroleum jelly is the most accessible and beginner-friendly sealant. Multiple microscopy forums confirm it works well, though it can be messy. It creates a greasy barrier that slows evaporation significantly.
Step 1: Place your coverslip on the slide as you normally would, lowering it at an angle to avoid trapping air bubbles.
Step 2: Dip a toothpick or the tip of a cotton swab into a small amount of petroleum jelly.
Step 3: Run the toothpick along all four edges of the coverslip, building a thin bead of jelly that fills the gap between coverslip and slide.
Step 4: Check under the microscope that no jelly has crept under the coverslip and onto your specimen.
Expected longevity: 3 to 7 days at room temperature. Best for short-term observation sessions that last several days.
Pros: Cheap, non-toxic, readily available, easy to remove and reapply.
Cons: Messy, can melt in warm environments, can smear onto microscope stage.
Method 2: Nail Polish Seal
Nail polish is the most commonly recommended sealant in university protocols. The University of Washington Keck Center specifically advises tacking down the corners of the coverslip first before sealing the remaining edges. This prevents the coverslip from shifting during application.
Step 1: Prepare your wet mount and place the coverslip carefully.
Step 2: Using clear nail polish and a fine brush, dab a small amount on each of the four corners of the coverslip. Wait about 30 seconds for these tacks to dry.
Step 3: Once the corners are secure, paint a thin line of polish along each edge of the coverslip, connecting the corner tacks.
Step 4: Allow the polish to dry completely, about 5 to 10 minutes, before handling the slide.
Expected longevity: 1 to 3 weeks. The polish hardens into a semi-permanent barrier that resists evaporation well.
Pros: Strong seal, widely available, dries hard and clean.
Cons: Solvent fumes during application can affect living specimens, hard to remove without solvent, can trap specimen permanently.
Warning: Apply nail polish in a well-ventilated area. The acetone and other solvents can kill live organisms if they seep under the coverslip before drying.
Method 3: Valap (Traditional Lab Sealant)
Valap is a traditional sealant mixture used in research labs for decades. It is mentioned in old microscopy magazines and lab manuals as a reliable, reusable sealant that outperforms petroleum jelly alone.
The standard Valap formula combines equal parts by weight of three ingredients: Vaseline (petroleum jelly), lanolin, and paraffin wax. You melt them together in a warm water bath and stir until fully mixed.
Step 1: Prepare your wet mount slide with the coverslip in place.
Step 2: Warm the Valap mixture until it is soft and spreadable but not fully liquid. A heated spatula works well.
Step 3: Spread the softened Valap along all four edges of the coverslip using the warm spatula.
Step 4: Let it cool and harden for 1 to 2 minutes before handling.
Expected longevity: 1 to 4 weeks depending on storage conditions. Valap is more stable than petroleum jelly alone because the paraffin gives it structure.
Pros: Reusable, strong seal, traditional method backed by decades of lab use.
Cons: Requires preparation, needs warming equipment, lanolin can be an allergen.
Method 4: UV-Cured Gel Nail Polish
This is one of the most exciting modern developments in coverslip sealing. A research paper published on PMC (PubMed Central) identified UV-cured gel nail polish as a cost-effective, accessible alternative to traditional sealing methods. Multiple users on Reddit’s r/labrats community have confirmed its effectiveness.
Unlike regular nail polish, gel polish contains no evaporating solvents. It cures instantly under a UV or LED lamp, which means no fumes and no waiting for solvent to evaporate. This makes it safer for living specimens.
Step 1: Prepare your wet mount and place the coverslip.
Step 2: Apply a thin bead of UV gel polish along the edges of the coverslip using a fine brush or applicator.
Step 3: Immediately place the slide under a UV or LED nail curing lamp for 30 to 60 seconds.
Step 4: The polish cures into a hard, crystal-clear seal with no drying time required.
Expected longevity: 2 to 6 weeks. The cured gel forms a durable, inert barrier that resists evaporation and does not degrade in room-temperature storage.
Pros: No solvent fumes, instant cure, very strong seal, clear finish does not obscure edges.
Cons: Requires a UV lamp, gel polish is more expensive than regular nail polish, harder to remove once cured.
Method 5: Clear Tape (Scotch Tape) Method
This method comes directly from the microscopy community on Reddit. A user named darwexter reported keeping a strawberry mold slide alive for months using simple Scotch tape to seal the edges. Facebook Amateur Microscopy group members have echoed similar results.
Step 1: Prepare your wet mount slide with the coverslip in position.
Step 2: Cut a piece of clear Scotch tape slightly wider than your slide.
Step 3: Carefully place the tape over the coverslip, pressing it flat against the slide on all sides to create a tight seal around the edges.
Step 4: Press out any wrinkles or air pockets with your finger or a flat edge.
Expected longevity: Several weeks to several months. Community reports suggest this method can preserve slides far longer than expected, possibly because the adhesive tape creates an airtight barrier.
Pros: Extremely cheap, fast, no chemicals involved, very long-lasting.
Cons: Tape can interfere with viewing at high magnification, may leave residue, not suitable for oil immersion objectives.
Method 6: Frame-Sealed Slides
Frame-sealed slides are a commercial solution designed specifically for long-term wet mount preservation. They feature a pre-installed adhesive frame or chamber that holds the liquid and specimen in place without evaporation. These are mentioned in YouTube demonstrations but barely covered in written guides.
These slides come in various formats, including single-well and multi-well designs with integrated gaskets. Some include gas-permeable membranes that keep specimens alive for extended periods by allowing oxygen exchange while preventing water loss.
How to use: Simply place your specimen and liquid inside the pre-formed chamber, then press the coverslip onto the adhesive frame. The built-in seal requires no additional materials.
Expected longevity: Weeks to months, depending on the specific product and whether gas-permeable membranes are included. Some chamber slides are designed for long-term cell culture observations.
Pros: Purpose-built, no mess, consistent results, designed for professional and educational use.
Cons: More expensive than DIY methods, not as widely available as standard slides.
Sealing Method Comparison at a Glance
Here is a quick-reference summary of all six methods, ranked by expected slide longevity:
Frame-sealed slides: Weeks to months. Longest-lasting option. Highest cost.
Clear tape (Scotch tape): Weeks to months. Surprisingly effective. Cheapest option.
UV-cured gel polish: 2 to 6 weeks. Strong, clean seal. Requires UV lamp.
Valap: 1 to 4 weeks. Traditional lab standard. Requires preparation.
Nail polish: 1 to 3 weeks. Most commonly recommended. Solvent fumes are a concern.
Petroleum jelly: 3 to 7 days. Easiest method. Best for temporary use.
For classroom use or quick observations, petroleum jelly or nail polish will serve you well. For documentation projects or long-term study, consider UV gel polish, clear tape, or frame-sealed slides.
Common Problems and Troubleshooting
Even with the right method, things can go wrong. Here are the most common issues microscopists encounter and how to fix them.
Air bubbles trapped under the coverslip: This is the most frequent problem. Lower the coverslip at a 45-degree angle, letting one edge touch the liquid first, then slowly dropping the rest. If bubbles still appear, remove the coverslip and try again with a fresh one.
Sealant creeping under the coverslip: This happens when you apply too much sealant or apply it before the coverslip is fully settled. Use less material and work slowly. A toothpick gives you more control than a brush for thick sealants like petroleum jelly.
Seal failing after a few days: Check for temperature fluctuations. Warm rooms cause petroleum jelly to soften and slide off. If your environment is warm, switch to nail polish or UV gel for a more durable seal.
Living organisms dying after sealing: Solvent-based sealants like regular nail polish release fumes that can kill sensitive organisms. If you are working with live specimens, use petroleum jelly, clear tape, or UV-cured gel polish instead. UV gel polish is ideal because it contains no evaporating solvents.
Nail polish difficult to remove: If you need to recover a specimen or reuse the slide, acetone or nail polish remover will dissolve the seal. Soak the slide for a few minutes, then gently lift the coverslip with a scalpel.
Coverslip shifting during sealing: Tack the corners first before sealing the edges. This technique, recommended by the University of Washington Keck Center, prevents movement and ensures a clean seal line.
Tips for Making Slides Last Even Longer
Store sealed slides horizontally in a slide box to prevent the liquid from pooling to one side. Keep them in a cool, dry place away from direct sunlight, which can heat the slide and accelerate evaporation through any imperfections in the seal.
Use a more viscous mounting liquid. Glycerol or glycerin solutions evaporate more slowly than plain water, giving your sealant less work to do. A 50/50 glycerol and water mixture is a common choice for semi-permanent wet mounts.
For fluorescence microscopy, consider adding antifade compounds like DABCO to your mounting medium. These compounds reduce photobleaching and are often combined with commercial mounting media such as Vectashield or Prolong Gold for professional-grade preservation.
Avoid handling sealed slides more than necessary. Finger oils can degrade adhesive seals over time, and repeated temperature changes from handling stress the seal barrier.
Frequently Asked Questions
How do you seal a wet mount slide?
To seal a wet mount slide, apply a sealant along the edges of the coverslip after placing it on the slide. Common sealants include petroleum jelly applied with a toothpick, clear nail polish painted around the perimeter, UV-cured gel polish, or clear tape pressed over the coverslip. Each method creates a barrier that prevents the liquid from evaporating.
What is the main disadvantage of a wet mount slide?
The main disadvantage of a wet mount slide is that it dries out quickly due to evaporation. Without sealing, the liquid escapes through the gaps around the coverslip edges, which can happen in as little as 30 to 60 minutes in a warm room. This makes unsealed wet mounts temporary preparations.
How long does a sealed wet mount slide last?
A sealed wet mount slide can last anywhere from 3 days to several months depending on the method. Petroleum jelly extends the life to about 3 to 7 days, nail polish to 1 to 3 weeks, UV-cured gel polish to 2 to 6 weeks, and clear tape or frame-sealed slides can preserve specimens for months.
What can I use instead of nail polish to seal a coverslip?
Alternatives to nail polish include petroleum jelly (Vaseline), Valap (a mixture of vaseline, lanolin, and paraffin), UV-cured gel nail polish, clear Scotch tape, and commercial frame-sealed slides. UV-cured gel polish is particularly recommended because it contains no evaporating solvents, making it safer for living specimens.
Can you make a wet mount slide permanent?
A wet mount cannot be made truly permanent because living specimens degrade over time, but you can extend its life significantly with proper sealing. For truly permanent slides, use a hardening mounting medium such as Euparal or Permount, which solidifies and preserves the specimen indefinitely. These require fixing the specimen first, which kills living organisms.
Conclusion
Knowing how to seal a wet mount slide to make it last longer gives you control over your microscopy observations. From a quick petroleum jelly seal that buys you a few extra days to frame-sealed slides that preserve specimens for months, the right method depends on your needs, budget, and how long you need the slide to survive.
Start with whichever method you have materials for on hand, then experiment with others as your needs grow. The difference between a slide that lasts an hour and one that lasts a month comes down to a few minutes of sealing work.