
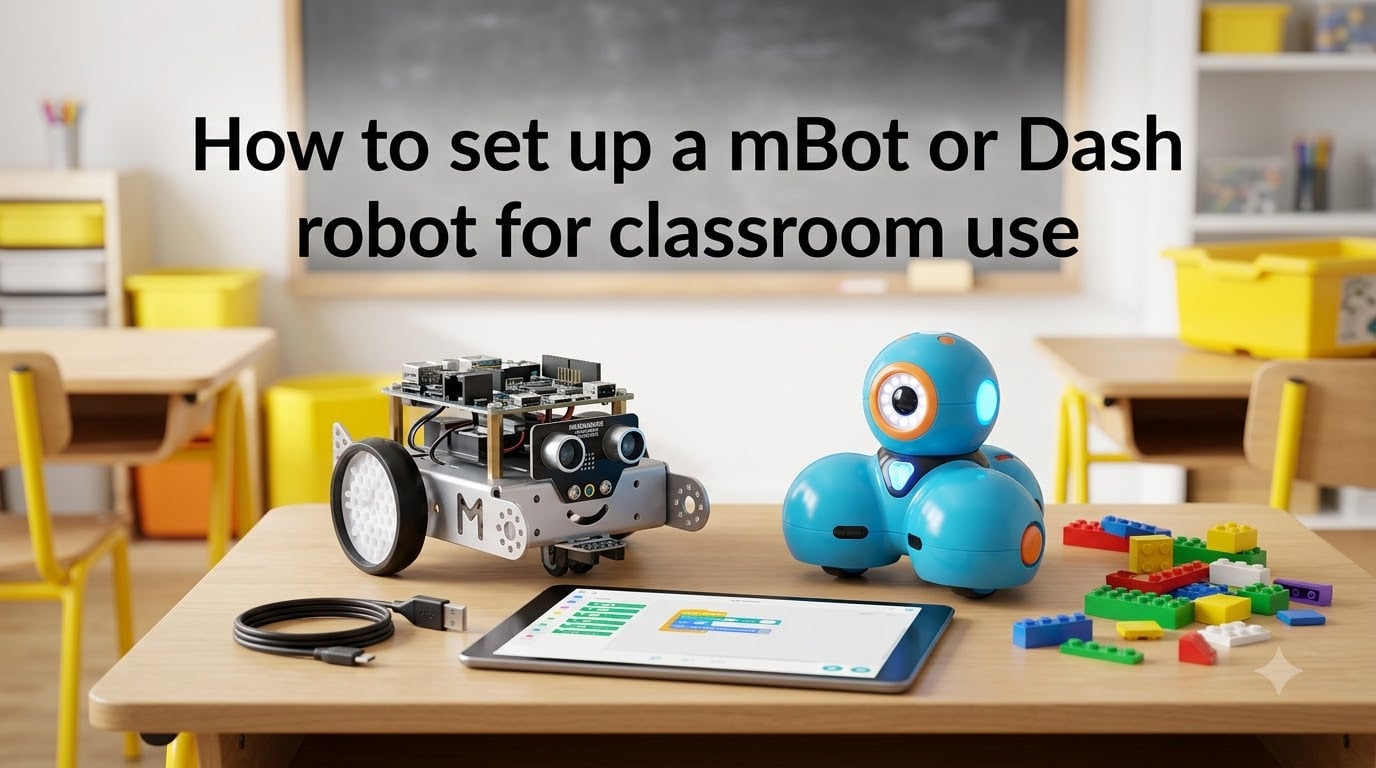
Setting up educational robots in your classroom is one of the fastest ways to get students excited about coding, problem-solving, and hands-on STEM learning. Two of the most popular robots in K-8 classrooms are the Makeblock mBot and the Wonder Workshop Dash. Both are used in over 40,000 schools worldwide, and both are designed to make block-based coding approachable for beginners. But they take very different approaches to setup, assembly, and classroom management.
If you have ever wondered how to set up a mBot or Dash robot for classroom use, this guide walks you through every step from unboxing to your first student program. I have helped teachers deploy both robots in real classrooms, and I will share the practical tips that manufacturer guides often skip, including storage solutions, charging strategies, and multi-class management.
Whether you are rolling out a single robot for a coding club or deploying a fleet of 20 mBots across grade levels, the process breaks down into four phases: physical setup, software installation, device connection, and first program. Let me walk you through each one for both robots.
Table of Contents
mBot vs Dash: Which Robot Fits Your Classroom?
Before diving into setup, it helps to understand how these two robots compare. Teachers ask me this question constantly, and the answer depends on your students’ ages, your available devices, and how much assembly time you can spare.
Here is a side-by-side comparison based on what I have seen work in real classrooms:
| Feature | Makeblock mBot | Wonder Workshop Dash |
|---|---|---|
| Assembly Required | Yes, 15-30 minutes | No, ready out of the box |
| Recommended Age | 8+ years | 6+ years |
| Coding Platform | mBlock (Scratch-based), Arduino, Python | Blockly, Wonder, Path, Go apps |
| Device Compatibility | Windows, Mac, Chromebook, iOS, Android | iOS, Android, Chromebook |
| Connection Method | Bluetooth, USB-C, 2.4G dongle | Bluetooth only |
| Key Sensors | Ultrasonic, line follower, light, button | Distance, gyroscope, microphone, LED |
| Classroom Platform | mBlock Education | Make Wonder teacher dashboard |
| Expandable Hardware | Yes, add-on packs and sensors | Yes, accessories like Launcher, Gripper |
| Best For | Older students, hardware tinkering, Arduino path | Younger students, quick start, screen-free play |
The mBot shines when you want students to build something with their hands and eventually progress to Arduino or Python. Dash is the better pick if you want zero assembly and need younger learners coding within minutes of opening the box. Many schools actually use both, starting with Dash in the lower grades and moving to mBot in upper elementary or middle school.
How to Set Up mBot for Classroom Use?
The Makeblock mBot is an aluminum-framed robot built around the mCore microcontroller. It ships as a kit, which means students get the experience of assembling the hardware before they start coding. The setup process covers assembly, software, connection, and testing.
Unboxing and Assembling mBot
The mBot arrives flat-packed with roughly 30 parts. Beginners typically complete assembly in 15 to 30 minutes following the included guide. Here is what you will find in the box and the steps to put it together.
What is included: The mBot chassis (pre-cut aluminum parts), two motors with wheels, the mCore board, an ultrasonic sensor, a line-following sensor, a Me USB module, a Bluetooth module, a battery holder, screws, an RJ25 cable set, and a screwdriver. The mBot 2 variant ships with a CyberPi controller and a rechargeable LiPo battery instead of AA holders.
Assembly steps:
Attach the two motors to the chassis using the long screws and the included screwdriver. Make sure the motor wires face toward the center of the board.
Push the wheels onto the motor shafts until they click into place. Give each wheel a gentle tug to confirm it is seated.
Mount the mCore board to the chassis standoffs. Align the four corner holes and secure with the short screws.
Connect the motor wires to ports M1 and M2 on the mCore board using the RJ25 cables. Port colors should match the plug colors.
Attach the ultrasonic sensor to the front of the chassis and connect it to port 3 on the mCore board.
Attach the line-following sensor to the underside front of the chassis and connect it to port 2.
Insert four AA batteries into the battery holder, or install the LiPo battery if you have the mBot 2. Connect the power cable to the mCore board.
Flip the power switch on. You should see the onboard LED light up and hear a short startup melody.
One thing I always tell teachers: label each robot with a number sticker as soon as it is assembled. When you have 15 identical mBots in a classroom, you need a quick way to identify which one a student is using. A simple numbered label on the chassis saves enormous time during troubleshooting.
Installing mBlock Software
mBlock is Makeblock’s free coding platform built on Scratch. It supports block-based coding, Python, and uploading code directly to the mBot’s Arduino-compatible board. You can download it from the official Makeblock website for Windows, macOS, and Chrome OS.
Steps to install mBlock:
Go to the mBlock download page and select the version for your operating system. Chromebook users can install the mBlock Chrome app from the Chrome Web Store.
Run the installer and follow the prompts. The installation takes about three minutes on most school computers.
Launch mBlock and add the mBot device from the device library. Select the correct model (mBot, mBot Ranger, or mBot 2) to match your hardware.
Connect your mBot (covered in the next section), then run a firmware check. mBlock will prompt you to update firmware if a newer version is available. Always accept firmware updates, because outdated firmware is the most common cause of connection drops.
If your school uses Chromebooks, mBlock works in the browser or as a Chrome app. Bluetooth connectivity on Chromebooks requires the Web Bluetooth API, which is supported on Chrome OS version 70 and later.
Connecting mBot to Your Device
The mBot supports three connection methods, and each has trade-offs for classroom use. Here is how to set up each one.
Method 1: Bluetooth (most common for classrooms)
Turn on the mBot. The Bluetooth module LED will blink rapidly, indicating it is in pairing mode.
Open mBlock on your computer or tablet.
Click the connect icon in the top toolbar and select Bluetooth.
Choose your mBot from the list of discovered devices. It will appear as mBot followed by a number that matches the sticker on your Bluetooth module.
Wait for the connection confirmation sound. The mBot will play a short melody when paired successfully.
Method 2: USB-C cable (most reliable)
For firmware updates and uploading Arduino code, a USB connection is more stable than Bluetooth. Plug the USB-C cable from the mCore board (or CyberPi on the mBot 2) into your computer. mBlock will detect the mBot automatically. This is also the fallback method when Bluetooth pairing fails during class.
Method 3: 2.4G wireless dongle (best for schools without Bluetooth)
Some school-issued devices disable Bluetooth for security reasons. The 2.4G dongle solves this problem. Plug the dongle into a USB port, turn on the mBot, and pair them by pressing the button on the dongle. The connection is instant and works like a wireless USB cable. Keep track of which dongle pairs with which mBot, because they are not interchangeable once paired.
How to Set Up a Dash Robot for Classroom Use?
The Wonder Workshop Dash is a ready-to-run robot aimed at younger students. Unlike the mBot, Dash requires zero assembly. You unbox it, charge it, pair it with a tablet, and start coding within minutes. This makes Dash especially popular in kindergarten through third-grade classrooms.
Unboxing Dash: Ready Out of the Box
Dash comes fully assembled. Inside the box you will find the Dash robot, a USB charging cable, two building brick connectors, and a quick-start guide. That is it. There are no screws, no tools, and no parts to snap together.
Before first use, charge Dash for at least 60 minutes using the included USB cable. The light behind Dash’s eye glows red while charging and turns off when the battery is full. A full charge gives you roughly three to five hours of active classroom use, which is typically enough for a full school day of coding activities.
Downloading the Dash Coding Apps
Wonder Workshop offers four free apps, each designed for a different age range and coding level. All are available on the App Store, Google Play, and the Chrome Web Store.
Go (Ages 5+): A remote control app that lets students drive Dash, change eye colors, and play sounds. No coding required, which makes it a great entry point for the youngest learners.
Path (Ages 6+): Students draw paths on the tablet screen and Dash follows them. Introduces sequencing and spatial reasoning before students encounter block coding.
Blockly (Ages 8+): The primary coding app for Dash. Uses drag-and-drop blocks similar to Scratch and covers loops, conditionals, variables, and events. This is where most classroom coding happens.
Wonder (Ages 8+): A flowchart-style coding app that is more visual than Blockly. Students link behavior icons to create complex programs. Great for students who find text-heavy block interfaces overwhelming.
For most classrooms, I recommend starting with Blockly. It aligns closely with Scratch, which many students already know, and it provides the clearest path to computational thinking skills.
Connecting Dash to a Tablet or Chromebook
Dash connects exclusively via Bluetooth. The pairing process is simpler than the mBot because everything happens through the app rather than system-level Bluetooth settings.
Steps to connect Dash:
Turn on Dash by pressing and holding the power button on the back until the eye lights up.
Open the Blockly (or Wonder) app on your tablet or Chromebook.
Tap the robot icon in the top-right corner of the app screen.
Select your Dash from the list. Each Dash appears with a unique name and color code that matches the light pattern on the robot itself.
Wait for the connection confirmation. Dash will make a happy sound and the app icon turns solid.
The color-matching system is clever. When you have multiple Dash robots in a room, each one displays a unique color. Students find their robot by matching the color on their tablet screen to the color on the physical robot. This eliminates the chaos of 20 kids all trying to pair with the same device.
Setting Up Make Wonder for Classroom Management
If you are using Dash, the Make Wonder platform is the backbone of classroom management. It is a web-based dashboard that lets you create student accounts, assign coding challenges, track progress, and access standards-aligned curriculum. Schools that skip this step miss out on one of the biggest advantages of the Dash ecosystem.
Steps to set up Make Wonder:
Go to makewonder.com and create a teacher account. The free tier gives you access to basic dashboard features and a limited number of student profiles.
Create a class and add student names. Each student gets a unique login so their progress is tracked individually.
Assign your Dash robots to the class. This lets you monitor which student is paired with which robot during each session.
Browse the curriculum library and assign coding challenges appropriate for your grade level. Challenges are aligned to Common Core, NGSS, and CSTA standards.
Use the progress dashboard to see which students have completed challenges, where they are stuck, and which concepts need reteaching.
The kidSAFE certification on Make Wonder matters for district compliance. If your school requires COPPA-compliant platforms for student accounts, Make Wonder meets that standard. I have seen IT departments fast-track approval specifically because of this certification.
For mBot classrooms, the equivalent platform is mBlock Education, which offers class management, assignment distribution, and cloud-based project storage. The setup process is similar: create a teacher account, build a class roster, and assign projects through the platform.
Creating Your First Program
Once your robots are assembled, connected, and your classroom platform is configured, the next milestone is running a first program. This is the moment students see their code come to life, and it sets the tone for the rest of your robotics unit.
First Program for mBot: Obstacle Avoidance
The classic first mBot program uses the ultrasonic sensor to detect obstacles and steer around them. Here is how to build it in mBlock.
Open mBlock and create a new project with the mBot device selected.
Drag a “when mBot starts” hat block to the workspace.
Attach a “forever” loop block underneath it.
Inside the loop, add an “if-else” block. Set the condition to “ultrasonic sensor distance less than 20 cm.”
In the if branch, add a “turn right at 50% speed for 0.5 seconds” block.
In the else branch, add a “move forward at 50% speed” block.
Click the upload button to send the program to the mBot. The upload takes about 10 seconds.
Place the mBot on the floor and watch it drive forward, detect an obstacle, and turn to avoid it.
This program teaches conditionals, loops, and sensor integration in a single lesson. Students can extend it by adjusting the distance threshold, changing the turn direction, or adding sound effects when an obstacle is detected.
First Program for Dash: Square Dance
For Dash, a great first Blockly program makes the robot drive in a square pattern. It reinforces sequencing, angles, and loops.
Open the Blockly app with Dash connected.
Start with a “When Start” block.
Add a “repeat 4 times” loop block.
Inside the loop, add “Dash drives forward 30 cm.”
Below that, add “Dash turns right 90 degrees.”
Press the play button. Dash will trace a square on the floor.
Once students see Dash complete the square, challenge them to modify the program. What happens if they change the angle to 60 degrees? What if they repeat 6 times? These small variations teach experimentation and debugging without feeling like a worksheet.
Classroom Organization and Storage Tips
Hardware setup is only half the battle. Managing a classroom full of robots, chargers, cables, and tablets is where many teachers struggle. Forum discussions on Reddit and teacher Facebook groups consistently highlight storage and charging as the top pain points. Here are the solutions I have seen work.
Charging strategy: Both mBot and Dash charge via USB, which means a powered USB hub can charge multiple robots simultaneously. A 10-port charging station costs roughly $30 to $50 and can charge an entire class set overnight. Label each charging port with a robot number so students always return robots to the correct spot. Assign a “robot manager” student role each week to verify every robot is plugged in before the end of class.
Storage solutions: Plastic storage bins with dividers work well for mBot kits because they keep screws, cables, and sensors organized. For Dash robots, a rolling cart with shallow drawers lets you transport a class set between rooms without risking damage. Lock the cart in a storage closet when not in use, especially if your classroom is shared or used by after-school programs.
Multi-classroom management: If you share robots between classrooms, create a checkout system. A simple spreadsheet tracking which teacher has which robots on which dates prevents conflicts. For Dash specifically, the Make Wonder dashboard lets multiple teachers share access to the same class set, so you can hand off without re-pairing devices.
Device pairing logistics: When you have more robots than tablets, station-based learning works best. Set up four to six coding stations around the room, each with one robot and one device. Students rotate through stations in 10-minute blocks. This keeps engagement high and prevents the bottleneck of 25 students waiting for a single iPad.
Chromebook considerations: Many schools have moved to Chromebooks, and both mBot and Dash work well with them. However, Chromebook Bluetooth drivers vary by manufacturer. Test pairing with your specific Chromebook model before the first class. If pairing fails consistently, the mBot 2.4G dongle is a reliable workaround for Chromebook-only classrooms.
Troubleshooting Common Setup Issues
Even with careful setup, things go wrong during class. Here are the most common issues and how to fix them fast.
mBot will not connect via Bluetooth: First, check that the Bluetooth module LED is blinking. If it is solid, the mBot is already paired with another device and you need to unpair from that device first. If the LED is off, the module may be loose. Reseat it on the mCore board and try again. As a last resort, switch to the USB cable connection to keep class moving while you troubleshoot.
Dash will not appear in the app: Make sure Dash is powered on and no other student is currently connected to it. Dash can only pair with one device at a time. If a previous student forgot to disconnect, have them close their app. Restart the Dash by holding the power button for five seconds if the issue persists.
Firmware update failed: Firmware updates on mBot require a stable USB connection. Never update firmware over Bluetooth. If an update fails midway, reconnect via USB and retry. The mCore board has a bootloader recovery mode that lets you reflash corrupted firmware, which fixes most bricked robots.
mBlock does not detect the robot: Check that you selected the correct device model in mBlock. Selecting mBot when you actually have an mBot 2 (which uses CyberPi) is a common mistake. Also verify the correct COM port is selected on Windows or that the device appears in system Bluetooth settings on Mac.
Blockly app crashes on Chromebook: Force-close the app and reopen it. If crashes persist, clear the app cache in Chrome OS settings. Make sure you are running the latest version of the app from the Chrome Web Store, since older versions have known Bluetooth stability bugs on certain Chromebook models.
Robot motors stutter or stop: Low batteries are the usual culprit. Both mBot and Dash exhibit erratic motor behavior when the battery voltage drops below a threshold. Swap to freshly charged batteries or plug the robot in for a quick top-up. For mBot specifically, check that the motor cables are fully seated in ports M1 and M2.
Frequently Asked Questions
How to set up a mBot or Dash robot for classroom use?
To set up a mBot, assemble the kit (15-30 minutes), install mBlock software, connect via Bluetooth or USB, and upload your first program. To set up a Dash robot, charge it fully, download the Blockly app, pair via Bluetooth from within the app, and start coding. Both robots are designed for quick classroom deployment with free coding software.
Is Makeblock mBot easy to assemble?
Yes, the mBot is designed for beginners and takes 15 to 30 minutes to assemble. The kit includes about 30 parts, a screwdriver, and a step-by-step guide. Most students in grade 3 and above can complete assembly independently with minimal teacher assistance.
How do you connect mBot to a computer?
You can connect mBot to a computer three ways: Bluetooth (pair through mBlock software), USB-C cable (plug directly into the mCore board for the most stable connection), or a 2.4G wireless dongle (ideal for school devices with Bluetooth disabled). USB is recommended for firmware updates and Arduino code uploads.
What app do you use for the Dash robot?
Wonder Workshop offers four free apps: Go for remote control (ages 5+), Path for drawing routes (ages 6+), Blockly for block-based coding (ages 8+), and Wonder for flowchart-style coding (ages 8+). Blockly is the primary classroom coding app and works on iOS, Android, and Chromebooks.
How do you program the Dash robot?
Dash is programmed using the Blockly app, which uses drag-and-drop blocks similar to Scratch. Students create programs by snapping together movement, sound, light, and logic blocks. Programs are sent to Dash instantly over Bluetooth, so students see results in real time without uploading or compiling.
What age is the Dash robot designed for?
Dash is recommended for ages 6 and up, making it ideal for kindergarten through fifth grade. The block-based coding in Blockly is accessible for most second graders, while the Wonder app and advanced Blockly challenges extend engagement through middle school.
Do mBot and Dash work with Chromebooks?
Yes, both robots work with Chromebooks. mBot uses the mBlock Chrome app or browser version with Web Bluetooth. Dash uses the Blockly and Wonder apps from the Chrome Web Store. Both require Chrome OS version 70 or later for Bluetooth connectivity. If Bluetooth is disabled by your school IT policy, mBot can use a 2.4G wireless dongle as a workaround.
How do you store and charge classroom robots?
Use a powered USB hub with 10 or more ports to charge multiple robots overnight. Store robots in labeled plastic bins or a rolling cart with drawers. Assign a student robot manager to verify all robots are charging before the end of class. For multi-classroom sharing, use a checkout spreadsheet to track which teacher has which robots on specific dates.
Getting Started With Classroom Robotics
Learning how to set up a mBot or Dash robot for classroom use is a straightforward process once you break it into phases. Both robots follow the same four-step pattern: physical setup, software installation, device connection, and first program. The mBot adds an assembly step that doubles as a learning activity, while Dash skips straight to coding for faster classroom deployment.
Start small with one or two robots and a single coding lesson. Once your students are comfortable with the workflow, scale up to a full class set and integrate robotics into your regular STEM curriculum. The Make Wonder dashboard and mBlock Education platform make it easy to track progress and assign challenges as your program grows.
If you are deciding between the two, remember that many schools use Dash in the lower grades and transition to mBot as students get older and are ready for hardware tinkering and Arduino programming. Both robots are proven, classroom-tested, and backed by free curriculum resources. Your next step is to unbox one, charge it up, and run your first program this week.