
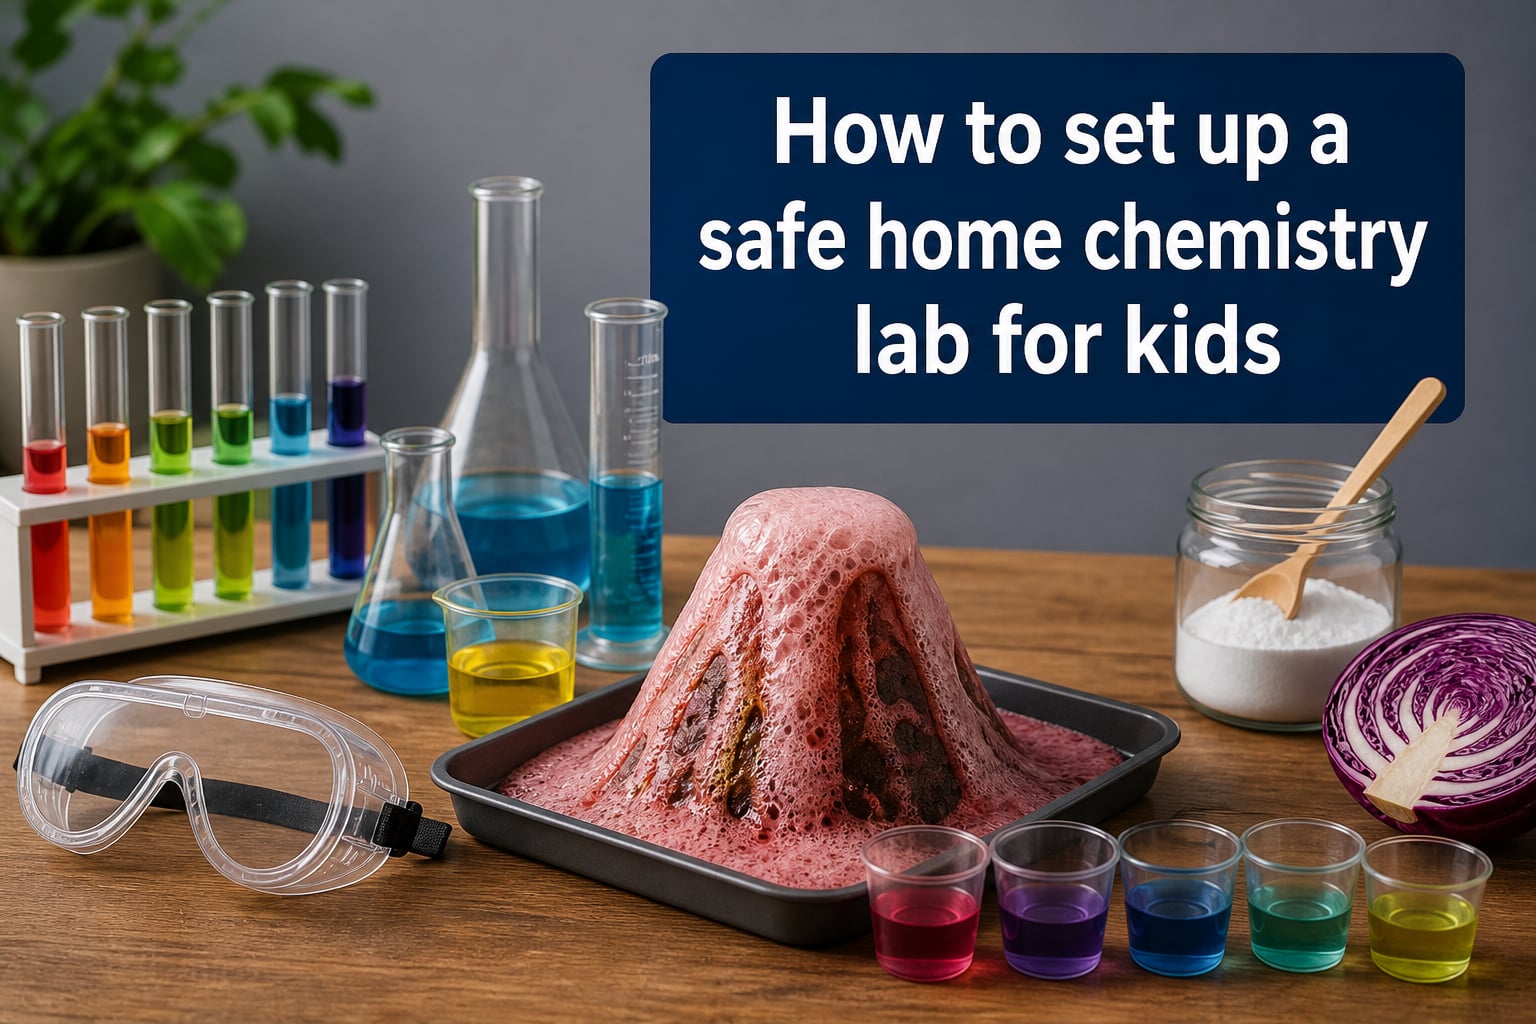
Setting up a home chemistry lab for kids is one of the most rewarding projects you can take on as a parent or educator. When our team built our first kitchen science station, we learned quickly that safety planning matters more than any beaker or chemical you buy. The right setup turns curiosity into real learning without the risks.
A safe home chemistry lab for kids is a designated, well-ventilated space with proper safety equipment where children can conduct age-appropriate experiments under adult supervision. You do not need a professional laboratory or expensive equipment to get started. A corner of your kitchen, garage, or basement works fine if you follow the right precautions.
In this guide, I will walk you through every step of setting up a home lab from choosing the location and buying equipment to selecting safe chemicals and running your first experiments. I have organized everything by priority so you can build your lab confidently, whether you have $30 or $300 to spend.
Table of Contents
How to Set Up a Safe Home Chemistry Lab for Kids: Step by Step
Here is the quick version of the entire process before we get into details. Follow these steps in order:
Choose a well-ventilated location with a washable floor, counter space, and access to running water.
Gather safety equipment first — goggles, gloves, a lab coat or apron, a fire extinguisher, and a first aid kit.
Buy basic lab equipment like beakers, graduated cylinders, test tubes, and pH paper.
Stock safe household chemicals such as baking soda, vinegar, salt, and food coloring.
Establish safety rules and teach them to your kids before any experiment begins.
Start with simple experiments and gradually progress to more complex ones as skills build.
That is the framework. Now let us break down each step so you can execute it properly.
Choosing the Right Location for Your Home Lab
The location you pick will determine how safe and practical your lab is. After testing setups in three different spaces, our team found that the right spot solves most safety problems before they even start.
Every good home lab needs four things in its location: ventilation, a spill-proof floor, adequate counter space, and access to running water. A nearby electrical outlet is a bonus if you plan to use a hot plate or digital scale later on.
Garage Lab
A garage is the most popular choice for a home chemistry lab. It offers excellent ventilation when the door is partially open, a concrete floor that cleans easily, and plenty of counter space. The downside is temperature control — garages get cold in winter and hot in summer, which affects some experiments.
If you use your garage, make sure chemicals are stored in a locked cabinet away from cars and fuel containers. A small space heater or fan can help manage temperature and airflow.
Basement Lab
A basement provides a stable temperature year-round and usually has the most unused counter space. However, basements often have poor ventilation and limited natural light. You will need to install an exhaust fan or keep windows open during experiments.
The biggest risk with basements is that chemical fumes can accumulate since the air does not circulate as freely. Always run a fan and never use volatile chemicals in an unventilated basement.
Kitchen Lab (Beginner-Friendly)
The kitchen is the easiest starting point for younger kids doing basic experiments. You already have running water, a washable floor, counter space, and a first aid kit nearby. Most early chemistry uses household items anyway.
The trade-off is that the kitchen is shared space. You need to clean up completely after each session and store all lab equipment out of reach between experiments. Designate a specific shelf or cabinet just for lab supplies.
Essential Safety Equipment You Need First
Before you buy a single beaker, invest in safety gear. I cannot stress this enough — safety equipment comes first, always. Our team’s rule is simple: no safety gear means no experiments, period.
Here is your personal protective equipment checklist:
Safety goggles — Look for ANSI Z87.1 certified goggles that form a seal around the eyes. Standard glasses are not enough.
Protective gloves — Nitrile gloves work best for home chemistry. They resist most household chemicals and are latex-free.
Lab coat or apron — A simple vinyl apron protects clothing from spills. For older kids, a cotton lab coat adds an extra layer.
Fire extinguisher — Keep a Class ABC extinguisher within arm’s reach of the lab area. Check the pressure gauge monthly.
First aid kit — Stock it with burn gel, eyewash solution, bandages, and the phone number for Poison Control (1-800-222-1222).
Building a Spill Kit
A spill kit is essential for containing accidents quickly. You can build one for under $15. Here is what to include:
Baking soda (2 pounds) — neutralizes acid spills safely.
Vermiculite or cat litter (1 pound) — absorbs liquid spills.
Paper towels and rags — for wiping up neutralized spills.
Plastic bucket with a lid — stores everything and doubles as a waste container.
Plastic dustpan and brush — for sweeping up broken glass safely.
Keep the spill kit on the floor next to your lab station, not in a cabinet. When a spill happens, you need to reach it in seconds.
The 5 Lab Safety Rules Every Kid Must Know
Teaching safety rules before the first experiment is the single most important step in setting up your home chemistry lab for kids. I recommend writing these rules on a poster and hanging it on the wall where everyone can see it.
Here are the 5 lab safety rules every kid must follow:
Always wear safety goggles and gloves — No exceptions, even for “safe” experiments.
Never taste or smell chemicals directly — Use the wafting method if you need to identify a smell.
Never work without adult supervision — An adult must be present for every experiment.
Tie back hair and roll up sleeves — Loose clothing and hair are fire and spill hazards.
Clean up immediately and wash your hands — Spills left unattended become hazards for everyone.
Review these rules at the start of every lab session. After a few sessions, they become second nature.
Essential Lab Equipment for Beginners
One of the biggest frustrations parents share in forums like r/homeschool and r/homechemistry is that store-bought kits feel too limited. The solution is building your own equipment collection piece by piece. You get better quality glassware and more flexibility than any pre-packaged kit offers.
Here is what I recommend for a solid starter kit:
Beakers (2-3 sizes: 50 mL, 250 mL, 600 mL) — The workhorse of any lab. Glass is better than plastic for most experiments.
Erlenmeyer flasks (250 mL and 500 mL) — Better than beakers for mixing, since the narrow neck reduces splashing.
Graduated cylinders (10 mL and 100 mL) — For measuring liquid volumes accurately. Always read at eye level.
Test tubes (6-12 with a rack) — Perfect for small-scale reactions and observing color changes.
Pipettes or droppers (10-20) — For transferring small amounts of liquid precisely.
pH paper or pH indicator strips — Essential for acid-base experiments. A pack of 100 strips costs about $5.
Digital scale (0.1g precision) — For measuring solid chemicals by weight rather than volume.
Thermometer — A digital probe thermometer is safest and most versatile.
Stir rods (glass or plastic) — For mixing without splashing.
A lab notebook — For recording observations, measurements, and results.
Many parents on Reddit recommend buying glassware from eBay or scientific surplus stores to save money. A full set of the items above should cost between $40 and $80 if you shop smart.
Safe Chemicals for a Kids’ Home Chemistry Lab
Choosing the right chemicals is where a lot of parents freeze up. The good news is that dozens of fascinating experiments use only safe, household chemicals. You do not need anything dangerous to teach real chemistry.
Here are the safest and most useful starter chemicals for a home chemistry lab for kids:
Baking soda (sodium bicarbonate) — Reacts with acids to produce carbon dioxide. The foundation of dozens of experiments.
White vinegar (acetic acid) — A weak acid perfect for acid-base reactions and pH testing.
Table salt (sodium chloride) — For crystal growing experiments and solution testing.
Hydrogen peroxide (3%) — The active ingredient in elephant toothpaste and oxygen experiments.
Food coloring — Safe, vivid, and makes every experiment more visual.
Cornstarch — For making non-Newtonian fluids (oobleck) that act like both liquid and solid.
Red cabbage — When boiled, the juice becomes a universal pH indicator that changes color across the entire pH scale.
Borax — For making slime and growing larger crystals. Handle with gloves and supervise closely.
Chemicals to Avoid at Home
Just as important as knowing what to use is knowing what to avoid. Never bring these into a home lab with kids:
Concentrated acids (hydrochloric, sulfuric, nitric)
Strong bases like lye or drain cleaner
Flammable solvents like acetone, alcohol, or gasoline
Anything labeled toxic, corrosive, or poisonous
Mercury or mercury-containing compounds
Chemical Storage Best Practices
Store all chemicals in their original labeled containers inside a locked cabinet. Keep acids and bases on separate shelves to prevent reactions if a spill occurs. Never store chemicals in food containers — the risk of accidental ingestion is too high.
Keep Safety Data Sheets (SDS, formerly MSDS) for any chemical you use. You can download these free from the manufacturer’s website. They tell you exactly what to do in case of exposure or spill.
Age-Appropriate Chemistry: What to Do at Each Level
No competitor covers this, and it is one of the most common questions parents ask. The right experiments depend heavily on your child’s age, motor skills, and ability to follow safety rules. Here is how I break it down.
Ages 6-8: Kitchen Chemistry Discovery
Young children should focus on observation and wonder. At this age, keep everything in the kitchen using only food-safe materials. Adult handles all measuring and pouring.
Great experiments for this group include baking soda and vinegar reactions, making oobleck from cornstarch, growing salt crystals on pipe cleaners, and mixing food coloring in water to learn about diffusion. The goal is excitement and basic observation skills, not precise measurements.
Ages 9-12: Building Real Skills
This is the sweet spot for starting a dedicated home chemistry lab for kids. Children at this age can learn to use graduated cylinders, read pH paper, and record data in a lab notebook. Move to a designated lab space and introduce formal safety rules.
Recommended experiments include red cabbage pH testing across household liquids, elephant toothpaste with 3% hydrogen peroxide, layered density towers using sugar water, and crystallization experiments with borax or Epsom salt. Let kids measure and mix independently under close supervision.
Ages 13 and Up: Intermediate Lab Work
Teenagers can handle more complex setups and detailed procedures. Introduce proper lab notebooks with hypothesis, method, results, and conclusion sections. They can use a digital scale, heat sources with supervision, and conduct multi-step experiments.
At this level, try electroplating copper coins, building a simple battery from lemons, titrating vinegar with baking soda to find concentration, and growing large single crystals over several weeks. This is also a good age to start exploring chemistry in a structured curriculum if you homeschool.
Budget Tiers: Setting Up a Lab at Any Price Point
No competitor addresses budget, which is surprising because cost is a top concern in every forum thread I read. Here is how to set up a home chemistry lab for kids at three different price points.
Budget Tier: Under $50 (Kitchen Chemistry)
Start with household items and a few low-cost supplies. You need safety goggles ($8), a box of nitrile gloves ($6), and a basic set of plastic beakers and test tubes ($15). Spend the rest on baking soda, vinegar, food coloring, cornstarch, and red cabbage.
This tier covers dozens of experiments and is perfect for ages 6-10. You will outgrow it, but it is the best way to test whether your child stays interested before investing more.
Mid Tier: $50-$150 (Starter Glass Lab)
This is where you transition from toy kits to real lab equipment. Add glass beakers, Erlenmeyer flasks, graduated cylinders, a test tube set with rack, pH paper, and a digital scale. You can also pick up a vinyl apron and a proper spill kit at this level.
Many Reddit users in r/homechemistry recommend this tier as the sweet spot. It gives kids authentic lab equipment without the cost or risk of advanced setups. Suitable for ages 9-14.
Advanced Tier: $150 and Up (Intermediate Lab)
At this level, add a hot plate with magnetic stirring, a burette for titrations, a distillation kit, and a proper chemical storage cabinet. You can also invest in a quality lab coat and an eyewash station. This tier supports serious homeschool chemistry curricula and science fair projects.
Only go this route if your child has demonstrated sustained interest over several months. The equipment lasts for years, so it is a good investment for families with multiple kids who will use it sequentially.
Four Easy First Experiments to Try
Once your lab is set up, start with these four classic experiments. They each teach a fundamental chemistry concept and use only safe household materials.
Experiment 1: Baking Soda and Vinegar Volcano
Concept: Acid-base reactions and gas production.
Materials: Baking soda, white vinegar, food coloring, a flask or bottle, a tray to catch overflow.
Steps: Place 2 tablespoons of baking soda in the flask. Add a few drops of food coloring. Pour in 100 mL of vinegar and step back. The reaction produces carbon dioxide gas that bubbles up dramatically. Have kids measure how high the foam rises and record it in their notebook.
Experiment 2: Red Cabbage pH Indicator
Concept: pH measurement and acid-base identification.
Materials: Half a red cabbage, water, blender or pot, strainer, several clear cups, household liquids to test (lemon juice, vinegar, baking soda solution, soapy water, milk).
Steps: Boil chopped cabbage in water for 10 minutes, then strain the purple liquid. Pour the indicator into clear cups and add a different household liquid to each one. Acids turn the liquid pink or red. Bases turn it green or blue. Have kids create a pH color chart from the results.
Experiment 3: Growing Salt Crystals
Concept: Saturation, crystallization, and evaporation.
Materials: Table salt or Epsom salt, hot water, a jar, a pencil, string, and a paperclip.
Steps: Dissolve as much salt as possible into hot water to create a saturated solution. Tie the string to the pencil, suspend it in the jar so it hangs into the solution, and set the jar in a sunny window. Over the next 3-7 days, crystals will form on the string as water evaporates. Check daily and record observations.
Experiment 4: Invisible Ink with Lemon Juice
Concept: Oxidation and heat-activated chemical changes.
Materials: Lemon juice, a cotton swab or small brush, white paper, a heat source (iron or lamp).
Steps: Use the cotton swab to write a message on white paper with lemon juice. Let it dry completely — the writing will be invisible. To reveal the message, hold the paper near a heat source (an adult handles this part). The lemon juice oxidizes and turns brown at a lower temperature than the paper, making the message appear.
Parent Supervision Guidelines and Legal Considerations
Adult supervision is the most important safety measure in any home chemistry lab for kids. No rule replaces an attentive adult. Here is how to supervise effectively at different levels.
Supervision by Age
For children under 9, adults should handle all pouring, measuring, and heating. Kids observe and help with safe tasks like stirring and recording results. For ages 9-12, adults oversee but let kids perform most steps themselves. Always step in for anything involving heat or new chemicals. For teens 13 and up, adults should be in the room or checking every 10-15 minutes. Review the experiment plan before starting.
Never leave any child unattended with lab equipment, regardless of age or experience. Accidents happen in seconds.
Is It Legal to Have a Home Chemistry Lab?
Yes, it is legal to have a chemistry lab in your house in the United States. There are no federal laws prohibiting home chemistry experiments or owning lab equipment. However, there are some important caveats to understand.
You cannot legally purchase certain restricted chemicals (like concentrated acids, certain oxidizers, or regulated precursors). Local ordinances may restrict storing larger quantities of flammable materials, especially in apartments or multi-family housing. If you rent, check your lease before installing shelves or ventilation equipment. Some homeowner’s insurance policies have clauses about home laboratories, so it is worth a quick call to your agent.
The bottom line: stick to household chemicals and basic lab equipment, and you will have zero legal issues. It is when people try to replicate professional or industrial chemistry that legal problems arise.
Frequently Asked Questions
How to set up a home chemistry lab?
To set up a home chemistry lab, choose a well-ventilated location with a washable floor and water access, gather safety equipment (goggles, gloves, fire extinguisher, first aid kit), buy basic glassware (beakers, graduated cylinders, test tubes), stock safe household chemicals like baking soda and vinegar, and establish clear safety rules before starting any experiments.
What are the 5 lab safety rules for kids?
The 5 essential lab safety rules for kids are: (1) Always wear safety goggles and gloves, (2) Never taste or smell chemicals directly, (3) Never work without adult supervision, (4) Tie back hair and roll up sleeves, and (5) Clean up immediately and wash your hands after every experiment.
Can you have a chemistry lab in your house?
Yes, you can absolutely have a chemistry lab in your house. It is legal in the United States to own lab equipment and conduct experiments with household chemicals. A garage, basement, or kitchen corner all work as lab spaces as long as you have proper ventilation, safety equipment, and adult supervision.
What chemicals do I need for a home chemistry lab for kids?
For a kids’ home chemistry lab, start with safe household chemicals: baking soda, white vinegar, table salt, hydrogen peroxide (3%), food coloring, cornstarch, red cabbage (for pH indicator), and Borax. Avoid concentrated acids, strong bases, flammable solvents, and anything labeled toxic or corrosive.
What age can kids start doing chemistry experiments at home?
Kids can start doing chemistry experiments as early as age 6 with simple kitchen chemistry using food-safe materials. Ages 9-12 is the sweet spot for starting a dedicated lab with real glassware. Teens 13 and up can handle more complex multi-step experiments with proper supervision.
Conclusion
Setting up a safe home chemistry lab for kids comes down to planning before purchasing. Start with the right location, invest in safety equipment before glassware, choose age-appropriate chemicals, and teach the five safety rules on day one. Everything else builds on that foundation.
The biggest mistake parents make is rushing straight to experiments without setting up proper safety protocols. Take a weekend to prepare your space, build your spill kit, and review the rules with your kids. That preparation prevents nearly every accident.
Your next step is simple: pick a location in your home, order your safety gear, and plan your first experiment session. Once kids see baking soda fizzing in a real beaker or watch cabbage juice change colors across the pH scale, they will be hooked on science for life.