
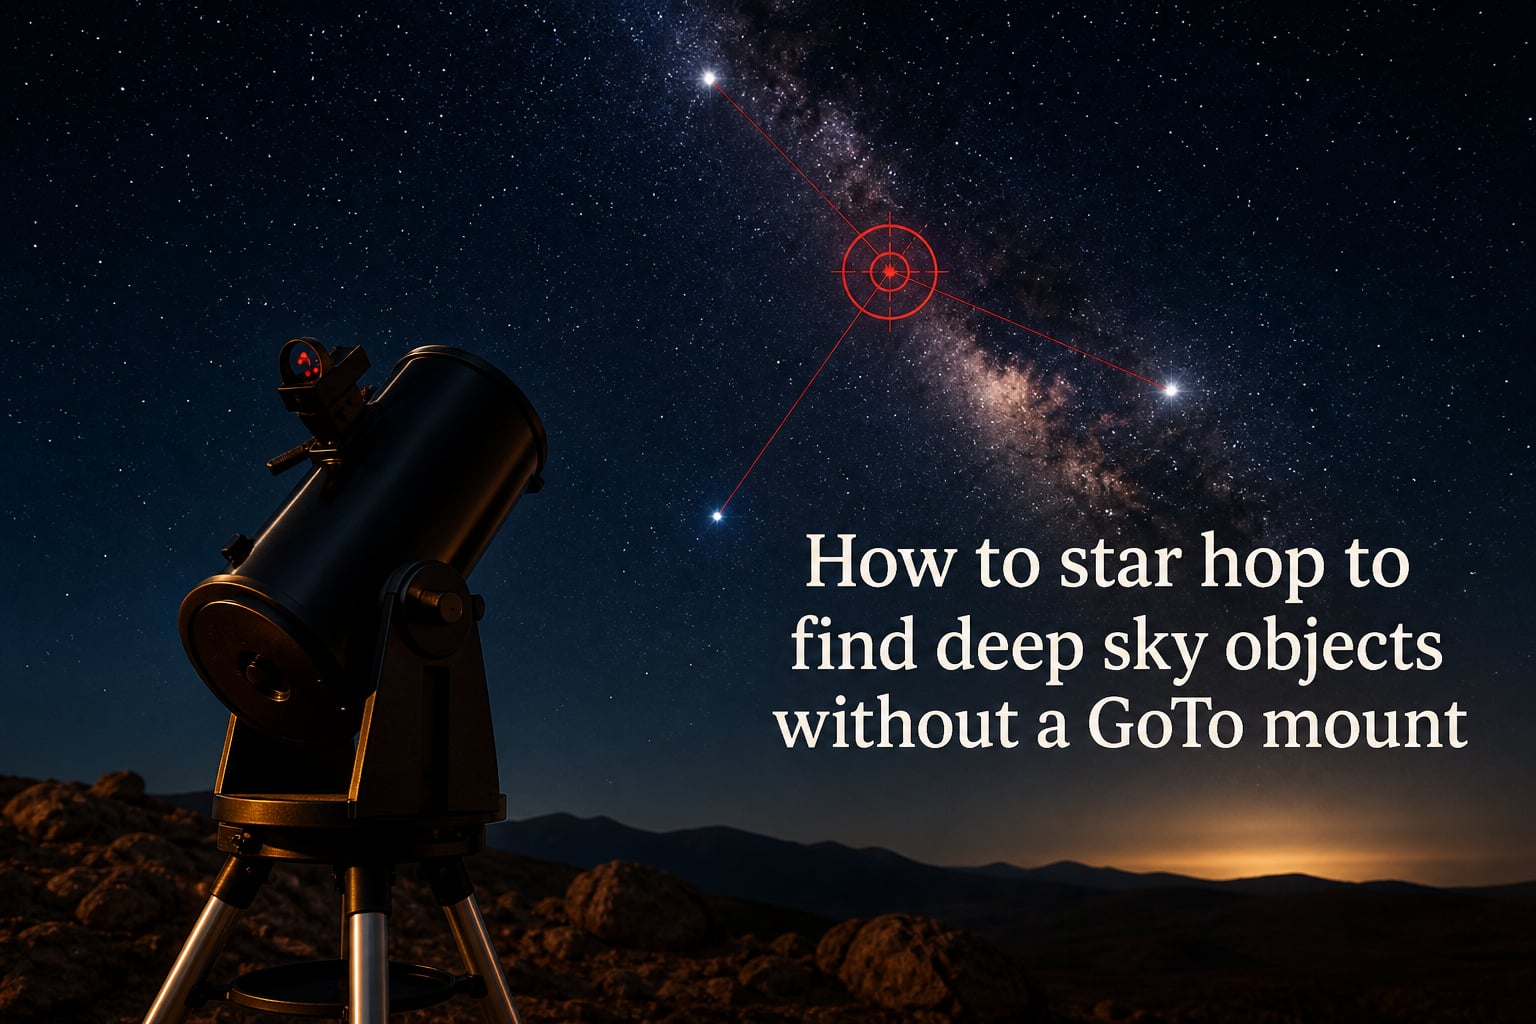
Star hopping is a manual telescope navigation technique where you find faint deep sky objects by starting from a bright naked-eye star and moving your telescope in small, overlapping hops along recognizable star patterns until your target slides into view. It is the oldest method astronomers used before computerized mounts existed, and I still teach it first to every beginner I help, because nothing else teaches the actual sky.
If you bought a manual Dobsonian, an equatorial mount without motors, or any telescope without a GoTo database, this skill is what unlocks the universe for you. In this guide I will walk you through the equipment you need, how to read your finder and star charts, the exact hopping sequence I use, and a real worked example from Alpheratz to the Andromeda Galaxy. By the end you will have a repeatable method to find almost anything you can read on a chart.
Table of Contents
What Is Star Hopping and Why Learn It in 2026?
Star hopping is the practice of navigating the night sky by chaining together short visual jumps between known stars. Instead of pushing a button, you start at a bright anchor star your eye can find easily, look at a star chart, identify a series of fainter stars leading to your target, and walk your telescope along that chain one hop at a time. The technique is older than electronic GoTo and works on every telescope ever built.
Every amateur astronomer I have trained learned the sky faster when they star hopped than when they relied on automation. The reason is simple: you stop trusting the screen and start trusting your eyes. After a season of hopping, you can find Polaris, the Andromeda Galaxy, or the Hercules Cluster without aiming your scope at all, just by reading the constellations themselves. That knowledge stays with you forever, even when batteries die, hands shake, or alignment goes wrong.
In 2026, with planetarium apps on every phone and cheap computerized mounts everywhere, you might wonder why anyone still learns manual navigation. The answer is that the apps and mounts lie sometimes. They drift, misalign, or point at the wrong object on cold nights. Star hopping is the skill that lets you sanity check your gear, recover when things fail, and find the deep sky objects that no database catalogs.
Star Hopping vs GoTo vs Push-To: Which Method Wins?
Before we dive into the technique, it helps to see how star hopping compares to the two main alternatives. Each method has a real use case, and most experienced observers end up mixing them.
GoTo mounts use a built-in computer and motors to point your telescope at cataloged objects once you complete an alignment star. Push-To mounts (also called IntelliScope or digital setting circles) use encoders and a handheld controller but do not move the scope for you. Star hopping uses no electronics at all. You simply move the telescope by hand based on what you see through the finder.
- GoTo pros: Fast for many targets, easy on cold nights, great for public outreach. Cons: Requires power, drifts over time, teaches you nothing about the sky, expensive.
- Push-To pros: Cheaper than GoTo, still uses object databases, no power required to hold position. Cons: Still depends on batteries and alignment, less efficient than true hopping when a finder is well aligned.
- Star hopping pros: Free, works forever, teaches you the sky, zero failure points. Cons: Slower at first, requires good charts and a finder scope.
For pure learning and for anyone with a beginner Dobsonian, star hopping wins. Even if you eventually add GoTo, the skill pays off every time technology lets you down.
Equipment You Need to Star Hop Deep Sky Objects
The gear list for star hopping is short, and most of it probably already sits in your accessory case. You need a way to aim, a way to see in the dark, and a way to know what you are looking at. That is the entire requirement.
A finder scope or reflex sight. This is the single most important tool. A standard 6×30 or 9×50 finder is fine. A Telrad or Rigel Quikfinder is even better because it shows you a glowing bullseye against the real sky with no magnification at all. The right-angle correct-image (RACI) finder eliminates the mirror-flipped confusion that ruins many beginner sessions.
A star chart or planetarium app. Paper atlases like the Pocket Sky Atlas or Sky Atlas 2000.0 never run out of batteries. Apps like Stellarium (free), SkySafari, or Stellarium Mobile let you preview the exact hop path on your phone before you go outside. For pure hopping, I recommend printing the chart for your target rather than relying on a glowing screen at the eyepiece.
A red flashlight. White light destroys your dark adaptation in seconds. Red light, especially dim red, preserves your night vision. You can buy an astronomy-specific red LED flashlight or cover a regular flashlight with red taillight tape. Many headlamps now include a red mode.
At least one eyepiece with a known field of view. For most telescopes, a 25mm to 32mm wide-field eyepiece gives you 1 to 2 degrees of true sky. Knowing your eyepiece field of view in degrees is what lets you measure how far to jump between stars. I will explain the math in the next section.
Optional gear that makes hopping easier: a planisphere for quick orientation, 10×50 binoculars to find bright anchor stars and confirm patterns, a clipboard with a red light for paper charts, and a small laser pointer (used responsibly) for tracing the hop path to a friend.
Understanding Field of View and Angular Distance
Star hopping is geometry. You are moving your telescope across angular distances on the sky, and you need a mental ruler to know how far each hop actually is. The ruler is your true field of view, measured in degrees of arc.
Every eyepiece shows a circle of sky. The angular diameter of that circle is called the true field of view. You can calculate it by dividing the apparent field of view of the eyepiece (printed on the eyepiece or in its specs) by the telescope focal length ratio. The simpler method is to look at a known pair of stars, count how many fit across the view, and divide.
A few useful reference points help you estimate angular distance at a glance:
- The full Moon spans about 0.5 degrees, roughly the size of your little finger at arm’s length.
- Three fingers held at arm’s length covers about 5 degrees.
- A closed fist at arm’s length covers roughly 10 degrees.
- The pointer stars of the Big Dipper (Dubhe to Merak) are separated by about 5 degrees.
The practical rule I use every night: make each hop smaller than one field of view, so the next star is guaranteed to land inside the eyepiece when you arrive. If you do not see your target star when you move there, you have overshot or undershot, and you can sweep slowly without losing your place.
How to Align Your Finder Scope Before You Hop
No star hopping technique works on a misaligned finder. The single biggest reason people fail to find anything is that their finder points somewhere different from the main telescope. If the main scope shows a star and the finder shows empty sky, every hop you attempt will land in the wrong place.
Daytime alignment is easiest. Point your main telescope at a distant chimney, radio tower, or street sign at least a few hundred meters away. Center the object in a medium-power eyepiece. Without moving the main scope, adjust the three or six screws on your finder (or the Telrad’s mounting knobs) until the crosshair sits exactly on that same target. Lock everything down.
Nighttime refinement is essential because focus and parallax shift between day and night. After polar aligning your mount or simply leveling your Dobsonian base, pick the brightest available star or planet. Center it in a high-power eyepiece, then nudge the finder until the crosshair sits on it. Now the finder and main scope are aligned to within a fraction of a degree.
I recheck alignment every 30 to 45 minutes during a session. A bumped finder or a loosened mount can throw you off by enough to miss a small target two hops away. A 30-second check saves an hour of frustration later.
How to Star Hop Step by Step: A Practical Walkthrough
This is the core sequence. Once you have done it ten times, it becomes reflex. Before that, work through it slowly and verify at every step.
Step 1: Pick your target and look up the hop path before going outside. Use Stellarium on your computer to identify the anchor star closest to your target and the chain of stars between them. Print or screenshot that chart. At the eyepiece you do not want to discover you planned a route with a star that is too faint for your sky.
Step 2: Find the bright anchor star with your naked eye. The anchor must be bright enough to see without optics. For Andromeda, that is Alpheratz in the Great Square of Pegasus. For Orion’s Nebula, that is Orion’s belt. If you cannot see the anchor, the night is not right for that target.
Step 3: Center the anchor in your finder scope. Move the telescope by hand until the crosshair sits on the anchor. Confirm the anchor is also centered in the main eyepiece with your lowest-power, widest-field eyepiece. This is your final alignment confirmation.
Step 4: Match the eyepiece view to the chart. Rotate the chart until it matches the orientation in your finder. Most finders show a mirror-reversed view, so a RACI finder (or simply turning the chart upside down) is a huge help here. Identify the same star pattern in your eyepiece that you see on the chart.
Step 5: Hop to the next star along your chart path. Move the telescope in the direction the chart says to go, stopping just before the next landmark star. Center it. Confirm you are on the right star by comparing magnitudes and positions with the chart.
Step 6: Repeat in small, overlapping hops. Each hop should be less than one eyepiece field wide. If the next star is dim, sweep the area with the finder before assuming you missed. Count your fields. After three or four hops you should be very close to the target.
Step 7: Look for the target in the eyepiece. Switch to your lowest-power eyepiece for the widest view. Galaxies and nebulae often appear as faint smudges at first. Use averted vision (look slightly to the side of the target) to see them better. If you still do not see it, slowly sweep a small area, since your hop path estimate may have been slightly off.
Step 8: Mark your success and move on. When you land on the target, take a breath. Note the stars around it on your chart so you can return next time. Plan your next hop while the eyepiece is still warm, then move on.
Worked Example: Hopping from Alpheratz to the Andromeda Galaxy
Nothing teaches faster than a concrete example. Let me walk you through the real hop I use to find M31, the Andromeda Galaxy, on any clear autumn or winter night in the northern hemisphere.
Step 1: Find Alpheratz. Look for the Great Square of Pegasus high in the eastern sky. The top-left star of the Square is Alpheratz, magnitude 2.06, bright enough to find easily even from suburban skies. Center Alpheratz in your finder.
Step 2: First hop northeast to Mirach. From Alpheratz, move the telescope about 7 degrees northeast (upper left in the sky). You will land on Mirach, magnitude 2.05, in the constellation Andromeda. Confirm by checking the star pattern on your chart.
Step 3: Second hop northwest to Mu Andromedae. From Mirach, move about 3 degrees up and slightly to the left. You will find Mu Andromedae, a fainter star around magnitude 3.9. With Mirach and Mu in view, you can see two stars off to the upper right leading toward M31.
Step 4: Third hop to NGC 205 and M31. Continue about 1 degree past Mu Andromedae along the same line. In your lowest-power eyepiece you should now see two faint fuzzy patches: M31 (the larger galaxy) and its companion NGC 205. Both galaxies span several degrees and overflow most eyepieces. You have arrived.
The entire hop takes less than five minutes once you have practiced it twice. The same chain works regardless of which telescope you use, because the angular distances are properties of the sky, not your gear.
Common Star Hopping Mistakes and How to Avoid Them
Every beginner makes the same handful of mistakes. Knowing them in advance saves you hours of cold nights staring at empty fields.
Mistake 1: Jumping too far between stars. The classic beginner error is moving the telescope a full degree or more between hops based on the chart, then wondering why the target star is missing. Fix: make every hop smaller than one eyepiece field of view, then sweep a small area to confirm.
Mistake 2: Trusting a mirror-reversed view without rotating the chart. A standard finder flips left and right. Beginners move the telescope in one direction while the chart shows the star in another, and end up in the wrong part of the sky. Fix: turn your RACI finder on, or physically rotate the paper chart until the star patterns match.
Mistake 3: Skipping finder alignment. A misaligned finder means every hop lands off-target, and you will blame the technique instead of the tool. Fix: align the finder at the start of every session, and recheck after long slews or transport.
Mistake 4: Trying to find ten targets in one night. Most observers new to hopping plan a five-object marathon, then get lost on the second one and never find any. Fix: pick one easy target per session, find it, enjoy it, then attempt one more if there is time.
Mistake 5: Forgetting averted vision. Faint galaxies and nebulae often sit at the edge of visibility through a telescope. Looking directly at them puts their light on the less sensitive part of your retina. Looking slightly to the side lets the more sensitive rod cells pick them up. Fix: when you reach the target, look just past it and let the glow drift into view.
Mistake 6: Wiping out your dark adaptation. Checking your phone for the chart, looking at a white flashlight, or glancing at a neighbor’s porch light sets your night vision back 20 minutes. Fix: red light only, phone screen dimmed and covered with red film, and never look at the chart itself, only the dim red reflection.
Mistake 7: Hopping under bright urban skies. Star hopping requires guide stars visible in your finder. From a downtown balcony you may not see any stars dimmer than magnitude 3. Fix: pick targets whose anchor stars are brighter than 2nd magnitude, or drive to a darker site for the faint galaxies.
Best Beginner Deep Sky Targets to Star Hop First
Some deep sky objects are dramatically easier to find than others. The list below ranks the beginner-friendly Messier objects by how simple the hop is and how forgiving they are of finder misalignment. I start every new observer on these.
M45, the Pleiades. A naked-eye cluster in Taurus. No hop needed at all in binoculars, but you can practice by centering Alcyone in your finder and switching to the main scope. Bright, beautiful, and instantly visible.
M42, the Orion Nebula. Use Orion’s belt as your anchor. Move three finger-widths down from the belt and you land on the nebula. Even a small telescope shows the Trapezium stars at its core.
M31, the Andromeda Galaxy. Already covered in detail above. The Alpheratz to Mirach to M31 hop is the canonical first serious star hop for any new observer in the northern hemisphere.
M13, the Hercules Globular Cluster. Find the keystone asterism of Hercules. One third of the way down the western edge of the keystone you find M13, a dense ball of several hundred thousand stars.
M22, the Sagittarius Cluster. Visible from summer northern latitudes. Look for the lid of the Sagittarius teapot. M22 sits just north of the lid and looks like a fuzzy star in binoculars.
M44, the Beehive Cluster. Sit between the stars Pollux and Regulus. In dark skies it is naked-eye visible and a perfect binocular target. Use it to test your finder alignment before tackling fainter objects.
Once you can find five of these in one night, you have officially graduated beyond beginner. From there, the rest of the Messier catalog opens up one hop at a time.
Frequently Asked Questions About Star Hopping
What is star hopping in astronomy?
Star hopping is a manual telescope navigation technique where you start at a bright naked-eye star and move your telescope in small, overlapping hops along recognizable star patterns until the target deep sky object enters your eyepiece. It requires only a finder scope, a star chart, and dark-adapted eyes.
Do I need a telescope to star hop?
No telescope is strictly required to learn star hopping. You can practice the technique with binoculars, or even with your naked eye by tracing the paths between bright stars with a laser pointer or your finger. A telescope simply lets you see the faint targets at the end of your hop.
How long does it take to learn star hopping?
Most beginners can find their first easy target within one 30-minute session, and become comfortable hopping to Messier objects after three to five nights of practice. Full fluency, where you can find NGC objects or hunt down faint galaxies unaided, usually develops over a season of regular observing.
What finder is best for star hopping?
A Telrad or Rigel reflex sight works best for beginners because it overlays a glowing reticle directly on the real sky with no magnification. A 9×50 right-angle correct-image finder scope is the next best option, since it shows a wider sky area and gives a correct, non-mirrored view that matches printed star charts.
Start Star Hopping Tonight
Star hopping to find deep sky objects without a GoTo mount is the single most rewarding skill in amateur astronomy. Once you learn it, the sky stops being a list of catalog numbers and starts being a place you can read like a map. Pick one of the beginner targets above, align your finder, follow the hop path I described, and you will see a galaxy several million light years away using nothing but your hands, your eyes, and a star chart.
That moment, the first time you spot M31 from Mirach and two faint hops north, is what turns a telescope into a real observing instrument. Go find it tonight.