
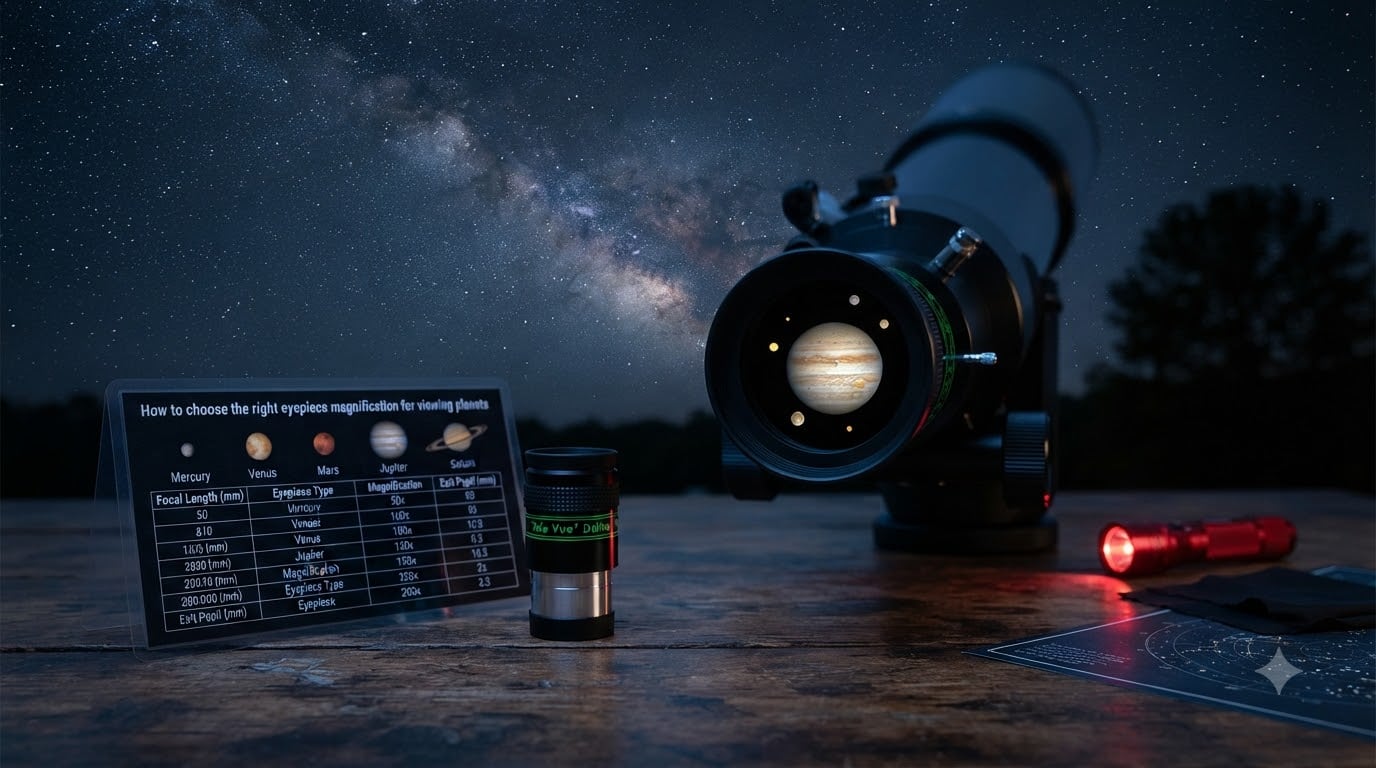
Choosing the right eyepiece magnification for viewing planets comes down to one simple formula: divide your telescope’s focal length by the eyepiece’s focal length. That gives you the magnification. A 1,000mm telescope paired with a 10mm eyepiece produces 100X, which is a solid starting point for planetary detail. From there, atmospheric seeing conditions and your telescope’s aperture decide how much more power is actually useful.
I’ve spent dozens of nights at the eyepiece chasing Jupiter’s cloud bands and Saturn’s rings, and I can tell you from experience that more magnification is not always better. The trick is matching your eyepiece focal length to your telescope, your target, and the night’s seeing. This guide walks through the math, the limits, and the practical decisions that turn a fuzzy blob into a planet with real surface detail.
Table of Contents
How Telescope Magnification Works: The Core Formula
Telescope magnification is calculated by dividing the telescope’s focal length by the eyepiece’s focal length. Both values are measured in millimeters, and the result tells you how many times larger the object will appear compared to the naked eye.
Magnification = Telescope Focal Length (mm) / Eyepiece Focal Length (mm)
For example, my 8-inch Schmidt-Cassegrain has a focal length of 2,032mm. When I drop in a 10mm eyepiece, I get 203X. A 25mm eyepiece in the same scope drops me to 81X. Same telescope, very different views.
The telescope’s focal length is fixed. You cannot change it without swapping optics. The eyepiece is the variable, which is why eyepiece selection is so important. Shorter focal length eyepieces deliver higher magnification. Longer focal length eyepieces deliver lower magnification and a wider field of view.
Most planetary observers own three or four eyepieces spanning different focal lengths. That way they can step magnification up or down depending on the night and the target.
Maximum Useful Magnification: Where to Stop Pushing Power
Maximum useful magnification is the highest power a telescope can deliver before the image starts breaking down. Push beyond it and you get a larger but blurrier view with no extra detail. The standard rule is 50X per inch of aperture, or roughly 2X the aperture in millimeters.
For a 4-inch telescope, the maximum useful magnification is around 200X. For an 8-inch, it climbs to about 400X. For a 12-inch, you can theoretically reach 600X. In practice, atmospheric seeing rarely lets you reach even half those numbers.
Two common formulas show up across amateur astronomy guides:
50X per inch of aperture: A 6-inch scope tops out near 300X.
Aperture in mm times 2: A 150mm scope reaches about 300X.
These two rules give similar answers. I use the 50X rule because I think in inches for telescope sizes. Whichever you prefer, the message is the same. There is a ceiling, and exceeding it gives you empty magnification.
Empty magnification is when the image gets bigger but no new detail shows up. The planet looks larger, but the cloud bands on Jupiter stay just as fuzzy. Worse, the image dims because the same light is spread over a larger area.
Eyepiece Focal Length Categories for Planetary Viewing
Eyepieces for planetary work fall into a few standard focal length ranges. Knowing what each range does helps you build a small set that covers most situations.
2-4mm (Ultra-high power): 250X and up on most amateur scopes. Reserved for nights of exceptional seeing and large apertures. Most nights these sit in the case.
5-10mm (High power): 100X to 250X on typical 8-inch scopes. This is where most planetary detail work happens. Jupiter’s belts, Saturn’s Cassini Division, and Mars’s polar caps all live in this range.
10-20mm (Medium power): 50X to 100X. Good for finding planets, framing the Moon, and getting a sharp full-disc view before pushing higher.
20mm+ (Low power): Below 50X. Not for planets. Wide field of view targets like star clusters and nebulae.
For planetary viewing, the 5-10mm range is your workhorse. Within that range, a 6mm or 7mm eyepiece often hits the sweet spot for an 8-inch scope on a steady night.
Planet-Specific Magnification Recommendations
Different planets respond better to different magnification ranges. Smaller planets like Mars need more power to show surface detail. Larger planets like Jupiter show structure at moderate magnification. Here is what I have found works well across a typical 8-inch telescope.
Jupiter at 100X to 200X
Jupiter is large and bright. Around 100X you can clearly see the two main equatorial cloud belts. Push to 150X-200X and the smaller belts start resolving, plus you have a real shot at the Great Red Spot if it is on the right side of the disk. Going past 250X rarely helps because Jupiter’s disc is large enough that extra power just magnifies blur.
Saturn at 150X to 250X
Saturn’s rings need about 150X to clearly separate from the planet’s disc. The Cassini Division becomes visible around 200X on a steady night. I have caught glimpses of it at 150X, but it really pops at 200X-250X with good optics. Pushing past 300X usually does not add detail on a typical amateur scope.
Mars During Opposition
Mars is small. During a favorable opposition, you can resolve surface markings and the polar ice caps at 200X-300X. During a poor apparition, even 150X might be the practical ceiling. Mars rewards aperture, so larger scopes get more out of high magnification here.
Venus and Mercury Phases
Venus and Mercury show phase changes much like the Moon. Around 50X to 100X is plenty to see Venus as a clear crescent. Mercury is harder because it never strays far from the Sun, but 75X to 150X reveals its phases during elongation.
How Atmospheric Seeing Affects Usable Magnification
Atmospheric seeing refers to the stability of the air between your telescope and the target. Turbulence in the atmosphere blurs fine detail, and the higher you push magnification, the more obvious that blur becomes. On nights of poor seeing, even a 12-inch telescope can be limited to 100X. On nights of excellent seeing, a 4-inch can hold 200X cleanly.
The Pickering Scale rates seeing from 1 to 10. A 5 is average, where you might catch occasional steady moments. A 7 or 8 is excellent, where fine planetary detail holds steady at high power. A 3 or below is poor, where planets look like they are boiling.
To test current seeing, I defocus a bright star slightly and watch how the diffraction rings behave. If the rings are wobbly and broken up, the seeing is poor. If they sit still and crisp, I push magnification up. This trick takes about 30 seconds and saves a lot of frustration.
Many nights, seeing is the limiting factor, not the telescope. Buying a more expensive eyepiece will not fix bad seeing. Time of night matters too. Planets are usually sharpest when they are high in the sky and the air column above you is thinnest.
Exit Pupil, Field of View, and Other Specs That Matter
Exit pupil is the diameter of the light beam coming out of the eyepiece. You calculate it by dividing the eyepiece focal length by the telescope’s focal ratio (f/number).
Exit Pupil = Eyepiece Focal Length / Focal Ratio
For example, a 10mm eyepiece in an f/10 telescope gives a 1mm exit pupil. A 1mm exit pupil is ideal for planetary work because it matches the resolution the eye can handle at night. Exit pupils above 5mm waste light because the dark-adapted eye cannot open that wide.
For planets, an exit pupil between 0.5mm and 2mm is the sweet spot. Below 0.5mm, the image gets dim and the eye’s floaters start interfering. Above 2mm, you are using magnification that does not show fine detail on most nights.
True field of view is what you actually see in the sky. Apparent field of view is built into the eyepiece design. Most planetary eyepieces have apparent fields between 50 and 82 degrees. A wider apparent field makes tracking easier at high power but does not directly affect detail.
Eye relief matters if you wear glasses. Long eye relief above 15mm lets you keep your glasses on and still see the full field. Short eye relief under 10mm requires pressing your eye close to the lens.
How a Barlow Lens Doubles Your Magnification Options
A Barlow lens is a magnifying accessory that goes between the telescope and the eyepiece. A 2X Barlow doubles the effective magnification of any eyepiece. A 1.5X Barlow adds 50 percent. A 3X Barlow triples it.
For example, a 10mm eyepiece alone gives 100X in a 1,000mm telescope. Add a 2X Barlow and you get 200X with the same eyepiece. This lets you effectively own a 5mm eyepiece without buying one, which is why Barlow lenses are popular for planetary viewing on a budget.
Quality matters with Barlows. Cheap Barlows introduce distortion and color fringing. A good 2X Barlow paired with a decent 10mm eyepiece often outperforms a cheap dedicated 5mm eyepiece. I usually recommend starting with a quality 2X Barlow before chasing ultra-short focal length eyepieces.
Practical Steps to Choose Your First Planetary Eyepiece
Putting all of this together, here is the step-by-step process I walk new observers through.
Step 1: Find Your Telescope’s Specs
Look up the focal length and aperture. Both are printed on the telescope, in the manual, or on the manufacturer’s website. You need both numbers to calculate magnification and maximum useful power.
Step 2: Calculate Your Magnification Range
Take your focal length and divide by eyepiece focal lengths of 25mm, 15mm, 10mm, and 6mm. Write those numbers down. For an 8-inch f/6 scope with a 1,200mm focal length, you get 48X, 80X, 120X, and 200X.
Step 3: Check Tonight’s Seeing
Before selecting an eyepiece, defocus a bright star and rate the seeing. Average seeing means sticking to 120X or below. Good seeing means 200X will work. Poor seeing means staying at 80X or less, no matter what eyepiece you own.
Step 4: Start at Medium Power, Then Step Up
Always center the planet at medium power first. It is easier to find and track. Then switch to higher power once it is centered. Going straight to high power means the planet drifts out of view quickly and you spend more time hunting than observing.
Step 5: Match Magnification to the Target
Use 80X to 120X for Jupiter’s main belts and Saturn finder views. Use 150X to 250X for Saturn’s rings, Jupiter’s finer detail, and Mars at opposition. Save ultra-high power above 250X for nights of exceptional seeing on steady targets.
Frequently Asked Questions
What is a good magnification for a telescope to see planets?
A good starting magnification for viewing planets is around 100X to 150X for most amateur telescopes. This range shows Jupiter’s main cloud belts, Saturn’s rings, and lunar craters clearly. Maximum useful magnification depends on your telescope’s aperture and atmospheric seeing, typically capped at 50X per inch of aperture.
Which eyepiece is best for viewing planets?
For planetary viewing, eyepieces with focal lengths between 5mm and 10mm work best on most amateur telescopes. These produce magnifications in the 100X to 250X range, which is where planetary detail becomes visible. A quality 2X Barlow lens paired with a 10mm eyepiece offers flexible magnification options.
Can I see Jupiter with a 4mm eyepiece?
Yes, you can see Jupiter with a 4mm eyepiece, but it depends on your telescope’s focal length and atmospheric conditions. A 4mm eyepiece in a 1,000mm telescope gives 250X magnification, which is useful on steady nights. On nights with poor seeing, the same 4mm eyepiece will produce a blurry image, and a 6mm or 8mm eyepiece will look better.
What is the best magnification to see Saturn’s rings?
Saturn’s rings are clearly visible starting at around 100X magnification. The Cassini Division within the rings becomes apparent at 150X to 200X on steady nights. Most observers find 200X to 250X is the practical upper limit for showing Saturn’s rings before atmospheric blur takes over.
Final Thoughts on Eyepiece Magnification for Planets
Choosing the right eyepiece magnification for viewing planets starts with the formula, gets capped by your telescope’s aperture, and ends with what the atmosphere will allow. Start at 100X for general planetary viewing, push to 150X-200X when seeing is steady, and keep a quality Barlow lens in your kit to extend your options without doubling your eyepiece collection. Match magnification to the target, and remember that a sharp view at 150X will always beat a blurry view at 300X.