
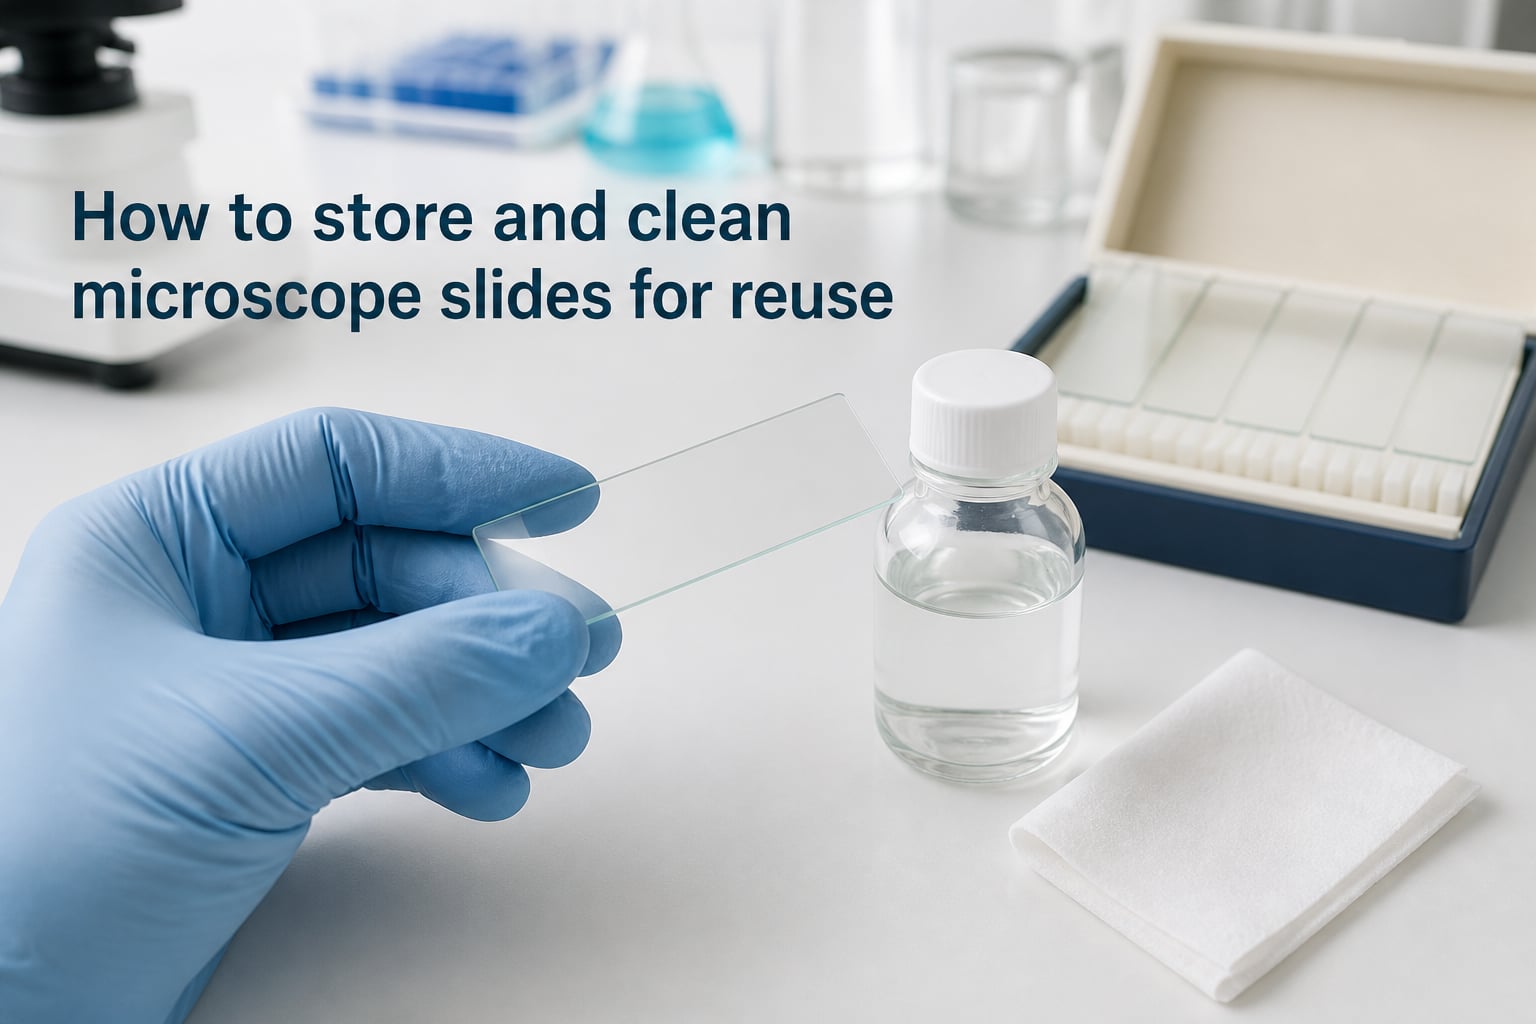
I’ve been reusing microscope slides in my home lab for over six years, and I can tell you the single biggest mistake beginners make is throwing usable slides in the trash. With the right protocol, you can clean and reuse standard glass slides dozens of times before they need replacing. This guide covers exactly how to store and clean microscope slides for reuse at home, in the classroom, or in a professional lab, including three cleaning intensity levels, drying procedures, and storage methods that actually work.
Table of Contents
Why Cleaning and Storing Microscope Slides for Reuse Matters?
Reusing microscope slides saves real money. A box of 72 premium slides can cost more than a decent lunch, and hobbyists go through dozens each month. Beyond cost, proper cleaning prevents cross-contamination between samples, which is critical when working with biological specimens or stained preparations.
I learned this the hard way when onion peel cells from one sample showed up as “contamination” in my pond water mount the next day. After switching to a strict cleaning protocol, my false-positive rate dropped to nearly zero. Reusing slides also reduces waste, which matters for anyone running a classroom lab on a tight budget.
Stored slides that aren’t cleaned properly develop dust films, fingerprints, and stuck-on mounting media that ruin image clarity. The fix takes ten minutes per batch once you know the steps.
What You Need: Materials and Labware Checklist
Before you start washing slides, gather everything. Running mid-protocol to find a missing item is how slides get dropped and broken.
For basic cleaning at home, you need:
Distilled water (never tap water; minerals leave residue)
Mild dish soap or laboratory detergent
90 percent ethanol or isopropyl alcohol
Lint-free wipes or clean room wipes
A glass beaker or slide-staining dish
Plastic slide rack or paper towel for drying
Cotton or nitrile gloves
For medium cleaning, add acetone and acetic acid to the list. Acetone cuts through stubborn mounting media, while acetic acid helps dissolve certain stains.
For strong cleaning (lab-grade only), you’ll need a sulfochromic mixture made from potassium dichromate and sulfuric acid. I’ll cover when this is worth using and how to handle it safely later in this guide.
How to Clean Microscope Slides for Reuse: Step-by-Step Protocol
This is the core process I use for the dozens of slides I clean each month. The mild protocol handles about 80 percent of slides that come out of my home lab.
Sort slides by contamination level. Put dusty slides in one pile, oily or stained slides in another.
Pre-rinse with warm tap water to remove loose debris. Use your fingers (gloved) to gently scrub stuck-on material.
Wash each slide individually with a drop of dish soap and your thumb. Both sides need attention.
Rinse thoroughly with distilled water. Tap water leaves mineral spots that show up under the microscope.
Spray or drip 90 percent ethanol across both surfaces to displace water and remove remaining oils.
Dry immediately with a lint-free wipe. Don’t let slides air dry; water spots will form.
Inspect each slide under bright light. Any visible streak, fingerprint, or residue means repeat the wash.
Move clean slides to a covered slide box or dust-free container.
One Reddit user summed up the protocol neatly: “Wash under hot water and use fingers to remove stuck-on debris. Rinse with 90 percent alcohol. Immediately dry with a lint free tech wipe.” That matches my own workflow almost exactly.
Three Cleaning Methods Compared: Mild, Medium, and Strong Treatment
Different contamination levels need different approaches. Picking the wrong one wastes time or, worse, damages slides.
Mild treatment (home use)
This is dish soap, distilled water, and ethanol. It handles dust, light fingerprints, and water-soluble mounting media. Total time per slide is about two minutes. It’s safe for beginners and produces clean, reusable slides for routine work.
Medium treatment (intermediate)
When slides have residual mounting medium like glycerol or Canada balsam, add an acetone soak. Dip the slides in pure acetone for 15 minutes, then follow the mild protocol. Acetone dissolves many resins that soap alone can’t touch.
Mix ethanol and acetone in equal parts for slides with mixed contamination. The combination works faster than either solvent alone.
Strong treatment (lab only)
Strong treatment uses sulfochromic mixture, a powerful oxidizing solution. It removes organic residues that survive acetone and ethanol. I only reach for this when slides have heavy staining that’s resisted two cleaning attempts.
Soak slides for at least two hours, often overnight. Then rinse with abundant distilled water, then a neutralizing rinse with dilute sodium bicarbonate, then more distilled water. Wear gloves, goggles, and work in a fume hood.
Strong treatment leaves slides chemically pristine but introduces safety and disposal complications that most home users should avoid.
Drying Procedures That Prevent Water Spots and Contamination
Drying is where most people fail. Air drying looks easy but leaves mineral traces from any residual dissolved solids on the glass surface.
My drying workflow uses three stations. First, a distilled water rinse. Second, an alcohol dip or spray to displace water. Third, a lint-free wipe pass while the slide is still wet.
The alcohol step is non-negotiable. Ethanol and isopropyl alcohol both have low surface tension and evaporate quickly without leaving residue. They also kill most surface bacteria and help remove any final oily film.
If you’re processing a large batch, a slide dryer or low-temperature drying oven works well. Aim for 40 to 60 degrees Celsius. Higher temperatures can crack slides if they’ve cooled unevenly.
How to Store Microscope Slides Properly After Cleaning
Clean slides are useless if they get dusty, scratched, or sticky before you use them. Storage matters as much as cleaning.
Slide boxes are the standard solution. They hold 25 or 100 slides in upright slots, keep them dry, and stack for compact storage. Foam-lined boxes add cushioning, which matters if you transport slides between locations.
For long-term storage, here’s what works in my experience:
Keep slides in a dry environment below 50 percent humidity to prevent sticking.
Avoid direct sunlight, which can warp plastic slide boxes over time.
Label boxes with the cleaning date and the highest contamination level processed.
Store slides vertically, not flat, so dust falls off rather than settling.
Add a silica gel packet to the storage box for extra moisture control.
One hobbyist shared that they collect cleaned slides in a dedicated bucket, wash them only when the bucket fills up, then re-store. Batch processing like this makes the workflow efficient.
When to Replace Slides Instead of Reusing Them
Not every slide deserves a second life. Slides with deep scratches, chips on the working surface, or stubborn stains that survived strong treatment should go in the disposal bin.
Cover slips break faster than slides. Experienced microscopists report that covers start to crack around the edges and scratch more easily after two or three cleanings. Treat covers as semi-disposable; treat slides as long-term.
I do one simple test before reusing any slide. Hold it at an angle under a bright lamp. If I see rainbow streaks, scratches, or any visible etching, it goes into the disposal pile. Most slides last 20 to 50 cleanings if handled gently.
Safety Considerations and Chemical Handling
Acetone, ethanol, and especially sulfochromic mixture all demand respect. Gloves and eye protection are the bare minimum.
Work in a ventilated space for any solvent. A fume hood is required for sulfochromic mixture, which releases chromium vapors that damage lungs and tissue.
Never mix acetone with bleach or strong oxidizers. The reaction produces toxic gases. Keep solvents in clearly labeled containers away from heat sources; acetone is flammable at room temperature.
If you spill sulfochromic mixture on skin, rinse immediately with running water for 15 minutes and seek medical advice. That mixture is designed to dissolve organic material, which includes skin.
Disposing of Contaminated Microscope Slides Safely
This is the gap I see in most guides. Slides that held biological samples, blood, or chemical stains need thoughtful disposal.
Sharps containers are the right destination for any slide that touched bodily fluids or pathogens. Most labs have a designated sharps bin; home users can use a heavy-duty plastic laundry bottle labeled “Sharps – Do Not Recycle.”
Slides with only dust, water samples, or non-infectious material can go in regular trash if wrapped in paper to prevent injury to waste handlers. Never recycle glass slides; recycling streams don’t handle specialty glass well and may contaminate other batches.
Chemical disposal follows the contamination source. Slides soaked in solvents need hazardous waste pickup, not the drain. Your local municipality or waste disposal service can guide specifics.
Common Mistakes to Avoid When Reusing Slides
I’ve made most of these. Here are the errors that cost the most time and slides.
Using tap water instead of distilled is the biggest one. Mineral deposits ruin image clarity and only show up once you’re already at the microscope.
Letting slides air dry is the second biggest. Always wipe with lint-free material while wet, or use an alcohol final rinse followed by forced air drying.
Skipping the inspection step. A naked-eye check catches problems before you spend time on a flawed slide.
Mixing cover slips with slides during cleaning. Covers are thinner and more fragile; they deserve their own gentler handling.
Frequently Asked Questions
How do you clean microscope slides for reuse?
Rinse slides with warm water to remove loose debris, wash each one with mild dish soap and your thumb, rinse with distilled water, then spray with 90 percent ethanol and dry immediately with a lint-free wipe. Inspect under bright light and rewash if any streaks remain.
Can you reuse microscope slides?
Yes, standard glass microscope slides can be reused 20 to 50 times with proper cleaning. Cover slips are more fragile and typically last only two to three cleanings before cracking or scratching.
How do you store microscope slides long term?
Store cleaned slides vertically in a closed slide box in a dry location below 50 percent humidity. Add a silica gel packet for moisture control, label the box with the cleaning date, and keep it out of direct sunlight.
What solution cleans microscope slides best?
For routine cleaning, 90 percent ethanol or isopropyl alcohol on a lint-free wipe is most effective. For heavy residues, soak slides in pure acetone for 15 minutes first. Sulfochromic mixture handles stubborn organic contamination but requires lab safety equipment.
Final Thoughts on How to Store and Clean Microscope Slides for Reuse
A reliable cleaning and storage routine turns slides from a recurring expense into a sustainable resource. Start with the mild protocol, batch process slides weekly, and store them in labeled boxes with silica packets. You’ll spend less, generate less waste, and get clearer images because every slide is genuinely clean.
When you know how to store and clean microscope slides for reuse, the workflow becomes muscle memory in about a month. After six years in my own lab, I’m still using slides I bought once, and most of them look nearly new under the lamp.