
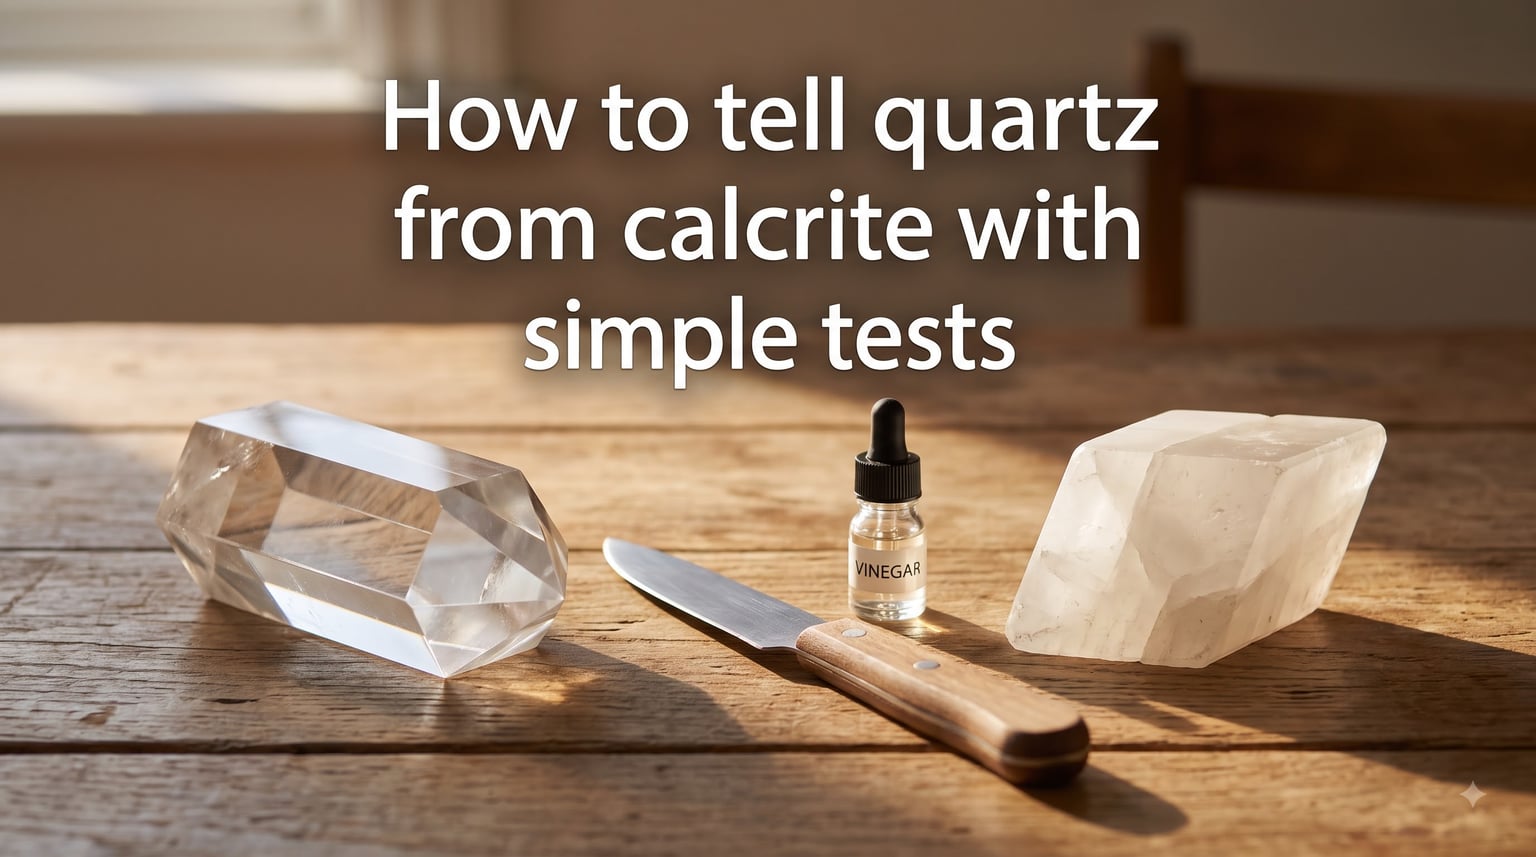
You have a crystal in your hand. It is clear, light catches its faces, and you cannot tell if it is quartz or calcite. You are not alone. This is one of the most common identification challenges for beginner rock collectors, and it trips up experienced rockhounds too when specimens are unusual.
The good news is that you do not need a laboratory to tell them apart. Learning how to tell quartz from calcite comes down to five simple tests using everyday items like a steel knife, household vinegar, and your own eyes. Each test takes seconds and narrows down the answer fast.
Our team has spent years in the field testing these methods on hundreds of specimens. We will walk you through every test step by step, explain exactly why each one works, and share the common mistakes that lead to misidentification. By the end of this guide, you will be able to confidently identify almost any quartz or calcite specimen you find.
Table of Contents
Why Quartz and Calcite Look So Similar?
Quartz and calcite are two of the most abundant minerals on Earth, and they often form in the same geological environments. Both can appear as transparent to translucent crystals. Both range from colorless to white, and both can show up in shades of pink, gray, yellow, and brown depending on trace impurities.
This visual overlap is exactly why so many people get confused. A clear calcite crystal can look remarkably like a small quartz point. A piece of massive white quartz can resemble blocky calcite. Even experienced collectors sometimes need to run a quick test before committing to an identification.
The root difference lies in their chemistry. Quartz is silicon dioxide (SiO2), a silicate mineral with a tightly bonded atomic structure. Calcite is calcium carbonate (CaCO3), a carbonate mineral with weaker bonds. That single difference in chemistry drives every test we will cover below.
How to Tell Quartz from Calcite: The Five Key Tests
The fastest approach is to combine two or three tests rather than relying on just one. Here are the five methods we recommend, ordered from easiest and most accessible to slightly more advanced:
Hardness test using a steel knife or glass
Acid fizz test using household vinegar
Cleavage vs fracture observation
Double refraction visual test
Crystal shape and habit identification
If you only try one test, make it the hardness test. If you can do two, add the vinegar acid test. Together, these two methods will give you a definitive answer in nearly every case.
Test 1: The Hardness Test (Mohs Scale)
The hardness test is the single most reliable way to distinguish quartz from calcite. Quartz ranks at 7 on the Mohs hardness scale, while calcite sits at just 3. That gap is enormous. It means quartz can scratch calcite, steel, and glass, but calcite cannot scratch any of those materials.
The Mohs scale ranks minerals from 1 (talc, the softest) to 10 (diamond, the hardest). Each number represents a mineral that can scratch anything below it. A steel knife blade typically sits around 5 to 5.5 on the scale, and ordinary glass is about 5.5. Since quartz is a 7, it will scratch both. Calcite at 3 will scratch neither.
Here is how to perform the hardness test step by step:
Find a steel knife, a steel nail, or a piece of glass (like an old jar).
Press the tip firmly against an inconspicuous part of your specimen.
Try to scratch the mineral. Use moderate pressure and drag the point across the surface.
Wipe away any dust and look closely. Use a magnifying glass if you have one.
If the steel left a visible groove in the mineral, you have calcite. Steel easily scratches a hardness 3 mineral. If the steel skids off without leaving a mark, you have quartz. The steel cannot touch a hardness 7 surface.
For extra confirmation, flip the test around. Press your specimen against a piece of glass and try to scratch the glass. Quartz will leave a clear scratch line on the glass. Calcite will not.
Why does this work? Quartz’s silicon-oxygen bonds form a rigid three-dimensional framework that resists scratching. Calcite’s ionic bonds between calcium and carbonate ions are weaker and break apart more easily under pressure.
One tip from field experience: always test on a fresh surface. Weathered or altered surfaces can be softer than the mineral underneath, giving you a false result. Look for a clean break face if possible.
Test 2: The Acid Fizz Test (Vinegar Method)
The acid fizz test is definitive because it targets calcite’s chemistry directly. Calcite is calcium carbonate, and carbonates react with acid to release carbon dioxide gas. That reaction produces visible bubbles, called effervescence. Quartz is a silicate, so it has zero reaction to weak acids.
You do not need dangerous laboratory chemicals for this test. Ordinary white household vinegar, which is about 5% acetic acid, works perfectly. Some collectors also use a few drops of diluted hydrochloric acid (HCl) for a faster, more dramatic reaction, but vinegar is safer and widely available.
Here is the step-by-step vinegar test:
Place your specimen on a flat, non-reactive surface like a paper plate or paper towel.
Use an eyedropper or a straw to place a single drop of vinegar on the specimen.
Watch the drop closely for 5 to 10 seconds.
Look for tiny bubbles forming at the surface of the drop.
If you see active fizzing and bubbling, your specimen is calcite. The acid is dissolving calcium carbonate and releasing carbon dioxide. If nothing happens and the drop just sits there, you have quartz.
The reaction is strongest on fresh, powdered surfaces. If your specimen has a weathered coating, try scraping a small amount of powder off the surface first and apply the vinegar to the powder. This gives a more reliable result on specimens that have been exposed to the elements.
A quick safety note: even though vinegar is a weak acid, avoid getting it in your eyes. Wash your hands after testing. If you use stronger HCl, wear safety glasses and work in a ventilated area. Never use strong acids on specimens you want to keep in pristine condition, as the acid can etch the surface.
Test 3: Cleavage vs Fracture Patterns
Cleavage and fracture describe how a mineral breaks, and the difference between quartz and calcite here is striking. This test works best if your specimen already has broken edges, since you should not intentionally smash a nice crystal just to check.
Calcite has perfect rhombohedral cleavage. That means it always breaks along flat, smooth planes at specific angles, producing shapes that look like slanted boxes or rhombuses. No matter how calcite breaks, those flat cleavage surfaces appear. If you see smooth, reflective flat faces on broken edges, think calcite.
Quartz has no cleavage at all. Instead, it fractures in a pattern called conchoidal fracture. This produces curved, shell-like breakage surfaces, similar to how thick glass breaks. Think of the rippled, curved surfaces on a piece of broken glass or obsidian. That is exactly what quartz fracture looks like.
To test this, examine the broken edges of your specimen under good lighting:
Flat, smooth, angular surfaces point to calcite cleavage.
Curved, uneven, glass-like surfaces point to quartz fracture.
Sharp, clean edges meeting at consistent angles are classic calcite.
Irregular, wavy edges with no flat planes are classic quartz.
This test takes practice. Beginners sometimes confuse a crystal face (a natural growth surface) with a cleavage plane (a breakage surface). Crystal faces often have growth lines or striations on them, while cleavage planes are perfectly smooth. Once you train your eye to spot the difference, cleavage becomes one of the most useful identification tools.
Test 4: Double Refraction Test
This is the most visually striking test, and surprisingly few identification guides cover it well. Calcite is famous among geologists for a property called double refraction. Light passing through calcite splits into two rays, so you see a doubled image through the crystal.
The clearest example is a variety called Iceland Spar, which is transparent calcite. If you place a piece of Iceland Spar over a line of text on paper, you see the text doubled. Each letter appears as two overlapping images. Shift the crystal and the doubled images move.
Quartz does not show this effect. Even in the clearest quartz crystal, text viewed through it appears single, not doubled. This makes double refraction a clean, unambiguous test when you have a transparent or translucent specimen.
Here is how to try it:
Draw a single dot or a short line on a piece of white paper with a dark pen.
Place your transparent or translucent specimen directly over the mark.
Look straight down through the crystal at the mark on the paper.
Check whether you see one mark or two overlapping marks.
Two marks means calcite. One mark means quartz. The effect is strongest in clear, thick pieces. Thin or cloudy specimens may not show it as dramatically, so this test works best alongside the hardness or acid test rather than as a standalone method.
Many Reddit users in the r/whatsthisrock community mention double refraction as a neat trick but admit they rarely use it in the field. We include it here because it is a genuinely fun demonstration, and for clear specimens it delivers an instant, satisfying answer.
Test 5: Crystal Shape and Habit
If your specimen still has its natural crystal form, shape alone can tell you a lot. Quartz and calcite grow in distinctly different crystal habits that reflect their internal atomic structures.
Quartz crystals grow in the hexagonal crystal system. They typically form six-sided prisms with a pyramid-shaped point at each end. Think of the classic crystal shape you see in jewelry stores and crystal shops. That six-sided column with a pointed tip is textbook quartz. The prism faces often show horizontal striations, which are fine parallel grooves running across the faces.
Calcite grows in the trigonal crystal system and takes a wider variety of shapes. The most common habits include:
Rhombohedrons: slanted, box-like crystals with faces meeting at angles that are not 90 degrees
Scalenohedrons (dogtooth spar): sharp, pointed crystals that look like dog teeth or nail heads
Flattened tabular crystals: thin, plate-like forms
Massive/granular: no visible crystal shape at all, just a solid mass
Calcite almost never forms the six-sided prismatic columns with pointed tips that quartz does. If you see that shape, you are almost certainly holding quartz. If you see slanted box shapes or nail-like points, calcite is the likely candidate.
Color can hint at identity but should never be your primary clue. Both minerals come in nearly every color. Rose quartz and pink calcite look similar. Smoky quartz and brown calcite can be indistinguishable by color alone. Always confirm with a physical test.
Quick Comparison: Quartz vs Calcite at a Glance
Here is a side-by-side summary of every property we covered. Use this as a quick reference when you are in the field or examining a specimen.
| Property | Quartz | Calcite |
|---|---|---|
| Chemical formula | SiO2 (silicon dioxide) | CaCO3 (calcium carbonate) |
| Mohs hardness | 7 | 3 |
| Scratched by steel knife? | No | Yes |
| Scratches glass? | Yes | No |
| Reaction to vinegar/acid | None | Fizzes and bubbles |
| Breakage pattern | Conchoidal fracture (curved, glass-like) | Rhombohedral cleavage (flat, angular planes) |
| Double refraction | No | Yes (text appears doubled) |
| Typical crystal shape | Six-sided prism with pointed tip | Rhombohedron or dogtooth spar |
| Luster | Glassy (vitreous) | Glassy to pearly |
| Common colors | Clear, white, pink, purple, smoky, yellow | Clear, white, pink, orange, blue, green |
Common Mistakes When Identifying Quartz and Calcite
After years of reading forum posts on r/rockhounds and r/whatsthisrock, we see the same mistakes repeated over and over. Recognizing these pitfalls will save you from misidentifying your specimens.
Mistake 1: Relying on color alone. This is the number one error. We have seen collectors confidently call a pink crystal rose quartz only to find it fizzes in vinegar. Both minerals overlap heavily in color. Color is a starting hint, never a final answer.
Mistake 2: Confusing crystal faces with cleavage. Beginners see flat surfaces on a specimen and assume it is cleavage. But crystal faces are growth surfaces, not breakage surfaces. Always check whether the flat face is from growth (look for striations) or from breaking (perfectly smooth).
Mistake 3: Testing on a weathered surface. Exposed surfaces can be chemically altered, softer, or coated with minerals different from the interior. Always scrape down to a fresh surface before doing a hardness or acid test. This single habit eliminates a huge number of false results.
Mistake 4: Using too little pressure in the hardness test. A tentative scratch attempt tells you nothing. Apply firm, steady pressure when dragging steel across the surface. Then wipe away dust and inspect carefully. A scratch that only removed surface dirt is not a real scratch.
Mistake 5: Panicking when tests give conflicting results. If the hardness test says calcite but the acid test does not fizz, you might have a related carbonate mineral like dolomite, which reacts slowly to weak acid. Conflicting results do not mean the tests failed. They mean you may have a third mineral, and it is time to research further.
Mistake 6: Damaging valuable specimens with acid. Even vinegar can leave marks on polished or display-worthy calcite over time. Always test on an inconspicuous area, use a tiny amount, and rinse the specimen with water afterward.
Frequently Asked Questions
How to tell if it’s quartz or calcite?
The two most reliable tests are the hardness test and the acid fizz test. Try scratching the specimen with a steel knife. If the knife scratches it, the mineral is calcite (hardness 3). If the knife cannot scratch it, it is quartz (hardness 7). For confirmation, place a drop of household vinegar on the specimen. If it fizzes, it is calcite. Quartz shows no reaction.
Which simple test can be done to differentiate calcite from quartz?
The simplest single test is the vinegar acid test. Place one drop of white household vinegar on your specimen. Calcite will fizz and bubble because it is calcium carbonate reacting with acid to release carbon dioxide. Quartz will not react at all. This test takes under a minute and requires only vinegar and an eyedropper.
How to test if a stone is quartz?
Try to scratch the stone with a steel knife or nail. Quartz has a hardness of 7 on the Mohs scale, so steel cannot scratch it. Then try scratching a piece of glass with the stone. If it scratches glass, it is likely quartz. You can also place a drop of vinegar on it. If there is no fizzing reaction, that supports a quartz identification.
What can be mistaken for quartz?
Calcite is the most commonly confused mineral, but others include fluorite (hardness 4), halite (hardness 2.5), and gypsum (hardness 2). Clear varieties of beryl and topaz can also resemble quartz. The key distinguishing test is hardness. Quartz at 7 is harder than all of these, so if a specimen cannot scratch glass, it is probably not quartz.
Which property test is most reliable to distinguish between calcite and quartz?
The hardness test is considered the most reliable single test. The hardness gap between calcite (3) and quartz (7) on the Mohs scale is large enough that the results are unambiguous. A steel knife scratches calcite but not quartz. The acid fizz test is equally definitive but requires carrying liquid. In practice, combining both tests gives near 100% accuracy.
Which is harder, quartz or calcite?
Quartz is much harder than calcite. Quartz ranks at 7 on the Mohs hardness scale, while calcite ranks at only 3. This means quartz can scratch calcite, steel, and glass, but calcite can be scratched by all three. The hardness difference comes from their atomic structures. Quartz has strong silicon-oxygen bonds, while calcite has weaker ionic bonds between calcium and carbonate.
Conclusion
Learning how to tell quartz from calcite does not require expensive equipment or specialized training. Five simple tests, all using items you already have at home, will give you a confident identification in minutes.
If we had to recommend a single decision tree for field use, it would be this: start with the hardness test. Scratch the specimen with a steel knife. If it scratches, you have calcite. Confirm with a drop of vinegar. If the knife cannot scratch it, you have quartz. Confirm by checking for conchoidal fracture on broken edges. In most cases, these two tests are all you need.
The key takeaway is to never rely on color or appearance alone. Both minerals come in every color and can form in similar crystal shapes. Physical tests that target hardness and chemical composition are what separate fact from guesswork. When tests give conflicting results, that is not a failure. It is a signal that you may have a different mineral entirely, and that is where the real fun of mineral identification begins.
Grab a steel knife, a bottle of vinegar, and that mystery crystal sitting on your shelf. Run the tests yourself. Once you do it a few times, identifying quartz from calcite becomes second nature. Every specimen you test sharpens your eye and builds the kind of field confidence that no book or video can teach.