
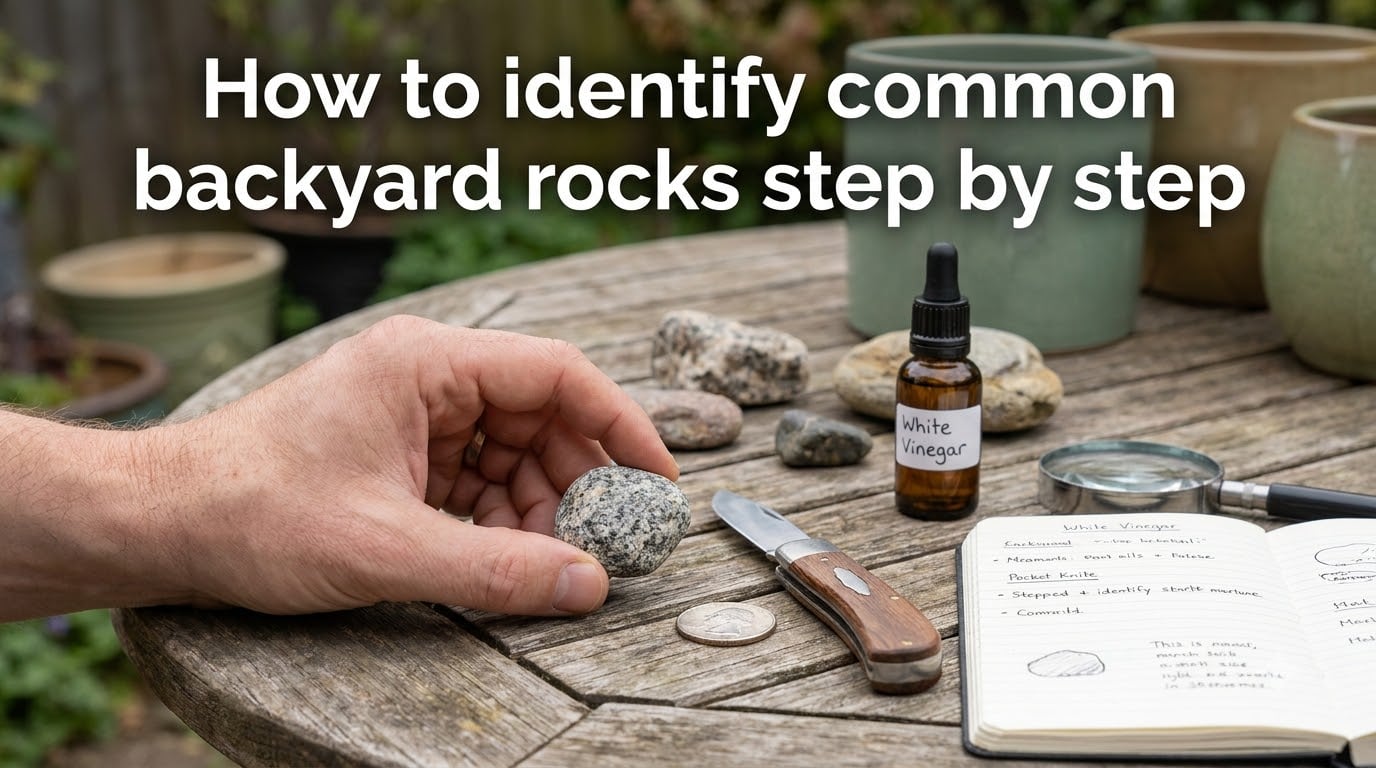
That gray rock by the garden bed, the speckled one near the fence, the smooth dark stone your kid keeps bringing inside. Most of us walk past these rocks every day without a second thought. But every backyard tells a geological story, and learning to read it is easier than you might expect.
In this guide, I will walk you through how to identify common backyard rocks step by step using seven practical tests you can run on your kitchen table. You won’t need a geology degree, expensive equipment, or even a trip to a lab. With a coin, a fingernail, and a little white vinegar, you can sort most rocks into their basic families within a weekend.
I have spent the last three years collecting rocks with my kids on weekend hikes and helping neighbors identify stones pulled up during gardening projects. Below is the framework I wish someone had handed me when I first started.
Table of Contents
Why Identifying Backyard Rocks Matters in 2026?
There are three big reasons to learn rock identification: safety, practical decision-making, and pure curiosity.
First, some “rocks” in your yard aren’t rocks at all. Slag from old industrial sites, fragments of concrete, and even some old bricks can look surprisingly like natural stone. Knowing what you have matters if you plan to use these materials in a vegetable garden, where contaminants can leach into soil.
Second, if you ever want to bring in landscaping rocks, source matching stone, or sell specimens locally, you need to know what you already own. A backyard full of weathered granite looks very different from one full of limestone boulders, and the differences affect drainage, soil pH, and which plants thrive.
Third, identifying rocks is one of the most accessible gateways into real science for kids and adults alike. The rocks stay put, they don’t bite, and the tests are fun. It is the kind of hobby that costs almost nothing to start.
The skills you’ll build here line up with what museum educators, university geology departments, and the U.S. Geological Survey teach as the foundation of field geology. You are not getting a watered-down version. You are getting the same starting toolkit the pros use.
Step 1: Gather Your Rock Identification Tools
Before you pick up a single specimen, set up a small kit. You do not need to buy anything special. Most of the supplies are already in your house.
Here is what I keep in a small plastic container by the back door:
A penny (for the hardness test)
A steel nail or old butter knife (harder than a penny)
A piece of glass or a ceramic tile (unglazed back of a tile works well)
White vinegar in a small dropper bottle
A magnifying glass or hand lens (10x is ideal)
A piece of unglazed porcelain (the back of a tile or the streak plate you can buy for a few dollars)
A ruler or coin for scale in photos
A notebook for recording observations
Optional but helpful: a hand lens, a small magnet (to test for magnetite), and your smartphone for photos.
If you want a free digital companion, your phone camera plus apps like Google Lens can give you a rough second opinion, though field tests always beat software. We will talk more about that step later.
Step 2: Clean and Prepare Your Rock Specimen
A dirty rock will mislead you every time. Soil coats real surfaces and masks true color, hides texture, and can create fake streaks when scraped. Before any test, give each specimen a quick clean.
I rinse mine under the outdoor hose, scrub with a stiff brush if needed, and towel dry. Let them air dry for 10 to 15 minutes so the surfaces are completely dry before testing.
One important note: a rock’s color can shift significantly when wet versus dry. Lichen, moss, and mineral staining can also hide the true surface. Always look at your specimen dry and clean before drawing conclusions.
Safety tip: wear gloves when handling unknown rocks, especially if you suspect they might be slag or metal. Old iron slag often contains heavy metals, and concrete chips can leave your hands sore from alkaline residue.
Step 3: Observe Visual Properties (Color, Texture, Grain Size)
The three biggest visual clues in rock identification are color, texture, and grain size. Once you train your eye to read them, you can place most rocks into a general category in under a minute.
Color: A Clue, Not a Conclusion
Color is the first thing everyone notices, but it is also the most unreliable property. The same mineral can appear in several colors depending on trace impurities, weathering, and how long it has been exposed to the elements.
For example, quartz can be milky white, pink (rose quartz), purple (amethyst), or nearly clear. Granite contains pink, white, gray, and black grains all mixed together. Do not let color alone drive your identification.
Texture: Smooth, Glassy, Gritty, or Layered?
Texture refers to how the rock feels and looks at the surface. Ask yourself these questions:
Does it look glassy and smooth (like obsidian)?
Is it gritty and sandy (like sandstone)?
Does it have visible flat layers (like shale or slate)?
Are there round bubbles or holes (called vesicles, common in basalt)?
Does it sparkle with visible crystals (like granite)?
Grain Size: Fine, Medium, or Coarse?
Grain size tells you how fast the rock originally cooled or settled. Coarse-grained rocks cooled slowly underground, giving mineral crystals time to grow large enough to see. Fine-grained rocks either cooled quickly (igneous) or settled slowly in still water (sedimentary).
Hold a sample up and try to see individual grains. If you need a magnifier, the rock is fine-grained. If grains are visible to the naked eye and you can pick them out, you are looking at medium to coarse grain.
Step 4: Perform the Mohs Hardness Test
The Mohs hardness scale ranks minerals from 1 (talc, softest) to 10 (diamond, hardest). It is the single most useful field test for rock identification, and it costs nothing to run.
The Mohs scale works by seeing which materials a specimen can scratch, and which materials can scratch it. You do not need actual mineral samples, only common objects with known hardness values.
Common reference items and their Mohs values:
Fingernail: about 2.5
Copper penny: about 3.5
Steel nail or knife blade: about 5.5
Glass plate or knife steel: about 6
Streak plate (unglazed porcelain): about 7
To test, try to scratch a fresh, hidden surface of your rock with each item in order. If the penny leaves a scratch, the rock is at least 3.5 on the Mohs scale. If glass scratches the rock, the rock is softer than 6.
Quick-reference for common rocks:
Talc, gypsum, softer minerals: scratch with a fingernail (under 2.5)
Limestone, marble, calcite: scratch with a penny (3 to 4)
Apatite, some limestones: between penny and nail (4 to 5)
Feldspar, glass, common granites: scratch with steel (5 to 6)
Quartz, granite, basalt: scratch glass (6 to 7)
Topaz, corundum: rare in backyards, harder than streak plate
A rock that easily scratches glass is almost certainly dominated by quartz. That single fact rules out dozens of possibilities and gets you much closer to an answer.
Step 5: Conduct the Streak Test
The streak test is what professional geologists call the “tell me what you really are” test. It reveals the true color of a mineral’s powder, which is often very different from the color of the whole rock.
To run it, drag your specimen firmly across the unglazed back of a ceramic tile. The streak it leaves behind is your specimen’s “true” color, no matter how weathered the surface looks.
Why does this matter? Several common minerals hide their identity behind a deceptive outer color. For example:
Hematite can look silver-gray on the outside but leaves a distinctive reddish-brown streak. That alone confirms it is hematite.
Pyrite (fool’s gold) leaves a greenish-black streak. Real gold leaves a yellow streak.
Magnetite leaves a black streak and is itself magnetic.
If you do not have a streak plate, the unglazed bottom of a coffee mug or a piece of rough concrete will work in a pinch. Avoid glossy ceramic; it will not give a useful streak.
A few rocks, including most granites and conglomerates, are too coarse or hard to streak on porcelain. Do not worry; the lack of streak is itself information. Move on to the next test.
Step 6: Try the Vinegar Acid Test for Carbonates
The vinegar test for rocks is the easiest way to spot carbonate minerals like calcite. It is also surprisingly dramatic: drop a little white vinegar on a fresh surface of limestone and you will see fizzing bubbles. No fizz, and you can rule out most carbonates in seconds.
Here is the procedure. Place your clean, dry specimen on a flat surface. Use a dropper bottle to apply a few drops of white vinegar (or dilute hydrochloric acid if you have access to it through a geology kit). Watch the surface closely.
Strong fizzing means the rock contains calcite. Limestone, marble, chalk, and some sandstones with calcite cement will all react. A gentle, slow fizz suggests dolomite rather than limestone. No reaction means your specimen is unlikely to be a carbonate, and you can rule that entire family out.
This test is incredibly useful for separating look-alike rocks. Quartzite and white marble can look almost identical at a glance, but only the marble will fizz under vinegar. That single drop tells you which one you have.
Safety note: rinse the vinegar off afterward to avoid leaving residue, and keep the acid test away from surfaces you do not want etched. Vinegar is mild enough for kitchen use but always works in a controlled spot.
Step 7: Identify Common Backyard Rock Types With Your Findings
Now you have gathered color, texture, grain size, hardness, streak, and acid reaction. Together these clues let you place most backyard rocks into one of ten common families. Below is a quick field guide I use with my own family on weekend walks.
Granite: Light to medium gray or pinkish, coarse-grained with visible crystals of quartz, feldspar, and mica. Scratches glass easily. Streak plate is unnecessary. No acid reaction. Common in eastern and central North America.
Basalt: Dark gray to black, fine-grained, often with small round holes (vesicles) from gas bubbles. Hard enough to scratch glass. No fizz with vinegar. Very common in the Pacific Northwest, Hawaii, and the southwestern United States.
Limestone: Light gray, tan, or cream. Reacts strongly with vinegar. Softer than glass but harder than a fingernail. Often contains visible fossils. Common across the Midwest and Southeast.
Sandstone: Sandy texture, grains visible to the naked eye, often reddish, tan, or yellow. Crumbles easily at the edges. Usually no acid reaction unless calcite is present.
Quartzite: White, gray, or pink. Very hard (scratches glass). No fizz with vinegar. Often confused with marble; the hardness test separates them instantly.
Slate: Dark gray, splits into flat sheets. Hardness around 4 to 5. No acid reaction. The layered look is the giveaway.
Marble: Smooth, often white or banded. Reacts with vinegar (a key test). Medium hardness. Common in older landscaping and in regions with metamorphic bedrock.
Obsidian: Black, glassy, breaks into sharp curved edges. Hardness around 5 to 5.5. Volcanic glass; rare in most U.S. backyards but common in the West.
Pumice: Lightweight enough to float on water. Full of vesicles. Light gray or tan. Forms near volcanic regions.
Shale: Dark gray or black, breaks into thin flakes. Soft enough to scratch with a fingernail. Often smells like clay when wet.
Avoid These Common Mistakes
Beginners often confuse several pairs of rocks. A few quick tests usually settle the question.
Concrete vs. limestone: concrete has a cement-like matrix and often contains visible gravel or rebar fragments. It may fizz weakly due to cement content.
Slag vs. basalt: slag is glassy and metallic-looking. It is usually much heavier than basalt and may contain metal beads or vesicles.
Marble vs. quartzite: both are pale and crystalline. Vinegar separates them. Only marble fizzes.
Sandstone vs. quartzite: quartzite is far harder and will not crumble in your fingers. If you can scrape sand off with a fingernail, it is sandstone.
Seasonal and Regional Considerations for Backyard Rock Identification
When you walk your yard matters more than most guides admit. After a long rainy spring, rocks appear different than they do in dry August.
Wet seasons reveal fresh surfaces. Heavy rain washes away the dusty patina that builds up over dry months, exposing the true color and texture. If you want to see what your rocks really look like, look at them after a good rainstorm or in early spring snowmelt.
Dry seasons highlight layering. Without rain to wash dust into cracks, the layered structure of sedimentary rocks stands out more clearly. Late summer is actually my favorite time to look at shale and slate.
Frost heaves new rocks to the surface. Freeze-thaw cycles push buried rocks upward each winter. If you mark the spots you find in spring, you will often see new specimens appear in the same area the following year.
Regionally, the rocks you meet depend heavily on where you live. The Northeast and upper Midwest sit on ancient igneous and metamorphic basement rocks; granite, gneiss, and quartzite dominate. The central Plains are covered in sedimentary deposits, mostly limestone, shale, and sandstone. The Southwest mixes volcanic basalts with desert sediment. The Pacific Northwest has tons of basalt and glacial erratics. Knowing your regional geology helps you form reasonable guesses before testing.
Quick Reference: Comparison of Identification Methods
Each of the tests above has different strengths. Use this comparison to pick the right one for the situation.
Visual inspection (color, texture, grain): Best for a quick first pass; zero equipment needed; least reliable on its own.
Mohs hardness test: Most useful single test; requires only a penny and a nail; works on nearly every rock.
Streak test: Best for metallic minerals and confirming hematite or pyrite; less useful on coarse granites.
Vinegar acid test: Definitive for carbonates; takes seconds; harmless with white vinegar.
Magnet test: Confirms magnetite instantly with a fridge magnet; limited to a small set of minerals.
Specific gravity (heft test): Useful for separating heavy metals from common rock; subjective without a scale.
For everyday backyard identification, hardness and acid reaction cover about 80 percent of use cases. Add streak and visual inspection for the remaining 20.
Citizen Science: Share Your Backyard Rock Finds
Identifying rocks on your property does not have to stop with a name. Several free platforms turn curious rockhounds into contributors to real science.
iNaturalist, run by the California Academy of Sciences and National Geographic Society, accepts rock and mineral observations and pairs them with experts who confirm IDs. Posting your find takes a photo, a pin on the map, and a few notes about what you saw. Over time, your data help researchers track local geology and biodiversity.
If you have access to a university geology department, many welcome emails with attached photos and a description of where the rock was collected. Local rock and mineral clubs, listed through regional federations, often run field trips and identification nights.
Finally, when in doubt, post a clear photo on Reddit’s r/whatsthisrock. The community is friendly, fast, and surprisingly accurate. Include a coin or ruler for scale, take the photo in good light, and note whether the rock is wet or dry. Those three details dramatically improve the answer you will receive.
Frequently Asked Questions
How do I tell what type of rock I found?
Look at color, texture, and grain size first. Then run a hardness test with a penny and a steel nail to see if the rock scratches glass. Apply white vinegar to a fresh surface. If it fizzes, it is a carbonate rock like limestone or marble. If not, it is likely silicate-based like granite, basalt, quartzite, or sandstone. Compare your observations against a basic field chart.
What are the five physical tests for identifying rocks?
The five most useful physical tests are the visual inspection (color, texture, grain size), the Mohs hardness test using fingernail, penny, and steel, the streak test on unglazed porcelain, the vinegar acid test for carbonates, and the magnet test for magnetite. Each test narrows down which minerals and rock family the specimen belongs to. Together they let you identify most backyard rocks without specialized equipment.
What is the vinegar test for rocks?
The vinegar test for rocks drops white vinegar on a fresh surface of the specimen. If the rock fizzes or bubbles, it contains calcium carbonate, meaning it is a limestone, marble, chalk, or calcite-rich rock. If there is no reaction, the rock is not a carbonate. Vinegar is safer than hydrochloric acid and works well for home identification. Use a dropper bottle for control and rinse the rock afterward.
Can I take a picture of a rock and identify it?
Yes, you can take a picture of a rock and identify it using apps like Google Lens, Rock Identifier, or iNaturalist. Photograph the rock in good daylight with a coin or ruler for scale, on a plain background, and include both wet and dry views. Software accuracy varies and field tests should confirm the result. Pictures alone often confuse look-alike rocks like marble and quartzite.
How can I identify rocks for free?
You can identify rocks for free using household items: a fingernail, a penny, a steel nail, a piece of glass, white vinegar, and the unglazed back of a ceramic tile. Free apps like Google Lens and iNaturalist give second opinions. Public library field guides and free USGS online resources cover most backyard rock types. Local rock clubs and Reddit’s r/whatsthisrock community can also identify rocks for free from photos.
Conclusion
Identifying the rocks in your yard is a habit you build over weeks, not minutes. Start with one specimen, run all seven steps in order, and write down what you observed. By your fifth rock, the tests will feel routine. By your fifteenth, you will start spotting patterns your neighbors miss entirely.
Learning to identify common backyard rocks step by step turns a walk across the lawn into a small act of science. Pick up your mystery stone this weekend, grab a penny, and find out what your yard is really made of.