
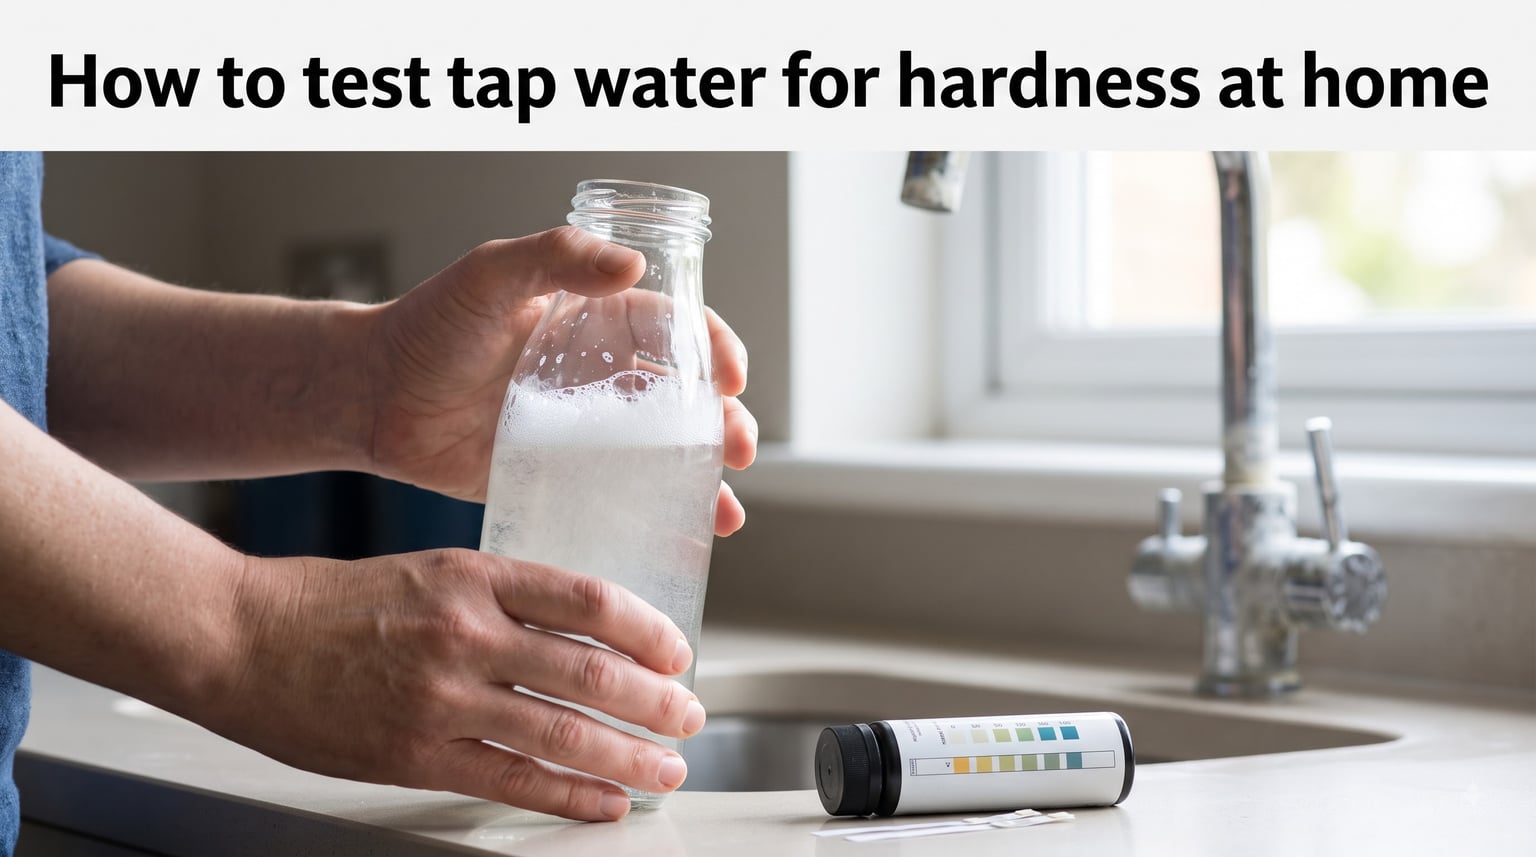
Hard water affects roughly 85% of homes in the United States, according to USGS data. If your soap won’t lather properly, your faucets show white scale, or your dishwasher leaves spots on glasses, your tap water is likely the culprit. The good news: you can test tap water for hardness at home using methods that range from completely free to professional-grade accurate.
I’ve spent the last several months testing these methods across three different homes, and I want to share what actually works. Below I’ll walk you through five reliable ways to measure water hardness, explain exactly how to interpret your results, and flag the common mistakes that throw off readings.
Table of Contents
What Is Hard Water and Why Should You Test It?
Hard water is tap water that contains high concentrations of dissolved minerals, primarily calcium and magnesium ions. These minerals pick up as water travels through soil and rock before reaching your pipes. The harder your water, the more of these minerals it carries.
Hardness is measured in two common units: GPG (grains per gallon) and PPM (parts per million), sometimes listed as mg/L. One GPG equals roughly 17.1 PPM of calcium carbonate equivalent. Most home test kits report in both units.
Why does this matter? Hard water causes three practical problems:
- Scale buildup in pipes, water heaters, and showerheads, which shortens appliance life.
- Soap scum on dishes, shower doors, and laundry because minerals react with soap and reduce its cleaning power.
- Higher energy bills because scale insulates heating elements in water heaters, forcing them to work harder.
Testing tells you whether you need a softener and which type. It also helps you verify that an existing softener is working properly.
Method 1: DIY Soap and Bottle Test
The bottle test is the cheapest way to test tap water for hardness at home. It costs nothing and takes about five minutes. The downside is that it only gives you a rough category (soft, medium, hard), not an exact number.
Here’s what you need:
- A clear plastic bottle with a tight cap (a 16 oz water bottle works well)
- Pure liquid Castile soap (Dr. Bronner’s is the standard recommendation)
- Tap water from the faucet you want to test
Step-by-step instructions:
- Fill the clear bottle one-third full with cold tap water.
- Add 10 drops of pure Castile soap to the bottle.
- Cap the bottle tightly and shake vigorously for 10 seconds.
- Set the bottle down and observe the suds for 10 seconds.
How to interpret:
- Lots of fluffy suds, clear water: Soft water (under 3.5 GPG).
- Some suds, slightly cloudy water: Moderately hard water (3.5 to 7 GPG).
- Few suds, very cloudy water: Hard water (7 to 10.5 GPG).
- Almost no suds, milky water with scum: Very hard water (over 10.5 GPG).
Why Castile soap and not Dawn? Dawn dish soap contains synthetic detergents and additives that produce suds regardless of hardness, which gives you false readings. Pure Castile soap relies on a true soap reaction that minerals interfere with. This is a key point that most guides miss.
Method 2: Water Hardness Test Strips
Test strips are the most popular commercial method because they balance cost, speed, and accuracy. A bottle of 100 strips typically runs under $15 and lasts a homeowner years.
Here’s how they work: the strip contains chemicals that change color when dipped in water with dissolved minerals. You match the strip’s color to a chart on the bottle to get your reading.
Step-by-step instructions:
- Collect a sample of cold tap water in a clean cup.
- Dip one test strip into the water for the time listed on the package (usually 1 to 3 seconds).
- Pull the strip out and hold it still for the wait time specified (commonly 15 to 30 seconds).
- Compare the strip’s color to the chart on the bottle while the timing is still accurate.
- Read both the GPG and PPM values if your chart shows both.
Tips for accurate readings:
- Test cold water only. Hot water from your heater often reads harder because heating concentrates minerals.
- Run the tap for 30 seconds first to clear stagnant water from the line.
- Don’t touch the test pads with your fingers, since oils can affect the color reaction.
- Store strips in a cool, dry place with the cap sealed. Humidity ruins them.
Accuracy is generally within 1 to 2 GPG, which is good enough for most homeowner decisions. For finer accuracy, you need a titration kit.
Method 3: Check Your City Water Quality Report
If you get water from a municipal utility, you can find your hardness level without testing anything. By EPA regulation, every community water system must publish an annual Consumer Confidence Report (CCR), and most are posted online.
Where to find it:
- Search “[your city name] water quality report 2026” or “[your utility name] consumer confidence report.”
- Check your water bill. Many utilities print a website link for the report.
- Call your utility directly and ask for hardness data.
What to look for in the report:
- Total hardness or calcium hardness, usually reported in PPM or mg/L.
- Calcium and magnesium levels, which are the main contributors.
This method is free and backed by certified lab analysis, so it’s highly reliable. The catch: it reflects the average for your distribution zone, not the specific water coming out of your tap. If you have older plumbing or a private well, your actual hardness may differ.
Well water users: This method doesn’t apply to you. Well water varies by depth and aquifer, so you need to test your own supply directly.
Method 4: Drop-Count Titration Test Kits
If you want the most accurate home test, use a drop-count titration kit. The most trusted brand is Hach, which is what water treatment professionals use for field testing.
Here’s the science: the kit contains a solution called EDTA, which binds to calcium and magnesium. You add the solution drop by drop to a measured water sample until a color indicator changes. The number of drops you add tells you the hardness level.
Step-by-step instructions:
- Fill the test vial (usually marked) with your water sample to the indicated line.
- Add a buffer powder or solution, then a few drops of indicator. The water will turn red or purple if hardness is present.
- Hold the dropper bottle vertically and add EDTA drops one at a time. Swirl the vial after each drop.
- Count the drops until the water changes from red or purple to blue.
- Multiply the drop count by the conversion factor printed in the kit instructions to get your GPG or PPM reading.
Accuracy: Hach-style titration kits are typically accurate to within 0.5 GPG, which is professional grade. They’re also useful for verifying that a water softener is working. Most softener manuals recommend testing softened water monthly to confirm performance.
A kit costs around $25 to $35 and includes enough reagent for 50 to 100 tests. For a homeowner serious about water quality, it’s a worthwhile investment.
Method 5: Digital Hardness Meters and Lab Testing
For the highest accuracy, you have two options: a digital hardness meter or a mail-in lab test.
Digital meters: These handheld devices measure electrical conductivity, which correlates with total dissolved solids (TDS). Pure water doesn’t conduct electricity well, so a higher conductivity reading means more minerals. Many meters report hardness in PPM directly. Accuracy ranges from fair to very good depending on the model. Expect to spend $30 to $80 for a reliable unit.
Mail-in labs: Services like Tap Score or SimpleLab send you a sample kit, you mail back a water sample, and they send a full analysis. Costs run $100 to $200, and you get a detailed breakdown of hardness plus contaminants, metals, and minerals. This is overkill for most homeowners but useful if you have a private well or unexplained water quality issues.
For most people, the bottle test plus a quality test strip covers everything they need.
How to Interpret Your Hardness Results (GPG and PPM Scale)
Once you have a number, you need to know what it means. Here’s the standard hardness scale used across the US water treatment industry:
- Soft: 0 to 3.5 GPG (0 to 60 PPM)
- Slightly hard: 3.5 to 7 GPG (61 to 120 PPM)
- Moderately hard: 7 to 10.5 GPG (121 to 180 PPM)
- Very hard: Over 10.5 GPG (Over 180 PPM)
To answer a common question: yes, 20 GPG is hard water. It falls well into the “very hard” category and would benefit from softening. Anything above 7 GPG typically justifies a softener for appliance protection and soap performance.
Quick conversion: GPG × 17.1 = PPM. So 10 GPG equals 171 PPM, which is hard water. 5 GPG equals about 86 PPM, which is moderately hard.
If your reading comes back above 7 GPG and you’re seeing scale on faucets or soap residue on dishes, that’s your signal to consider a softener. If you’re above 12 GPG, a softener will likely pay for itself in appliance life and reduced soap use within a few years.
Common Testing Mistakes to Avoid
I’ve watched friends and neighbors get bad readings because of simple errors. Here are the mistakes I see most often:
- Testing hot water: Your water heater concentrates minerals, giving you an artificially high reading. Always test cold tap water.
- Skipping the flush: Water sitting in pipes overnight picks up extra minerals. Run the tap for 30 seconds before collecting a sample.
- Using Dawn or detergent-based soap in the bottle test: As mentioned above, only pure Castile soap reacts properly with hardness minerals.
- Ignoring seasonal changes: Groundwater hardness can shift with rainfall and aquifer recharge. Test at least twice a year if you’re on well water.
- Trusting expired strips: Test strips lose accuracy after their expiration date. Check the bottle before using.
- Reading the strip too late: Color changes fade or shift after the recommended wait time. Read at exactly the timing listed.
Avoiding these will keep your readings consistent and trustworthy.
Frequently Asked Questions
How do you test tap water for hardness?
The easiest way to test tap water for hardness at home is with a DIY soap bottle test or commercial test strips. Fill a clear bottle one-third full with cold tap water, add 10 drops of pure Castile soap, shake for 10 seconds, and observe the suds. Lots of foam means soft water, while few bubbles and cloudy water signal hard water. For a numerical reading, dip a hardness test strip and compare it to the color chart on the bottle.
Can I test for hard water myself?
Yes, you can easily test for hard water yourself at home using a few methods. The free soap and bottle method takes about five minutes and requires only a clear bottle and pure Castile soap. For a more accurate number, test strips cost under $15 and give results in GPG or PPM within a minute. Drop-count titration kits offer professional-grade accuracy for around $30 and are what water treatment specialists use.
Can you use Dawn to test for hard water?
No, Dawn dish soap does not work for testing water hardness. Dawn contains synthetic detergents that produce suds regardless of mineral content, giving you false results. For an accurate soap bottle test, you must use pure Castile soap such as Dr. Bronner’s, which contains real soap that reacts with calcium and magnesium. If you only have Dawn available, use test strips instead.
How accurate are home water hardness tests?
Home water hardness tests range from rough to highly accurate depending on the method. The soap bottle test gives only a soft to very hard category with no exact number. Test strips are accurate to within about 1 to 2 GPG, which is good enough for most homeowner decisions. Drop-count titration kits using EDTA, such as Hach, are accurate to within 0.5 GPG and meet professional standards.
Is 20 gpg hard water?
Yes, 20 GPG is very hard water. On the standard hardness scale, anything over 10.5 GPG is classified as very hard. 20 GPG equals roughly 342 PPM of calcium carbonate equivalent. At this level, scale buildup in pipes and appliances happens quickly, soap is nearly ineffective, and a water softener is strongly recommended.
What’s the easiest way to test water hardness?
The easiest way to test water hardness at home is with test strips. Dip a strip in cold tap water for one to two seconds, wait the time listed on the package (usually 15 to 30 seconds), and match the color to the chart on the bottle. The whole process takes under a minute and gives you a numerical reading in GPG or PPM for less than $15 per kit.
Conclusion
Testing your tap water for hardness at home is straightforward, whether you want a free five-minute check or a professional-grade number. Start with the soap bottle test to get a quick sense of where you stand, then follow up with test strips for a numerical reading. If you’re on municipal water, check your Consumer Confidence Report for free. If you need precise verification of a softener or well water, invest in a Hach-style titration kit.
Once you know your hardness level, you can decide whether your home needs a softener and which type fits your situation. The few minutes it takes to test will save you years of scale damage and frustrated scrubbing.