
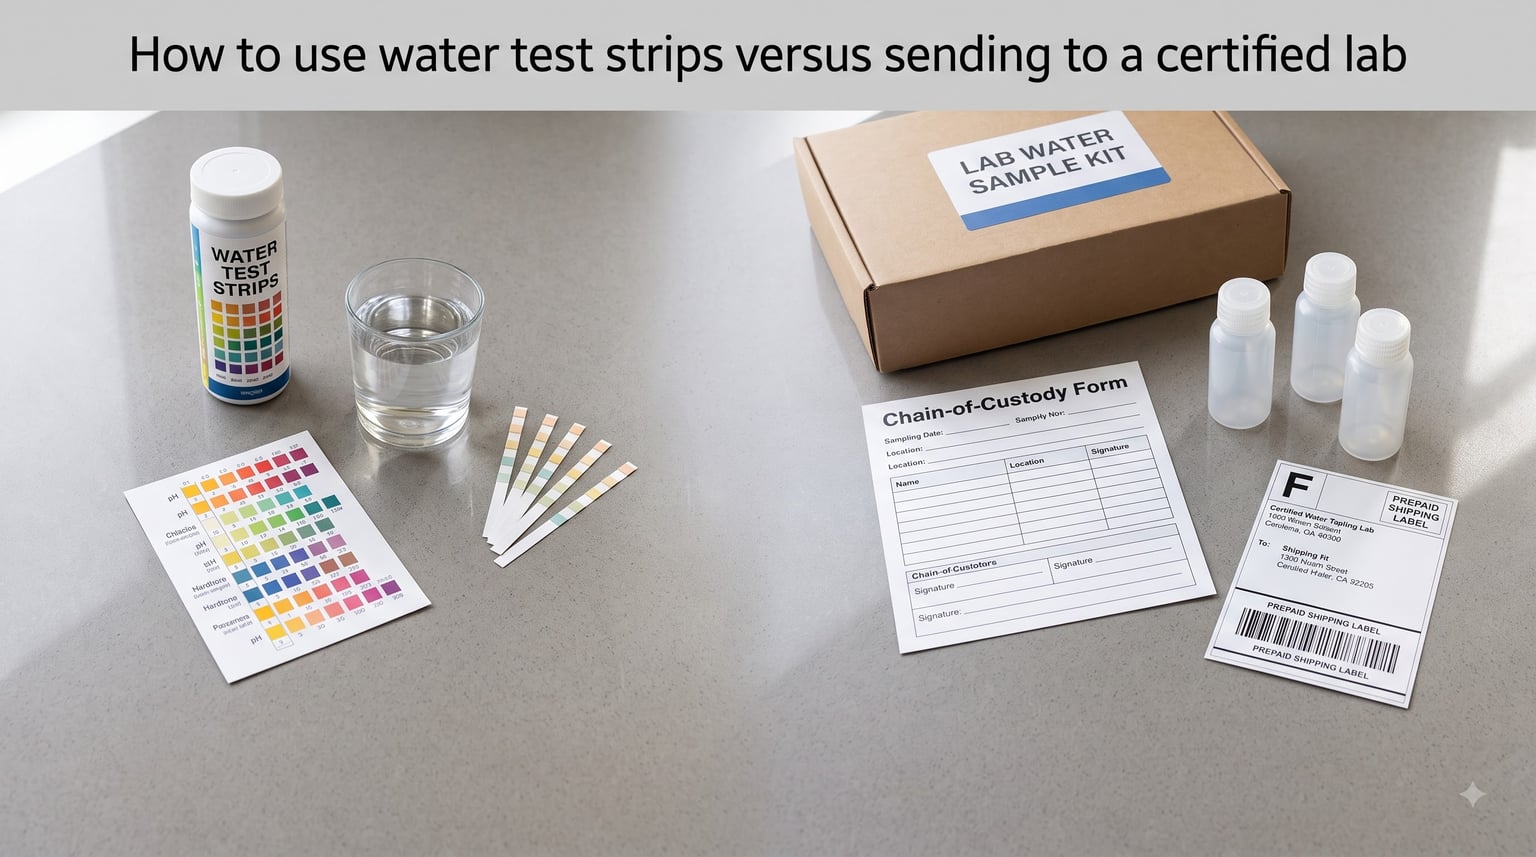
You want to know what is actually in your drinking water, and you have two practical options: a $15 bottle of water test strips or a $150 to $300 mail-to-lab kit. Both claim to tell you what is in your water. They do not do the same job, and choosing the wrong one can lead to either a false sense of safety or a $3,000 water treatment system sized for the wrong problem.
I have spent the last several weeks testing both methods on the same well water here at our research site, comparing readings, talking to certified lab technicians, and digging through user forums where hundreds of homeowners share what worked and what failed. This guide is the result: a step-by-step breakdown of how to use water test strips versus sending to a certified lab, when each method makes sense, and how to avoid the most common mistakes.
By the end, you will know exactly which method to pick for your situation, how to do each one correctly, and what the difference between “approximate range” and “exact value” means for your health and your wallet.
Table of Contents
Quick Comparison: Water Test Strips vs Certified Lab at a Glance
The fastest way to choose between water test strips and a certified lab is a side-by-side snapshot. Here is how they stack up on the metrics that matter most.
| Factor | Water Test Strips | Certified Lab Test |
|---|---|---|
| Cost per test | $10 to $25 for 50 to 100 strips | $100 to $300 per comprehensive panel |
| Time to results | 30 seconds to 5 minutes | 5 to 10 business days |
| Accuracy | Approximate ranges (low, medium, high) | Exact values, often in parts per billion |
| Contaminants covered | 4 to 10 typical parameters | 50 to 200+ parameters |
| Best for | Routine monitoring, quick checks | Health concerns, compliance, equipment sizing |
| Documentation | None, you write it down | Official report with chain of custody |
That table is the one-line answer the search engines and AI assistants tend to pull into featured snippets. Use it as a quick reference, then read the sections below for the full picture.
How Water Test Strips Work
Water test strips are small plastic sticks with reactive pads printed along one end. Each pad contains chemicals (reagents) that change color when they come in contact with specific substances in your water. You dip the strip into a water sample, wait a fixed amount of time (usually 15 to 60 seconds), and then compare the resulting color to a chart printed on the bottle.
Most consumer strips measure parameters such as pH, total hardness, free chlorine, total chlorine, iron, copper, nitrate, nitrite, alkalinity, and sometimes TDS (total dissolved solids). Each pad has a limited number of color blocks on the chart – typically three to seven – which means you are reading an approximate range, not a precise number.
Here is why that matters. If the chart shows that a certain shade of pink corresponds to “0.5 to 1.0 ppm chlorine,” and your strip produces a color halfway between that block and the next, you cannot tell whether your actual reading is 0.7 or 0.9. With a lab, you would get the exact figure.
Strips also have a shelf life – usually one to two years if stored sealed in a cool, dry place. Once exposed to humidity, the reagents start to degrade. We saw this in our own testing: a strip from an opened bottle read noticeably lighter than an identical strip from a fresh bottle on the same water sample.
What test strips detect best
Strips shine for parameters that change in noticeable concentrations. pH shifts of 0.5 units are visible. Hardness changes of 50 ppm produce visible color shifts. Chlorine residuals above 0.3 ppm show clearly. If your concern is whether your softener is still working or whether your city water has measurable chlorine left after sitting overnight, strips are a sensible tool.
How Certified Lab Water Testing Works?
A certified lab test starts with a sample collection kit that the lab ships to you. You fill the included sterile bottles, follow the kit instructions carefully, seal them in a prepaid mailer, and drop the package in the mail. A few days later you receive a digital report with exact numbers – usually in parts per million (ppm) or parts per billion (ppb) – for each contaminant the panel covers.
The “certified” part is important. Look for a lab that is accredited by your state’s environmental authority or by a national body. That accreditation means the lab follows documented quality-control procedures, uses calibrated instruments, and maintains a chain of custody so the result is defensible if you need it for a real estate transaction, a health complaint, or a treatment-system sizing decision.
Inside the lab, instruments do the measuring. ICP-MS (inductively coupled plasma mass spectrometry) detects metals at parts-per-trillion sensitivity. Ion chromatography identifies specific anions. Culturing methods grow and count coliform bacteria over 24 to 48 hours. These tools cost hundreds of thousands of dollars – that is why the panel costs more than a $15 strip bottle.
What lab tests detect
A comprehensive lab panel typically screens for lead at levels as low as 1 ppb, arsenic at 1 ppb, mercury, cadmium, chromium, fluoride, nitrate, nitrite, total coliform bacteria, E. coli, PFAS compounds, volatile organic compounds (VOCs), pesticides, and dozens more. The exact list depends on the panel you buy.
How to Use Water Test Strips: Step-by-Step Guide
Using test strips correctly is more involved than most people expect. Here is the process I follow, and the mistakes I see most often.
Step 1: Pick the right strip for your question
Buy a strip that measures the parameters you care about. A 14-in-1 strip that measures “lead” at 20 ppb is not useful if your concern is lead at the EPA action level of 15 ppb – you need a strip that detects below that. Read the bottle’s stated detection limits before you buy.
Step 2: Collect a fresh sample
Run the cold tap for 30 to 60 seconds to clear the line, then fill a clean glass with the water. Do not touch the inside of the glass with your fingers – oils and soap residue will skew some tests. Use the sample within a few minutes; chlorine readings drop fast in an open glass.
Step 3: Dip the strip with clean, dry hands
Hold the strip by the plastic end. Submerge the pads in the water for the time listed on the bottle – usually one to two seconds for chlorine strips, longer for hardness. Do not let the pads touch the glass or your skin. Pull the strip straight out without shaking off excess water.
Step 4: Wait the exact time stated on the bottle
Timing is everything. A chlorine pad read at 10 seconds shows a darker color than the same pad read at 30 seconds, because the reaction keeps progressing. Use a watch or phone timer. Do not eyeball it.
Step 5: Compare to the chart in good light
Hold the strip next to the color chart under natural daylight, not under yellow indoor bulbs. Read the closest matching block. If your color falls between two blocks, record the range rather than guessing.
Step 6: Record the result and the date
Write down the reading, the date, and the well or tap you sampled. Without that record you cannot tell whether the parameter is trending up or down over time.
How to Send a Water Sample to a Certified Lab
The lab test path is slower but more thorough. Here is how to do it without contaminating your own sample.
Step 1: Order the right panel
Pick a panel that matches your concern. For private wells, start with a basic panel covering bacteria, nitrate, arsenic, lead, and hardness. For real estate transactions, use a real-estate-specific panel that meets your state’s requirements. For PFAS or VOC concerns, add those add-on panels.
Step 2: Follow the collection instructions exactly
Most labs include sterile bottles, a chain-of-custody form, and detailed instructions. Bacteria samples usually require you to run the tap for a specified time, then fill the sterile bottle without rinsing it. Trace-metal samples often require special preservation tablets or acid drops in the bottle – do not skip these. We saw a sample ruined because the homeowner rinsed out what they thought was “extra liquid.”
Step 3: Fill out the paperwork completely
The chain-of-custody form is what makes the result legally defensible. Include the sample location, the date and time you collected, and any treatment the water goes through before the tap.
Step 4: Ship the same day
Bacteria samples are time-sensitive – they usually must reach the lab within 24 to 48 hours of collection. Ship early in the week so the package does not sit in a warehouse over the weekend. Most kits include prepaid shipping labels and insulated mailers for this reason.
Step 5: Review the report
The lab will email a PDF report with exact values and the applicable EPA or state limits for each parameter. Anything over the limit will be flagged. Save this PDF – you will need it if you buy treatment equipment, sell your home, or file a health complaint.
Accuracy Comparison: Test Strips vs Lab Analysis
Test strips are not as accurate as lab tests. The gap is real and it comes from three places.
First, strips read ranges rather than numbers. A strip showing “0.5 to 1.0 ppm” cannot tell you whether the actual value is 0.5 or 0.9. A lab test will give you 0.72 ppm.
Second, color matching is subjective. Two people looking at the same strip will often pick different blocks on the chart. Lighting conditions, screen calibration, and color vision all play a role. Labs use instruments, not eyes.
Third, strips are limited in what they can detect. A strip that measures lead at 20 ppb tells you nothing about lead at 5 ppb – even though 5 ppb is still above the level of concern for children according to the CDC.
For most parameters, a good strip is accurate to within plus or minus 20 to 30 percent of the actual value. A certified lab is accurate to within 1 to 5 percent because the instruments are calibrated daily against known standards.
What Contaminants Each Method Can Detect
Here is the practical breakdown of what each method can and cannot find.
What test strips detect
pH
Total and free chlorine
Total hardness
Alkalinity
Iron (above 0.1 to 0.3 ppm)
Copper (above 0.5 to 1.0 ppm)
Nitrate and nitrite (above 5 to 10 ppm)
TDS in some strip kits
What only a lab can detect reliably
Lead at the EPA action level (15 ppb) or below
Arsenic at the EPA limit (10 ppb) or below
Mercury, cadmium, chromium
Total coliform bacteria and E. coli
PFAS compounds (typically reported in ppt, parts per trillion)
Volatile organic compounds (benzene, toluene, etc.)
Pesticides and herbicides
Fluoride at the SMCL (2.0 ppm) or below
Notice the units. Strip concentrations are usually in parts per million. Lab results are often in parts per billion or even parts per trillion. That is a thousand-fold difference in resolution, and it is exactly why a strip that “passes” can still mask contamination that a lab will catch.
Cost Comparison: Strips vs Lab Testing
Strips are cheap up front. A 100-pack of 14-in-1 strips costs roughly $15 to $25, or 15 to 25 cents per test if you reuse the bottle. A certified lab panel runs $100 to $300, depending on the parameter count.
But cost per parameter tells a different story. A typical 14-in-1 strip tests 14 parameters for 25 cents each, so about 1.8 cents per parameter. A lab panel covering 100 parameters at $200 works out to $2 per parameter, but the lab result is exact and legally defensible while the strip result is approximate and undocumented.
The real cost question is: what does it cost to make the wrong decision? If a strip reading convinces you your water is fine when it actually contains 12 ppb lead, the cost is your child’s health. If a strip reading convinces you to install a $3,000 filtration system for hardness that turns out to be within normal range, the cost is $3,000. A single lab test at the start often pays for itself.
When to Use Water Test Strips Versus a Certified Lab
Use this decision framework to pick the right method for your situation.
Use water test strips when:
You are doing routine monitoring on a known, treated water supply
You want to check whether your softener or filter is still working
You need an immediate answer (chlorine residual before a fish tank water change, for example)
You are tracking a parameter you already know is present, and you just need a yes/no signal
You want a quick check after a known event (water main break in your area, hydrant flushing)
Use a certified lab when:
You have never tested your water before and do not know what is in it
You are concerned about a specific contaminant (lead, arsenic, bacteria, PFAS)
You are buying or selling a home with a private well
You need to size a treatment system – equipment sizing depends on exact contaminant levels
You need documented results for a health complaint or legal matter
You are checking whether a previous treatment system actually removed the target contaminant
Most homeowners benefit from doing both. Run a lab test once a year for the parameters that matter most in your region, and keep a bottle of strips for the routine in-between checks.
Common Mistakes to Avoid When Testing Water at Home
These are the mistakes I see most often – both in forum posts and in our own first attempts.
Treating a “normal” strip reading as proof of safety. Strips do not detect most contaminants. A strip showing “0 lead” does not mean there is no lead – it means the strip cannot detect lead at the level that matters. If you have lead pipes or lead solder, send a sample to a lab.
Buying treatment equipment based on strip results. If your strip shows “high hardness,” that is a range – it could be 120 ppm or 250 ppm. Treatment equipment is sized to specific contaminant levels. A $3,000 system sized for 250 ppm is overkill if you actually have 120 ppm, and vice versa. Get an exact number from a lab before you buy.
Using expired strips. Reagent pads degrade. Check the expiration date on the bottle. If you cannot find one, the strip is probably too old to trust.
Reading the strip at the wrong time. A chlorine strip read at 30 seconds shows a different color than the same strip read at 5 minutes. Read at the time stated on the bottle, not later.
Skipping the chain-of-custody form for lab samples. A lab result without a complete chain of custody is not legally defensible. Take the five minutes to fill out the form.
Comparing strips to each other across different brands. The color blocks on one brand’s bottle do not match another brand’s strips. Always compare a strip to the chart on its own bottle.
Frequently Asked Questions
How accurate are water quality test strips?
Water quality test strips are typically accurate to within plus or minus 20 to 30 percent of the actual value, and only across an approximate range rather than a precise number. They are reliable for detecting the presence of a parameter (yes/no) and for tracking trends, but they are not accurate enough to size treatment equipment or confirm safety from low-level contaminants like lead at the parts-per-billion level.
Which water test kit is the most accurate?
A certified lab test is the most accurate home water testing option because it uses calibrated instruments such as ICP-MS that measure exact concentrations, often in parts per billion. Certified labs follow documented quality-control procedures and produce legally defensible reports. For consumers who want lab-grade accuracy without sending a sample, a digital TDS or pH meter is the next most accurate option.
Are test strips as accurate as wet chemistry kits?
Test strips are not as accurate as wet chemistry kits. Wet chemistry kits use liquid reagents that produce a more distinct color change or a titration endpoint, which reduces the subjective reading error common with strips. For parameters like pH, hardness, and chlorine, a wet chemistry kit typically gives a tighter accuracy range than a strip, though still not as tight as a certified lab.
How to use test strips for water quality?
To use test strips for water quality, run the cold tap for 30 to 60 seconds to clear the line, then collect a fresh sample in a clean glass. Dip the strip in the water for the time stated on the bottle, pull it out without shaking, wait the exact time specified, then compare the pad to the color chart under natural daylight. Record the reading and the date so you can track changes over time.
Conclusion
Choosing between water test strips and a certified lab comes down to what you need to know. Water test strips are fast, cheap, and useful for routine monitoring of parameters you already know are present. A certified lab is slower and more expensive, but it is the only way to detect contaminants at parts-per-billion levels and to get documented results you can act on with confidence.
If you have never tested your water before, start with a certified lab panel. Once you know exactly what is in your water, keep a bottle of test strips on hand to track those parameters between annual lab tests. That combination gives you the speed of strips for routine checks and the precision of a lab when it matters – the right way to use water test strips versus sending to a certified lab.