
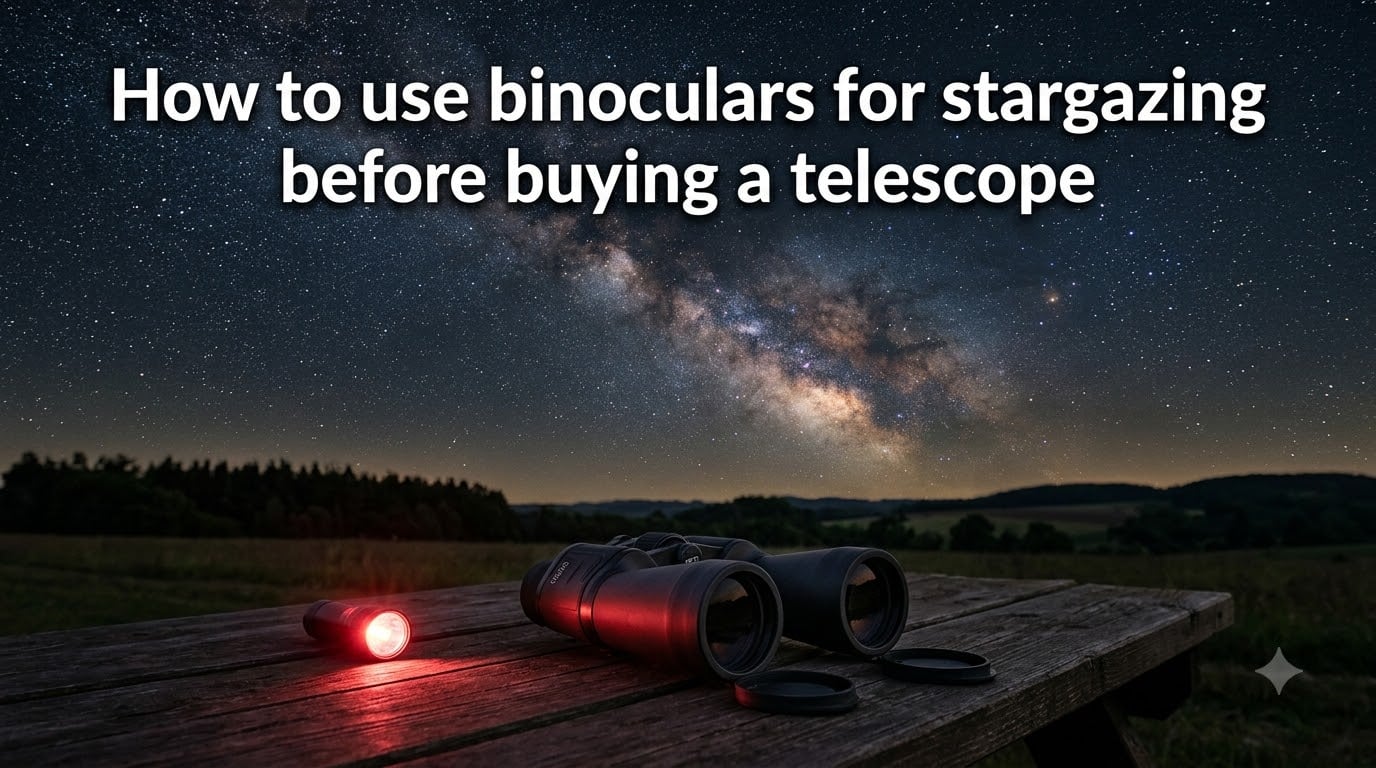
I still remember the first time I pointed a cheap pair of 10×50 binoculars at the sky. The Milky Way stretched across my backyard view, and Jupiter showed actual moons lined up like tiny pins of light. That moment changed everything.
You do not need a telescope to start exploring the night sky. In fact, learning how to use binoculars for stargazing before buying a telescope is one of the smartest moves any beginner can make. You will learn the constellations, understand how the sky moves, and discover whether astronomy is a hobby worth a bigger investment.
This guide walks you through exactly what you can see, how to choose the right optics, and the techniques that separate a frustrating night from an unforgettable one. Whether you have a $40 pair from your closet or are thinking about dedicated astronomy binoculars, you will leave with a plan for tonight.
Table of Contents
Why Start With Binoculars Before Buying a Telescope?
Binoculars are the ideal first step into astronomy, offering a wide field of view and easy handling to explore the night sky before investing in a telescope. Most experienced observers still reach for their binoculars even after owning telescopes for decades.
A telescope sounds impressive, but here is the honest truth from forum communities: people overestimate what telescopes can show versus binoculars. A beginner telescope that costs the same as a good pair of binoculars often shows a narrow, upside-down view that makes finding anything in the sky feel impossible.
Binoculars solve this. They show the sky right-side up, give you a wide field of view that matches what your eyes already see, and let you use both eyes together. That two-eyed viewing feels natural and reveals more detail than you might expect.
They are also portable. You can toss them in a backpack, take them traveling, or grab them for a five-minute session before bed. No mount setup, no cooldown time, no alignment rituals.
From the conversations I have read on Reddit’s r/telescopes and r/Stargazing, the consensus is clear: binoculars are not a compromise. They are a legitimate observing tool that serious astronomers use alongside their scopes for wide-field sweeps and quick sessions.
Starting with binoculars also answers a critical question before you spend serious money. Do you actually enjoy standing in the dark looking up? Some people fall in love with it. Others realize it is not for them. A pair of binoculars answers that question for the cost of a nice dinner.
What You Can See With Binoculars in the Night Sky?
This is the question I hear most from beginners. The answer surprises people every time.
The Moon
The Moon through binoculars is a jaw-dropper. Craters, mountain ranges, and dark plains called maria leap into view. During the crescent and quarter phases, the line between light and shadow (called the terminator) shows the most dramatic detail.
I spent an entire evening once just tracing the terminator with a pair of 8x42s. The shadows inside craters shift hour by hour, and the texture is unreal. Full Moon is actually the least interesting time because everything is lit flat with no shadows.
Planets
Binoculars will not show Saturn’s rings in detail, but they will reveal things your naked eye never could. Jupiter shows as a tiny disc rather than a point, and its four Galilean moons line up beside it.
Venus shows phases just like the Moon does, and Mars reveals a slight reddish-orange disc. You can watch Mercury and Venus change appearance over weeks.
Star Clusters
This is where binoculars truly shine. The Pleiades explode into dozens of blue-white stars. The Beehive Cluster (M44) in Cancer resolves from a fuzzy patch into a glittering swarm.
The Double Cluster in Perseus is a favorite of mine. Two dense star piles sit side by side, and the wide field of binoculars captures both at once, something most telescopes cannot do.
Nebulae and Galaxies
Under dark skies, binoculars pick up the Orion Nebula (M42) as a glowing greenish patch in Orion’s sword. The Andromeda Galaxy (M31) stretches across the field of view as a soft oval glow.
I want to set expectations honestly here. These objects will not look like the colorful Hubble photos. They appear as pale, ghostly glows. But seeing another galaxy’s light that traveled 2.5 million years to reach your eyes is a quietly profound experience.
As one Stargazers Lounge user put it: in dark areas, even budget binoculars reveal thousands of stars you never knew were there.
Other Targets
Binoculars are perfect for meteor showers (you can watch a wider patch of sky), comet tracking when a bright comet appears, and Aurora watching. Double stars like Albireo show their contrasting gold and blue colors nicely.
How to Choose Binoculars for Stargazing?
You can absolutely use binoculars you already own. Regular binoculars work fine for stargazing. But understanding a few specifications helps you get the most out of the experience.
Every pair of binoculars is described by two numbers, like 10×50. The first is magnification (10x) and the second is aperture in millimeters (50mm). These two numbers tell you most of what you need to know.
Magnification: Less Is More
Beginners assume higher magnification is better. For handheld astronomy, that is wrong. Anything above 10x magnifies every tiny hand tremor, making the image shake so much that you see less, not more.
The most recommended specs on astronomy forums are 8×42 and 10×50. They hit the sweet spot between magnification and stability. As the Nikon user guide notes, 7x to 10x is the practical range for handheld viewing.
Aperture: The Real Performance Number
Aperture is the diameter of the front lenses, and for astronomy it matters more than magnification. Bigger lenses gather more light, and gathering light is what night-sky viewing is all about.
42mm and 50mm apertures are the standard recommendations. Sky & Telescope suggests 50mm models for astronomy since they pull in significantly more light than 42mm. Going up to 70mm gathers even more, but the weight becomes a problem.
Exit Pupil
Divide aperture by magnification to get the exit pupil. A 10×50 gives a 5mm exit pupil. This number matters because your eye pupil opens to about 5-7mm in the dark. An exit pupil around 5mm means the binoculars match what your eye can actually use.
Weight and Handheld Comfort
This is a real pain point from forum discussions. Heavy binoculars (70mm and up) cause arm fatigue fast. One Reddit user described 70mm binoculars as needing a tripod because they are too heavy for handheld use.
If you want big aperture, plan for a tripod. Many binoculars include a tripod adapter thread. For handheld sessions, stick to 50mm or lighter.
Prism Type and Coatings
Porro prisms (the traditional offset design) generally perform better for astronomy than roof prisms at the same price point. Look for BaK-4 glass prisms and multi-coated optics, both of which improve light transmission.
Eye relief matters if you wear glasses. Look for at least 15mm of eye relief so you can keep your glasses on while observing.
Basic Techniques for Using Binoculars at Night
Learning how to use binoculars for stargazing takes a few sessions. These techniques will make each one count.
Step 1: Adjust Before Dark
Set your interpupillary distance (the spacing between the two barrels) so you see a single circular image. Do this in daylight first. Once it is set, your binoculars are matched to your eyes.
Step 2: Focus Properly
Close your right eye and use the center focus wheel to sharpen a distant object with your left eye only. Then close your left eye and use the diopter ring (usually on the right eyepiece) to focus for your right eye. Now the center wheel focuses for both eyes simultaneously.
Do this once and remember your diopter setting. It saves enormous frustration at night when everything is dim and hard to see.
Step 3: Adapt to the Dark
This is the technique most beginners skip, and it is covered poorly by competitors. Your eyes need 20 to 30 minutes to fully dark-adapt. During that time, avoid white light entirely.
Use a red flashlight or a red mode on your phone. Red light preserves your dark adaptation so you can see fainter objects. I cannot overstate how much this one habit improves every session.
Step 4: Hold Steady
Shaky hands ruin the view. Here are the techniques that work:
Brace your elbows against your body or a solid surface. Sit in a reclining lawn chair and rest your arms on the backrest. Lie on the ground and hold binoculars overhead, which forum users say is far more comfortable than hunching over eyepieces.
For extended sessions or heavy binoculars, mount them on a tripod with an L-bracket adapter. The view becomes rock-steady and you can study faint objects for as long as you want.
Step 5: Learn to Find Objects
The biggest challenge is pointing binoculars at something specific. They magnify enough that you lose track of where you are looking.
The solution is star-hopping. Start from a bright, obvious star or constellation you recognize. Then move in small steps toward your target using a star chart or app like Stellarium or SkyView. Each hop should be less than one binocular field of view.
Another trick: look at your target with your naked eye first. Then bring the binoculars up to your eyes without moving your head. With practice, the object lands in view on the first try.
Step 6: Use Averted Vision
This is an old observer’s secret. The center of your vision is less sensitive to faint light than the edges. So instead of looking directly at a faint nebula or galaxy, look slightly to the side of it.
The object often pops into view when you are not staring straight at it. It feels backwards at first, but it works because of how your retina is wired. Practice on the Andromeda Galaxy and you will see the difference.
When to Upgrade From Binoculars to a Telescope?
Binoculars and telescopes are not competing tools. They serve different purposes, and most serious observers own both. But how do you know when it is time to add a telescope?
If you have spent several nights with binoculars and find yourself wanting more detail on planets, more light for faint galaxies, or the ability to split tight double stars, a telescope is the logical next step.
If you are still learning constellations and finding your way around the sky, stay with binoculars longer. Telescopes have a learning curve, and starting one before you know the sky can be discouraging.
Consider the budget question honestly. A good pair of 10×50 binoculars costs a fraction of a quality telescope. Spending time with binoculars first means that when you do buy a telescope, you will understand exactly what you want from it and why.
The forum wisdom is worth repeating: binoculars are not the warmup act. They are a tool you will keep using even after you own a scope. A telescope shows you one small patch in detail. Binoculars show you the whole story.
Frequently Asked Questions
Can you use binoculars instead of a telescope?
Yes, binoculars can absolutely be used instead of a telescope for many types of observation. They excel at wide-field views of star clusters, the Milky Way, and large nebulae. For detailed planet viewing or splitting close double stars, a telescope performs better, but binoculars remain a serious and valid observing tool that many astronomers use for life.
Can you use regular binoculars for stargazing?
Yes, regular binoculars work well for stargazing. Even an ordinary pair of 8×42 or 10×50 binoculars will reveal Jupiter’s moons, lunar craters, star clusters, and bright nebulae. You do not need specialized astronomy binoculars to start observing the night sky.
How to use binoculars for stargazing?
To use binoculars for stargazing, first adjust the interpupillary distance and focus using the diopter in daylight. Dark-adapt your eyes for 20-30 minutes using only red light. Hold the binoculars steady by bracing your elbows or lying down. Use star-hopping from bright stars to find targets, and apply averted vision (looking slightly to the side) to spot faint objects like galaxies and nebulae.
Are binoculars or telescopes better for stargazing?
Neither is universally better. Binoculars offer a wide field of view, right-side-up images, portability, and ease of use, making them ideal for beginners and wide-field observation. Telescopes gather more light and magnify more, making them better for planet detail and faint deep-sky objects. Most experienced observers own and use both.
Final Thoughts
Learning how to use binoculars for stargazing before buying a telescope gives you a foundation that makes every future observation better. You learn the sky, build real skills, and avoid spending money on gear you may not need.
Grab whatever binoculars you have, find a dark spot tonight, and let your eyes adjust. The night sky is waiting, and the best telescope in the world cannot replace the wide-field wonder that a simple pair of binoculars delivers.