
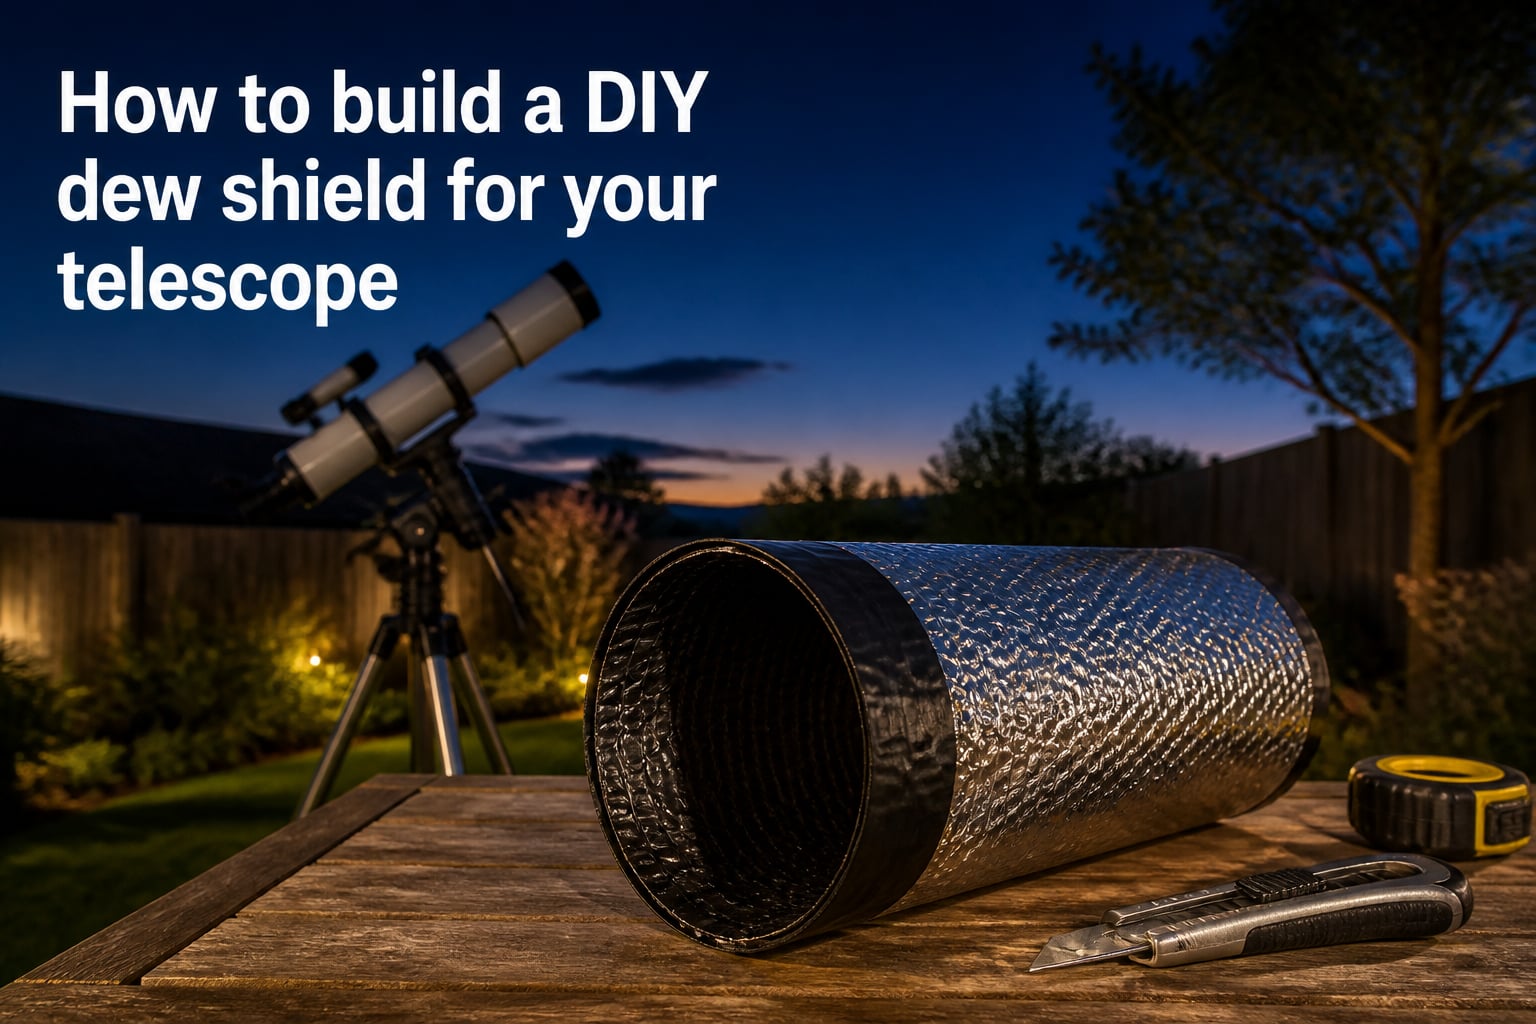
I lost my first deep-sky observation session to dew at 11:47 PM. The Orion Nebula was crisp for 90 minutes, then a faint haze crept across my eyepiece view. By midnight, the entire corrector plate was fogged. I packed up frustrated, having wasted three hours of drive time.
That was the night I built my first DIY dew shield. The materials cost $8, took about an hour to assemble, and I have not lost a session to dew since. In this guide, I will walk you through exactly how to build a DIY dew shield for your telescope using household items and basic tools. You will learn three proven construction methods, the 1.5x aperture sizing rule, and the climate-specific tips that most guides skip.
Table of Contents
What Is a Dew Shield and Why Your Telescope Needs One?
A dew shield is a cylindrical tube that extends from the front of your telescope to insulate the objective lens or corrector plate from the night sky. It works by reducing radiative cooling, the same process that leaves your car windshield fogged on a clear morning. Without one, your optics can drop below the dew point within an hour of observation.
Most amateur astronomers do not realize they need a dew shield until their first humid night. Commercial shields run between $60 and $150 and often take weeks to ship. The DIY dew shield for telescope route costs under $15 in materials and takes one to two hours to complete. I have built seven of them over the past decade for friends, club members, and my own growing collection of scopes.
Beyond dew prevention, a dew shield also blocks stray light from streetlights, porch bulbs, and passing car headlights. That bonus makes it useful even on dry desert nights when dew is not a concern.
How Dew Forms on Telescope Optics?
Dew forms on telescope lenses through a process called radiative cooling. Your telescope optics absorb heat from the surrounding air throughout the day. Once the sun sets on a clear night, the optics radiate that heat upward into the sky faster than the air can replace it. Within an hour, the glass temperature can drop 5 to 10 degrees below the ambient air temperature.
When the glass temperature crosses below the dew point, water vapor in the air condenses on the cold surface. You see this as a fine mist that gradually thickens into visible water droplets. Refractors, Schmidt-Cassegrain telescopes, and Maksutovs all have exposed front elements that are vulnerable to this effect.
Clear nights are the worst because there are no clouds to reflect radiated heat back down. That is the cruel irony of amateur astronomy. The best viewing conditions produce the fastest dew formation.
Choosing the Right Material for Your DIY Dew Shield
The best material depends on your telescope size, your climate, and how portable you need the shield to be. After testing five common options on refractors and Schmidt-Cassegrains, I have ranked them by effectiveness, cost, and ease of construction.
| Material | Cost | Weight | Best For | Durability |
|---|---|---|---|---|
| Reflectix bubble insulation | Low | Very light | Quick builds, travel | Medium |
| Foam yoga mat (closed cell) | Low | Light | Refractors, durability | High |
| Neoprene sheet | Medium | Medium | Premium feel, custom fit | Very high |
| Corrugated cardboard | Very low | Medium | Emergency builds, kids | Low |
| Quikrete concrete tube | Medium | Heavy | Large SCTs, 8 inch and up | Very high |
For most people building their first shield, Reflectix offers the best balance. I have a Reflectix shield that has lasted four years and counting on my 4 inch refractor. The insulation value is excellent, it rolls up for storage, and you can find it at any hardware store.
If you own a larger Schmidt-Cassegrain or Maksutov, a Quikrete tube from the concrete section of any hardware store gives you a rigid, professional-feeling shield. One forum user on Cloudynights built an 8 inch SCT shield from a 10 inch Quikrete tube in under 30 minutes.
Sizing Your Dew Shield: The 1.5x Aperture Rule
A dew shield should be 1.5 times the diameter of your telescope’s front aperture. That is the industry-standard sizing rule used by Celestron, SkyWatcher, and most commercial shield makers. For an 80mm refractor, your shield should extend roughly 120mm (4.7 inches) from the front of the tube.
The inner diameter should match your telescope tube outside diameter plus about 1/8 inch (3mm) for clearance. Too tight and the shield will not slide on. Too loose and it will wobble during use. Measure your tube carefully with calipers or a soft tape measure before cutting.
Avoid building a shield longer than 2x your aperture. Extra length does not improve dew prevention but does cause vignetting, which darkens the edges of your field of view. I made this mistake on my first build and lost 20% of my wide-field views before I trimmed it back.
Step-by-Step Construction Methods
Method 1: The Reflectix Wrap Shield (Fastest)
This method takes about 30 minutes and produces a lightweight, roll-up shield ideal for travel. I built this one before a star party last summer and it performed as well as my commercial shield.
Materials needed:
Reflectix insulation (24 inch by 10 foot roll, costs about $8)
Scissors or utility knife
Black gaffer tape or electrical tape
Velcro strip (12 inch piece)
Ruler or measuring tape
Step 1: Measure your telescope tube circumference. For a 4 inch refractor, expect around 12.5 inches.
Step 2: Cut a piece of Reflectix equal to your tube circumference plus 1 inch, and 1.5x your aperture in length.
Step 3: Wrap the Reflectix around your telescope tube to form a cylinder. The extra inch of overlap holds the shape.
Step 4: Secure the seam with black gaffer tape on the outside. Use electrical tape on the inside to prevent light reflection.
Step 5: Attach a Velcro strip at the open end so you can wrap and unwrap the shield for storage.
Step 6: Slide the shield onto your telescope. Adjust the fit by adding tape layers to the inside if needed.
Method 2: The Foam Yoga Mat Shield (Most Durable)
This build takes about 90 minutes and produces a rigid shield that lasts for years. Closed-cell foam from a yoga mat or camping sleeping pad works best because it does not absorb moisture.
Materials needed:
Closed-cell foam mat (0.25 inch thick, about $10-$15)
Sharp utility knife or foam cutter
Black spray paint (matte finish)
Contact cement or hot glue
Velcro or rubber bands for attachment
Step 1: Measure your tube diameter and the 1.5x aperture length.
Step 2: Cut a rectangular piece of foam with dimensions of (tube circumference + 1 inch) by (1.5x aperture length).
Step 3: Spray paint the inside surface matte black. This prevents internal reflections from degrading your view.
Step 4: Wait for the paint to dry fully (about 30 minutes).
Step 5: Apply contact cement to one long edge and 1 inch of the adjacent edge. Wrap the foam into a cylinder, overlapping the glued edges.
Step 6: Hold the seam tight for 5 minutes while the cement cures.
Step 7: Slide the shield onto your telescope. Trim any excess length if you notice vignetting.
Method 3: The Cardboard Tube Shield (Cheapest)
If you need a shield tonight and have zero time to shop, this method uses items you likely already own. It is not the prettiest solution, but it works in a pinch.
Materials needed:
Corrugated cardboard (cereal box, shipping box, or poster tube)
Aluminum foil
Black paint or black paper
Glue or tape
Scissors or box cutter
Step 1: Find a cardboard tube or sheet that is wide enough to wrap around your telescope tube.
Step 2: Cut the cardboard to (tube circumference + 1 inch) by (1.5x aperture length).
Step 3: Wrap the outside in aluminum foil for moisture resistance.
Step 4: Line the inside with black paper or paint it black to prevent reflections.
Step 5: Form a cylinder, secure the seam with strong tape.
Step 6: Attach with rubber bands or Velcro strips.
This method works but degrades quickly in humid conditions. I recommend it only for emergency use or for a single observing session.
Attachment Methods and Climate-Specific Tips
How you attach your dew shield matters as much as how you build it. Velcro strips offer the most secure attachment and are easy to remove. I prefer industrial Velcro with adhesive backing because it survives repeated handling.
Rubber bands work as a budget-friendly backup option. Stretch three or four thick bands around the shield where it meets the telescope tube. They grip well and cost almost nothing.
Friction fit works for snug shields but can slip during long sessions when temperature changes cause materials to expand and contract. Test your fit by gently pushing the mounted shield before trusting it to stay put.
For humid coastal climates and tropical regions, consider combining your dew shield with a low-power dew heater. The shield reduces radiative cooling by 70-80%, and a heater adds the final protection needed when humidity sits above 80%. I run both on my refractor during Florida winter sessions.
Dry desert observers (Arizona, Nevada, parts of Chile) rarely need more than a basic shield. Radiative cooling is less aggressive when humidity stays below 30%.
Common Mistakes to Avoid
The most common mistake is building a shield that is too short. A shield shorter than your aperture diameter does almost nothing. Stick to the 1.5x rule and you will be fine.
The second mistake is leaving the interior reflective. Light bouncing around inside the shield creates ghosting and reduces contrast. Always paint or line the inside matte black.
Sharp edges are another issue I see often. Cut foam and cardboard edges can scratch your telescope finish. Sand all edges smooth or cover them with black tape.
Finally, avoid attaching your shield so tightly that it leaves compression marks on your telescope tube. Slide-on designs should move freely with light resistance.
Store your shield flat or rolled in a dry place. Damp storage causes foam and cardboard shields to develop mold or warp over time.
Frequently Asked Questions
Do I need a dew shield for my telescope?
Yes, if you observe in humid climates or use a refractor, Schmidt-Cassegrain, or Maksutov telescope. Dew can form on optics within 60-90 minutes on clear nights, ending your session early. A dew shield is the most cost-effective prevention method and costs under $15 to build yourself.
How long should a telescope dew shield be?
A dew shield should be 1.5 times the diameter of your telescope aperture. For an 80mm refractor, that means a shield length of about 120mm (4.7 inches). Going longer than 2x aperture causes vignetting without improving dew protection.
How to stop dew on a telescope?
Use a dew shield to reduce radiative cooling, apply a dew heater strap for active warming, avoid pointing at clear sky sections, and bring optics inside to warm if dew forms. Combining a passive shield with a low-power heater works best in humid conditions above 70% humidity.
How do telescope dew shields work?
Dew shields work by creating an insulated barrier around the telescope front element. The shield traps a layer of air and prevents the optics from radiating heat directly into the cold night sky. This keeps the lens temperature above the dew point and prevents condensation from forming.
Final Thoughts on Building Your DIY Dew Shield
Building a DIY dew shield for your telescope takes one afternoon, costs under $15, and saves you from losing observation sessions to dew. I still use my original Reflectix shield from four years ago on my travel refractor, and the foam shield on my main scope has held up through hundreds of nights.
Start with the Reflectix method if this is your first build. The materials are cheap, the construction is forgiving, and the result will protect your optics for years. Once you see how well it works, you can experiment with foam or neoprene builds for your other scopes. Clear skies and dry optics to you in 2026.