
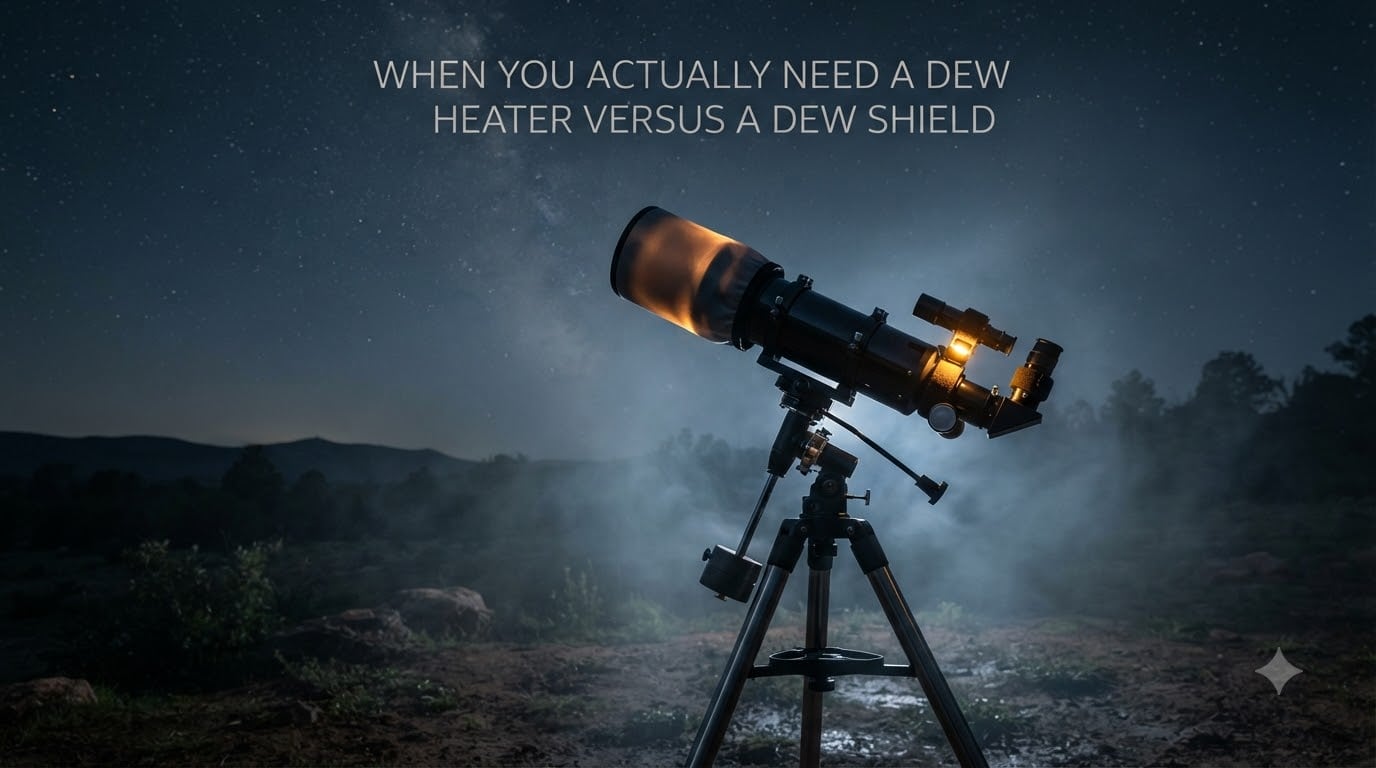
If you have ever watched a perfectly clear night turn into a foggy mess across your telescope’s optics, you have met the enemy every astronomer eventually faces: dew. I learned this the hard way on a cold autumn night, about 30 minutes after spotting what I thought was a textbook-perfect nebula. One minute I was tracking detail, the next I was watching water droplets form beads on my corrector plate. The question I get asked constantly, both from beginners and seasoned imagers, is simple: when do you actually need a dew heater versus a dew shield? The answer depends on your climate, your telescope, and how long you plan to observe.
In this guide, I will walk you through the real decision criteria: the physics of dew formation, how each tool works, the specific humidity and temperature thresholds that matter, and how the answer changes for astrophotography versus visual observing. I will also share the climate-specific guidance that rarely makes it into product reviews.
Table of Contents
Understanding Dew Formation on Telescope Optics
Dew forms on telescope optics when the temperature of the glass drops below the dew point of the surrounding air. The dew point is the temperature at which air becomes saturated and can no longer hold all of its moisture as vapor. Once a surface cools below that threshold, water condenses on it, exactly like a cold drink on a summer day.
Telescopes are especially vulnerable because of a phenomenon called radiative cooling. Your optics are pointed at the night sky, which sits around minus 270 degrees Fahrenheit in deep space. Even though the atmosphere itself is warmer, the optics radiate heat upward into that cold sky and lose energy faster than the surrounding air can replace it. This is why dew can form on a perfectly clear, cloudless night, when no rain is anywhere in the forecast.
Three factors determine whether dew will become a problem during a session: ambient temperature, relative humidity, and the temperature spread between your optics and the air. If relative humidity is above 70 percent, dew formation becomes likely as the night cools. If the temperature is dropping quickly, the optics will fall below the dew point even faster. Humid coastal climates, tropical regions, and humid summers in the Midwest are where dew goes from occasional nuisance to guaranteed showstopper.
How Dew Shields Work (Passive Protection)?
A dew shield is a tube that extends beyond the front of your telescope, shading the objective lens or corrector plate from the sky. It works by reducing the field of view that the optic can see. Instead of seeing a clear, cold sky in all directions, the optic only sees the warmer interior of the shield plus a smaller patch of sky. This drastically slows radiative cooling.
In practical terms, a dew shield buys you time. Many amateur astronomers report that a well-fitted dew shield delays dew formation by 30 to 90 minutes on a typical night. That extra time is often enough for a short visual session or for capturing a quick image before dew becomes a problem.
Dew shields also come with a nice secondary benefit: they block stray light. A longer shield improves contrast by preventing nearby streetlights and porch lights from reaching the optic at oblique angles. For urban observers, this is a real, measurable improvement on the eyepiece view.
The main limitation is that a dew shield only slows the cooling. It does not stop it. Given enough time, the optic will still reach the dew point. In humid conditions, that might be 10 minutes. In dry conditions, it might never happen at all. The shield also does not add heat, so when ambient temperature is already high and humidity is stagnant, you may still see condensation on accessories like finderscopes and eyepieces.
How Dew Heaters Work (Active Heating)
A dew heater is a flexible resistive heating element, usually a fabric strap with embedded wire, that wraps around the telescope’s objective, corrector plate, eyepiece, or finderscope. When powered, it adds a small amount of heat to the optic, keeping it just above the dew point. Most dew heaters run on 12V DC power, typically from a portable battery pack or your telescope’s power supply.
The heating is gentle, usually raising the optic 2 to 5 degrees Fahrenheit above ambient. That small temperature offset is enough to prevent condensation without distorting the view through the optic. You will not see heat shimmer or convection currents when the heater is sized correctly for the instrument.
Most serious dew heaters come with, or work with, a dew heater controller. The controller regulates how much power reaches the heating element, usually expressed as a percentage, and some advanced units use pulse-width modulation (PWM) to fine-tune output. A good controller lets you dial in just enough heat to keep the optic dry without draining your battery. Some “smart” controllers even include temperature and humidity sensors that automatically adjust output based on conditions.
The trade-off is power consumption. A typical dew heater strap pulls 1 to 2 amps at 12V when running at full power. Run a main optic heater, an eyepiece heater, and a finderscope heater simultaneously, and you can drain a small battery in 2 to 3 hours. This is why controllers matter: they extend runtime by typically 50 percent or more compared to running heaters at full power all night.
Dew Shield vs Dew Heater: Key Differences at a Glance
The dew shield vs dew heater question really comes down to passive versus active. A dew shield depends entirely on the environment and time. A dew heater creates its own heat, independent of conditions. Here is how they compare across the factors that matter most to amateur astronomers.
Power source: A dew shield needs none. A dew heater requires 12V DC power, which means batteries, cables, and a controller in your setup.
Effectiveness in high humidity: A dew shield slows dew but does not prevent it. A dew heater fully prevents dew on the heated optic as long as power is supplied.
Effectiveness in dry conditions: A dew shield is often sufficient on dry nights. A dew heater may be unnecessary.
Cost: A basic dew shield is typically an inexpensive accessory. A complete dew heater setup (heater, controller, cables, power) is a more significant investment.
Setup complexity: A dew shield is a slip-on accessory. A dew heater requires wrapping, power routing, and tuning.
Stray light reduction: A dew shield adds contrast by blocking off-axis light. A dew heater does not affect stray light.
Best for: Shields are best for short sessions in moderate conditions. Heaters are best for long sessions, humid climates, and astrophotography.
When You Actually Need a Dew Heater
You need a dew heater when passive protection is not enough to keep your optics dry. The most common scenarios are:
Humidity above 70 percent: When relative humidity is consistently high, dew will form on optics within minutes of exposure, even with a dew shield. A heater is the only reliable solution.
Long imaging sessions: Astrophotographers running 3-to-6-hour sequences need their optics to stay clear for the entire duration. A dew shield might delay problems for an hour, but it will not last the night. A heater is essentially mandatory for serious deep-sky imaging.
Schmidt-Cassegrain telescopes: SCT correctors are large, exposed glass elements that radiate heat rapidly. Even experienced visual observers often report dew on SCT corrector plates within an hour of setup. A heater is the standard solution in the SCT community.
Cool nights with rising humidity: Many locations, especially inland areas, see humidity climb as the night progresses. A dew heater lets you adapt to changing conditions without ending the session early.
Cold-weather observing: When temperatures drop toward freezing, the dew point sits very close to ambient temperature. Any small cooling puts the optic below the dew point. A heater provides the margin you need.
Multiple optical surfaces: If you battle dew on the finderscope, eyepiece, and main optic simultaneously, a heater on each surface is the only practical solution. Shields only fit on the main objective.
When a Dew Shield Is All You Need
You can often get away with a dew shield alone when conditions are mild and your session is short. Common scenarios include:
Dry climates with humidity below 50 percent: In arid regions like the American Southwest, dew is rarely a problem. A simple shield protects against stray light more than dew itself.
Short visual sessions: If you set up for 30 to 60 minutes of casual viewing, a dew shield almost always provides enough protection. By the time dew becomes a real issue, you are packing up.
Refractors with closed tubes: Some refractor designs have objectives that are well-protected inside the tube and rarely fog. A shield might be all you ever need for visual use.
Summer nights with low humidity: Warm, dry summer evenings often produce no dew at all. A shield is insurance, not necessity.
Beginners on a budget: If you are just starting out and want to keep the setup simple, a dew shield is the cheapest first step. You can always add a heater later.
Climate and Humidity Guidelines
Specific thresholds help you decide in real time. Use this as a starting point, then adjust based on your local conditions:
Below 50 percent humidity: Dew is unlikely. A dew shield is usually sufficient for visual use. A heater is overkill.
50 to 70 percent humidity: Dew becomes possible, especially late in the session. A dew shield is helpful. A heater is a comfort, not a necessity, for visual use but recommended for imaging.
70 to 85 percent humidity: Dew is likely. A dew shield alone will only delay the problem. A heater is recommended for any session longer than an hour.
Above 85 percent humidity: Dew is almost certain. A dew heater is essential, even for short sessions. Use multiple heaters for finderscope and eyepiece too.
Regional patterns also matter. Coastal observers in places like Florida, the Pacific Northwest, and the UK face dew on most clear nights. Inland and desert observers may go months without serious dew. If you observe in a humid subtropical climate, plan for dew as the default, not the exception.
Dew Protection for Astrophotography vs Visual Observing
Astrophotography raises the stakes. When you invest hours collecting photons on a single target, even a brief episode of dew can ruin individual subframes. Guiding errors, lost detail, and full-image artifacts are common when dew forms partway through a sequence.
For long-exposure imaging, I recommend a heater on every optical surface that touches the sky: main optic, finderscope, guide scope, and any imaging accessories. A dew shield is a nice supplement, but it is not a substitute. Many imagers run their heater at 20 to 40 percent power throughout the night, just enough to keep the optics above the dew point without draining the battery.
Visual observers have more flexibility. A small amount of dew late in the session is often tolerable, just pack up a bit early. A dew shield is usually enough for sessions under two hours in moderate humidity. Save the heater for the nights you really want to stay out, or when your local humidity regularly climbs above 70 percent.
Telescope Type Considerations
Refractors: Modern refractor objectives are housed inside the tube and are less prone to dew than exposed correctors. A dew shield is usually sufficient for visual use. A heater is needed for long imaging sessions or in very humid climates.
Schmidt-Cassegrain telescopes (SCTs): The large front corrector plate is the most dew-prone surface in amateur astronomy. SCT dew is so common that many owners treat a heater as essential gear. A dew shield helps but rarely eliminates the problem.
Maksutov-Cassegrain telescopes (Maks): The thick corrector is smaller and a bit less prone to dew than an SCT, but still exposed. A heater is helpful in humid climates, and a shield is a good complement.
Newtonian reflectors: The primary mirror is housed inside the tube and rarely fogs. The secondary mirror and focuser draw tube can form dew in extreme conditions, but most Newtonian owners never need either a shield or a heater.
Finderscopes and eyepieces: These small optical surfaces are often the first to fog. Many astronomers forget to protect them until the finderscope is coated in condensation. A small heater strap or a simple shade solves this. A dew shield rarely fits on these accessories.
Practical Decision Guide for Choosing Between a Dew Heater and Dew Shield
Use this step-by-step framework when deciding what to buy or when to use what you already own.
Step 1: Check the weather forecast. Look at the evening humidity and the expected temperature drop. If humidity stays below 60 percent and the temperature drop is moderate, a dew shield is enough for visual use.
Step 2: Identify your session length. Under 90 minutes and a dew shield handles most conditions. Over 90 minutes in moderate humidity, you likely want a heater.
Step 3: Consider your telescope type. SCT and Maksutov owners should default to a heater as part of their standard setup. Refractor and Newtonian owners can prioritize a shield.
Step 4: Match your activity. Visual observers can stretch the use of a shield. Astrophotographers should plan for a heater from the start.
Step 5: Start with a shield, add a heater later. If you are buying your first accessory, a dew shield is the cheapest way to reduce dew and stray light. A heater is the next logical upgrade.
Step 6: Combine both for serious imaging. Many experienced astrophotographers use a dew shield plus a heater. The shield reduces the heater’s workload, which extends battery life and provides redundant protection if the heater fails.
Step 7: Watch for warning signs. If you see the first hint of moisture on your optic, that is when you turn on the heater. Don’t wait until the entire surface is fogged. Many heaters take 10 to 15 minutes to fully warm up, so a slow ramp-up is wasted time.
Frequently Asked Questions
Is a dew shield necessary?
A dew shield is necessary for any telescope used in moderate to humid conditions. It slows radiative cooling, delays dew formation, and reduces stray light. It is the cheapest first defense against dew. It is not strictly necessary in very dry climates with humidity consistently below 50 percent, but it is still useful for blocking off-axis light.
When to use a dew heater?
Turn on a dew heater when humidity exceeds 70 percent, when ambient temperature drops toward the dew point, or when starting an imaging session longer than 90 minutes. Heaters are also essential for Schmidt-Cassegrain telescopes, eyepieces, and finderscopes in humid climates. Many astronomers turn the heater on at the start of the session as a precaution.
Do I need a dew heater controller?
A dew heater controller is highly recommended for any serious dew setup. It lets you adjust the power output to match conditions, which prevents overheating and extends battery life. Without a controller, you run the heater at full power constantly, which wastes energy and can shorten imaging sessions on battery power. Smart controllers with temperature sensors provide automatic adjustment.
How do dew shields work, and do they eliminate the need for a dew heater?
A dew shield extends beyond the front of the telescope, blocking the optic’s view of the cold night sky. This slows radiative cooling and delays dew formation. A shield does not eliminate the need for a heater in humid conditions or for long sessions. It only reduces the rate at which the optic cools. After an hour or two, dew will still form in most humid environments.
Can I use both a dew shield and heater together?
Yes, and many experienced astrophotographers recommend it. The shield reduces the heater’s workload, which extends battery life. The combination provides redundant protection if the heater fails or the session runs longer than expected. This is the standard setup for serious deep-sky imaging in humid climates.
Conclusion
The dew heater vs dew shield decision comes down to your climate, your session length, and your telescope. A dew shield is the right first accessory for almost any amateur astronomer, especially in dry climates and for short visual sessions. A dew heater becomes essential when humidity climbs above 70 percent, when you are running long imaging sessions, or when you own a dew-prone telescope like an SCT. If you can, combine both: the shield reduces the load on the heater, extends battery life, and gives you a backup if anything fails. The best part? Once you have the right setup, you stop thinking about dew and start thinking about what you came out to see.