
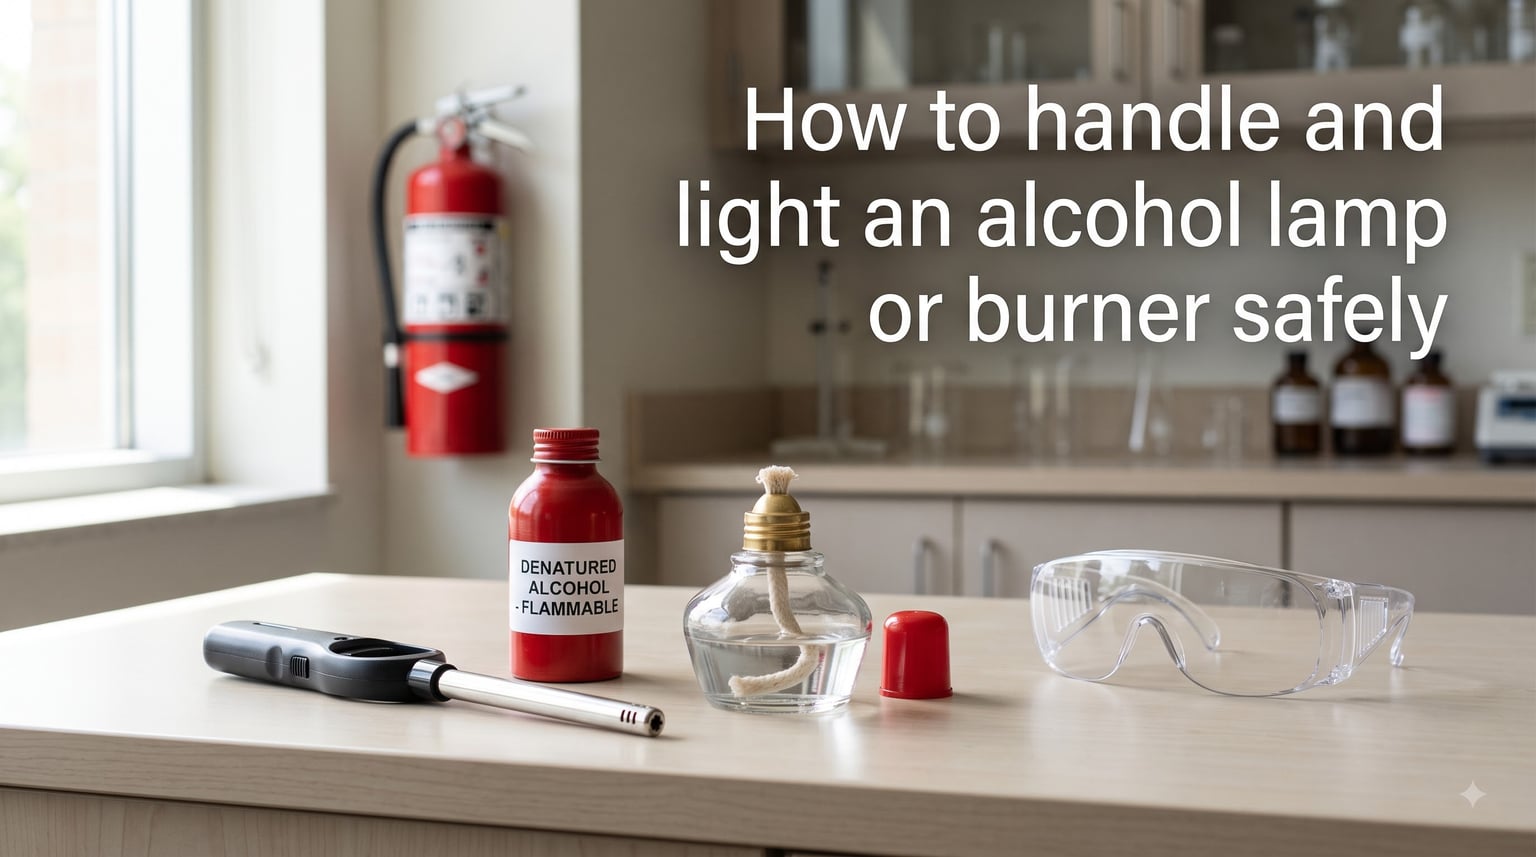
An alcohol lamp is one of the simplest pieces of lab equipment in existence, and that simplicity is exactly what makes it dangerous in untrained hands. I have watched graduate students knock over lit burners, seen hobbyists fill reservoirs to the brim, and read forum posts from people who tried to put vegetable oil in a wick designed for alcohol. Every one of those stories ended with a scorch mark, a hospital visit, or a near miss.
This guide walks you through how to handle and light an alcohol lamp or burner safely from start to finish. You will learn which fuels are safe, which produce carbon monoxide, how to extinguish the flame the right way, and what mistakes to avoid. Whether you are a microbiology student, a jeweler heating wax, or a chemistry hobbyist, the same five-step process applies.
SAFETY WARNING: Read Before Lighting Anything
Alcohol flames are nearly invisible in bright light and produce carbon monoxide when burned in enclosed spaces. Always work in a ventilated area, keep a Class B fire extinguisher within arm’s reach, and never fill, light, or move an alcohol lamp near an open flame. If you smell a sharp solvent odor, the vent is clogged or fuel is spilling, stop immediately and ventilate the room.
Table of Contents
What Is an Alcohol Lamp and How Does It Work?
An alcohol lamp, also called a spirit lamp or alcohol burner, is a small open-flame device that burns alcohol fuel to produce a controllable heat source. Most have a glass or metal reservoir for the fuel, a cotton or fiberglass wick, and a vent hole that lets air in and pressure equalize as the fuel vaporizes.
The science is straightforward. Liquid fuel travels up the wick through capillary action. At the top of the wick, the alcohol vaporizes, mixes with air, and ignites at a temperature above its flashpoint. The flame you see is the alcohol vapor combusting, not the liquid itself. That distinction matters because underfilling can starve the wick while overfilling can spill fuel and ignite the reservoir.
Spirit Lamp vs Alcohol Burner: Key Differences
The terms are used interchangeably, but there are subtle differences. A spirit lamp usually refers to the small glass flask style with a ground-glass stopper, common in microscopy and chemistry classrooms. An alcohol burner is the broader term and often describes sturdier brass or stainless-steel models with a screw cap and adjustable wick housing, used in jewelry and metalworking.
For practical purposes, both work the same way, and both require the same safety steps. Functionally, your safety checklist does not change based on which type you have on the bench.
How the Wick and Fuel Reservoir Create a Flame
The wick is the heart of the lamp. Cotton wicks are cheap and easy to replace but burn out faster. Fiberglass wicks last longer and tolerate higher temperatures, which is why most professional burners ship with them. The wick sits in a metal holder that screws into the reservoir cap, and the reservoir itself holds anywhere from 30 mL to 250 mL of fuel.
The little hole you see near the top of the cap is the pressure equalization vent. It is not optional. Without it, as the fuel warms and vaporizes, pressure builds inside the sealed reservoir. The flame can sputter, jump, or in extreme cases push liquid fuel out through the wick. Always make sure that vent is clear before you light the lamp.
Critical Safety Precautions Before You Light Anything
Before we get to the lighting procedure, I want to spend some time on the safety basics that most guides rush through. The USC Environmental Health and Safety lab burner safety guide treats alcohol burners as a serious fire source, and you should too. According to their guidance, negligence with an alcohol burner is one of the most common causes of undergraduate lab incidents.
The Carbon Monoxide Warning Nobody Talks About
Yes, alcohol lamps produce carbon monoxide. The McCrone Microscopes Society technical bulletin and several university EHS offices confirm that incomplete combustion of alcohol fuels, especially methanol and isopropyl alcohol, generates CO along with formaldehyde and other irritants.
In a well-ventilated room, the concentration stays below dangerous thresholds. In a small enclosed room, basement, or sealed workshop, it does not. Treat alcohol lamps the same way you would treat a kerosene heater: never run one in an unventilated space for an extended period, and install a CO detector if you light one indoors regularly.
Ventilation, PPE, and Fire Extinguisher Setup
Before every lighting, run through this checklist. I keep it taped to my bench.
Work area is clear of paper, solvents, and other flammables within 12 inches.
Class B fire extinguisher or fire blanket is within reach.
Fume hood or open window is providing fresh air exchange.
Lab coat, safety glasses, and closed-toe shoes are on. Long hair is tied back.
Fuel container is capped and stored away from the lamp until you are ready to fill.
If any of these fail, do not light the lamp. Fix the setup first.
Choosing the Right Fuel for Your Alcohol Lamp
Fuel selection is where most beginners make mistakes. The three common options are denatured ethanol, methanol, and isopropyl alcohol. Each has a different flashpoint, heat output, and toxicity profile. Picking the right one keeps your flame clean, your work safe, and your lungs healthy.
Denatured Ethanol: The Common Default
Denatured ethanol is ethanol with a small amount of poison or bitterant added to make it undrinkable. It is the most popular fuel for alcohol lamps because it burns cleanly, has a high heat output, and is widely available in hardware stores. In the United Kingdom, this is sold as methylated spirit, though the formulation differs slightly.
For most lab and hobby use, denatured ethanol is the safest choice. The flame is hot enough for basic heating and sterilization tasks, and the soot production is minimal when the wick is properly trimmed.
Methanol: Hotter but Riskier
Methanol burns hotter than ethanol, which is why some microscopy and thin-layer chromatography protocols specify it. The trade-off is toxicity. Methanol flames produce invisible UV radiation and metabolize into formic acid if inhaled in quantity. If you must use methanol, do so only in a fume hood and never in a closed room.
For home and classroom use, I recommend skipping methanol entirely. Denatured ethanol does the job for almost every application.
Isopropyl Alcohol: Should You Use It?
You can use 90 percent or higher isopropyl alcohol in an alcohol lamp, and it is the recommended fuel for many commercial burners because it is easy to find and burns relatively cleanly. The major drawback is that lower concentrations, like 70 percent rubbing alcohol, contain too much water and the flame will sputter or go out entirely.
If you use isopropyl, stick with 90 percent or higher purity. Burning rubbing alcohol is not technically toxic, but the water content prevents the wick from getting hot enough to combust reliably, leading to the common forum complaint of a flame that smells weird and dies for no reason.
Fuels to Never Put in an Alcohol Lamp
Never use gasoline, acetone, lighter fluid, vegetable oil, or any fuel other than alcohol. Each one of these has a flashpoint and combustion behavior that the lamp was not designed for. Vegetable oil will not even travel up a cotton wick. Gasoline will ignite the reservoir and produce a fireball. The rule is simple: alcohol fuel only, and only in a lamp rated for it.
How to Handle and Light an Alcohol Lamp Safely: Step-by-Step
Now the actual procedure. Follow these steps every time, in this order, even if you have done it a hundred times. Repetition is what prevents the kind of accident that happens when a senior researcher gets comfortable.
Step 1: Workstation Preparation Checklist
Clear a 12-inch radius around the lamp area. Remove notebooks, loose paper, and any solvent bottles. Confirm the fire extinguisher is in reach and the room is ventilated. Put on safety glasses and a lab coat. If you are working in a kitchen or living space, line the work area with a metal tray or ceramic tile to catch any spills.
Step 2: Inspect the Lamp and Wick
Check the wick for fraying, char, or any material that is not cotton or fiberglass. Trim the wick so it sits flush with the wick holder, no more than 3 mm above the metal cap. A wick that is too long will flare and produce soot. A wick that is too short will not draw fuel properly.
Look at the vent hole. Make sure it is clear of debris, old wick fragments, or dried fuel residue. Blockage here is the number one cause of pressure buildup and flame sputter.
Step 3: Fill the Reservoir Safely
Take the lamp to a separate area away from any flame. Use a small funnel or a squeeze bottle designed for fuel. Fill the reservoir only two-thirds full. Overfilling is the most common cause of fuel spilling out of the vent when the lamp warms up, and that spill will ignite.
Wipe the outside of the lamp dry with a clean cloth. Any spilled alcohol on the glass or metal will ignite when you light the wick, and the flame can travel up the reservoir to the spill source.
Step 4: Light the Wick Correctly
Place the lamp on a flat, non-flammable surface. Use a long-reach lighter or a match. Hold the flame to the tip of the wick for three to five seconds until the alcohol vapor ignites. Do not use a short match or a cigarette lighter. Your fingers should be at least six inches from the wick the entire time.
Once the wick is lit, you will see a small blue or yellow flame. If the flame is large, jumpy, or producing black smoke, the wick is too long or the fuel is contaminated. Extinguish it, trim the wick, and start over.
Step 5: Adjust the Flame Size
Most quality lamps have a wick adjuster that raises or lowers the wick within the holder. Turn the adjuster slowly to find the smallest flame that does the job. A smaller flame is safer, uses less fuel, and produces less combustion byproducts. You should be able to see the flame clearly without leaning in.
Never leave a lit alcohol lamp unattended. If you need to step away, extinguish it first.
How to Extinguish an Alcohol Lamp Properly?
Extinguishing matters as much as lighting. The wrong method sends flaming fuel droplets into the air, and the right method is part of every standard lab safety protocol.
Use the Cap or Snuff Cover, Not Your Breath
The safest way to put out an alcohol lamp is to place the cap, snuffer, or ground-glass stopper over the wick using tongs or a heat-resistant tool. Never blow it out. Blowing can push liquid fuel out of the wick, cause a flare-up, or send hot wick fragments flying.
The University of Southern California EHS guide for laboratory burners confirms this method. If a cap is not available, a small metal snuffer or even an inverted ceramic dish works.
Let the Burner Cool Before Refilling
After extinguishing, wait at least five minutes for the wick and reservoir to cool. Refilling a hot lamp is a serious fire hazard because the fuel vapor can ignite on contact with the hot metal. If you need to refill during a long session, consider having a second lamp ready so you can keep working while the first one cools.
Common Mistakes and Fire Hazards to Avoid
Most alcohol lamp accidents come from a small set of recurring mistakes. Knowing these in advance keeps you out of the emergency room.
Overfilling the Reservoir
Filling past the two-thirds line is the single most common error. As the lamp warms, the liquid fuel expands and liquid can climb the wick through capillary action, sometimes spilling out of the vent. If you ever see fuel bubbling around the wick holder instead of burning cleanly, the lamp is overfilled or has a vent problem. Extinguish it, let it cool, and refill properly.
Ignoring the Pressure Equalization Vent
That tiny hole near the cap is the most important safety feature on your lamp. Forum users on r/microbiology and r/jewelrymaking regularly report flame sputter and uneven burning that traces back to a clogged vent. Clean it with a pin or thin wire as part of your routine maintenance.
Using Alcohol Lamps in Biosafety Cabinets
This is the dangerous mistake that keeps showing up in lab safety incident reports. Biosafety cabinets move air inward and downward to protect the operator, and an open flame disrupts that airflow. Most universities explicitly prohibit alcohol lamps inside Class II biosafety cabinets for this reason. Use a disposable inoculating loop with an electric incinerator or autoclave instead. Your safety officer will thank you.
Wick Maintenance, Storage, and Long-Term Care
A well-maintained lamp lasts for years. A neglected one becomes a fire hazard after a few months.
Trimming and Replacing the Wick
Trim the wick every four to five uses to remove char and keep the flame steady. Replace the wick entirely when it shows signs of fraying, persistent soot, or when the flame starts to lean to one side. Replacement wicks cost almost nothing and take about 30 seconds to install.
Cleaning Residue and Storing Fuel Separately
Wipe the outside of the reservoir with a dry cloth after every use. If fuel residue builds up on the cap threads, the cap can stick, and forcing it can damage the seal. Store fuel in its original labeled container, away from heat sources, and never in a container that looks like a beverage bottle. The McCrone Microscopes Society warns that this is how accidental ingestions happen.
Frequently Asked Questions About Alcohol Lamp Safety
These are the questions people actually ask before they light their first lamp. The answers come from university EHS documents, the McCrone technical bulletin, and years of forum discussion.
Do alcohol lamps produce carbon monoxide?
Yes. Alcohol lamps produce small amounts of carbon monoxide along with other combustion byproducts like formaldehyde and acetaldehyde. In a well-ventilated room the concentration is negligible, but in enclosed spaces it can build up to unsafe levels. Always work in a ventilated area and consider installing a CO detector if you use an alcohol lamp regularly indoors.
Is burning isopropyl alcohol toxic?
Burning 90 percent or higher isopropyl alcohol produces some carbon monoxide and acetone fumes, but the levels are low and not acutely toxic in a ventilated room. Lower concentrations like 70 percent rubbing alcohol are also not acutely toxic, but the high water content causes the flame to sputter and produce more irritants. Use 90 percent or higher isopropyl only, and never burn it in an enclosed space.
Are an alcohol lamp and alcohol burner the same thing?
Functionally, yes. Both refer to a small open-flame device that burns alcohol fuel through a wick. The term spirit lamp usually refers to the small glass flask style with a ground-glass stopper, while alcohol burner often describes heavier brass or stainless-steel models with a screw cap. Safety procedures are identical for both.
What are the disadvantages of using an alcohol lamp?
The main disadvantages are: limited heat output compared to a Bunsen burner or torch, nearly invisible flame in bright light, carbon monoxide and irritant production in enclosed spaces, fire risk from overfilling or improper extinguishing, and the temptation to use wrong fuels like vegetable oil or gasoline. Alcohol lamps also cannot be safely used inside biosafety cabinets.
Can you use isopropyl alcohol in an alcohol lamp?
Yes, 90 percent or higher isopropyl alcohol works well in most alcohol lamps and is the recommended fuel for many commercial burners. Avoid 70 percent rubbing alcohol because the water content prevents reliable combustion. Denatured ethanol is generally a cleaner-burning option if you have a choice.
Can you use oil in an alcohol lamp?
No. Vegetable oil, mineral oil, and other non-alcohol fuels do not wick properly through a cotton or fiberglass wick and will not produce a steady flame. Worse, fuels like gasoline or lighter fluid have flashpoints and combustion behavior that the lamp was not designed for, creating an immediate fire hazard. Use alcohol fuel only.
Final Thoughts: How to Handle and Light an Alcohol Lamp or Burner Safely
The full process of how to handle and light an alcohol lamp or burner safely comes down to three habits: prepare the workspace before every session, use the right fuel at the right level, and never bypass the cap-on-extinguishing rule. These habits are what separate the experienced users from the emergency room statistics.
If you are just getting started, practice the lighting and extinguishing steps with an empty lamp first. Once the muscle memory is there, the safety steps follow automatically. And if you ever smell something sharp, see the flame change shape, or notice fuel leaking, stop, ventilate, and reset. The alcohol lamp is one of the oldest tools in science, and it remains useful precisely because it rewards careful handling.