
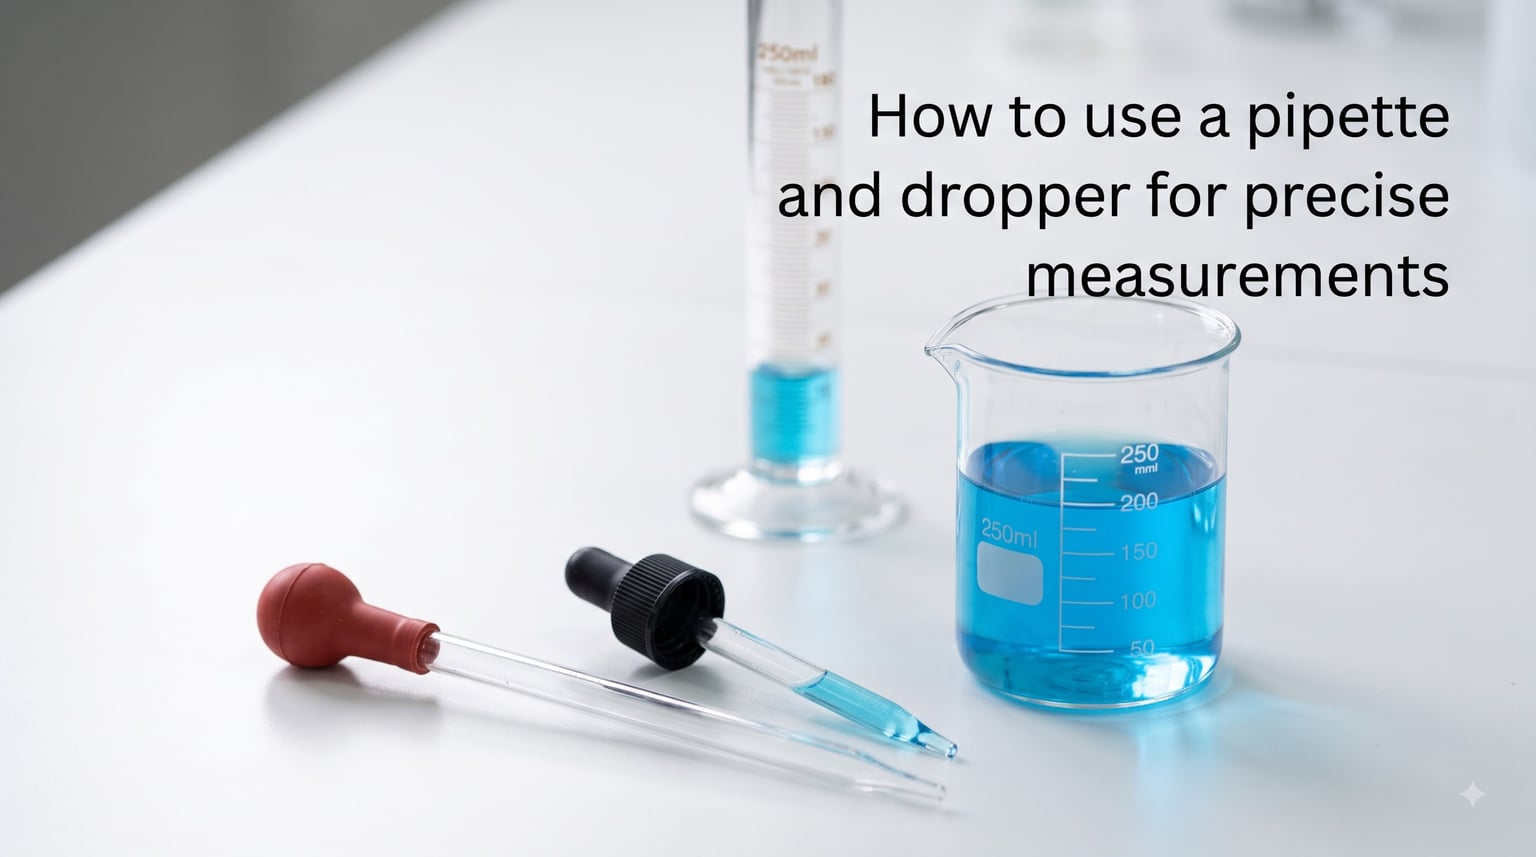
Whether you are running a titration in a chemistry lab, preparing PCR samples, or measuring tinctures at home, knowing how to use a pipette and dropper for precise measurements can make or break your results. I have spent years in laboratory settings watching small pipetting errors snowball into unusable data. A single off-by-twenty-microliter mistake in a serial dilution can throw off an entire experiment. That is why getting the fundamentals right matters so much.
In this guide, our team breaks down everything you need to know about pipetting technique. We cover the different types of pipettes and droppers, walk through step-by-step usage instructions, explain how to read a meniscus, and share the most common mistakes that ruin precision. By the end, you will have a clear, practical understanding of how to handle liquid measurements with confidence.
Table of Contents
Understanding Accuracy vs Precision in Pipetting
People use accuracy and precision interchangeably, but they describe two different things. Accuracy refers to how close your measured volume is to the true or target volume. Precision refers to how consistently you can repeat that measurement across multiple attempts. A pipette can be accurate but not precise, precise but not accurate, both, or neither.
Think of it like throwing darts. If all your darts land near the bullseye but scatter around it, you are accurate but not precise. If all darts cluster tightly in one spot far from the bullseye, you are precise but not accurate. The goal in pipetting is to hit both: the same correct volume every single time.
Several factors influence accuracy and precision, including temperature, tip immersion depth, pipetting speed, and the viscosity of your liquid. We will address each of these throughout this guide. Understanding the distinction between these two concepts helps you troubleshoot when something goes wrong. If your readings are consistent but wrong, you likely have a calibration problem. If your readings are scattered, your technique needs work.
Types of Pipettes and Droppers Explained
Choosing the right tool is the first step toward precise measurements. Each type of pipette and dropper is designed for a specific volume range and level of accuracy. Using the wrong one for your application is a guaranteed way to introduce error.
Volumetric Pipettes
Volumetric pipettes are the gold standard for accuracy. They have a single calibration mark and are designed to measure one exact volume, such as 25 mL. These pipettes typically carry a Class A tolerance rating, meaning they meet strict analytical chemistry standards. Use volumetric pipettes for titrations, standard solution preparation, and any work where you need the highest possible accuracy.
Graduated Pipettes
Graduated pipettes have markings along the length of the tube, allowing you to measure variable volumes. Serological pipettes fall into this category and are common in cell culture and microbiology labs. They are less accurate than volumetric pipettes but far more flexible. Choose graduated pipettes when you need to dispense multiple different volumes from the same instrument.
Pasteur Pipettes
Pasteur pipettes are simple glass or plastic tubes with a drawn-out tip and a rubber bulb. They are not calibrated for precise measurement. Their job is liquid transfer, not quantification. Use them for moving reagents between containers or performing rough qualitative work.
Micropipettes
Micropipettes handle small volumes, typically ranging from 0.1 microliters to 10 milliliters. They use an air-displacement piston mechanism for most applications and a positive-displacement mechanism for viscous or volatile liquids. Most micropipettes feature a digital display for volume setting, disposable tips, and an ergonomic grip. These are the workhorses of molecular biology, biochemistry, and medical diagnostics.
Dropper Pipettes
Dropper pipettes, the kind you see on tincture bottles and in essential oil kits, are the least precise of the group. Drop size varies significantly based on the liquid’s surface tension, viscosity, and temperature. A drop of water and a drop of oil are not the same volume. Droppers work fine for approximate dosing but should never replace a calibrated pipette when accuracy matters.
Glass vs Plastic Pipettes: Which Should You Use?
The material of your pipette affects accuracy, reusability, cost, and environmental impact. Glass pipettes, particularly borosilicate glass, are chemically inert, autoclavable, and reusable. They maintain their calibration over many uses when handled properly. The downside is that they break easily and require thorough cleaning between uses to prevent cross-contamination.
Plastic pipettes are disposable, which eliminates cleaning time and contamination risk. They are ideal for fieldwork, teaching labs, and applications involving hazardous materials where you want to avoid cleaning. However, single-use plastic generates significant waste, and many researchers are looking for reusable alternatives to reduce their environmental footprint.
For analytical chemistry and any work requiring Class A tolerances, glass is the standard. For cell culture, clinical diagnostics, and high-throughput work, disposable plastic is often the practical choice. Consider your accuracy requirements, budget, and sustainability goals when deciding.
How to Use a Pipette and Dropper for Precise Measurements?
This is the core of what you came here for. Below are step-by-step instructions for the two most common pipetting scenarios: using a glass pipette with a rubber bulb and using a micropipette. Follow each step carefully, and your precision will improve immediately.
Using a Glass Pipette with a Rubber Bulb
Step 1: Attach the rubber bulb firmly to the top of the pipette. A loose seal means you will lose suction and draw in air instead of liquid.
Step 2: Squeeze the bulb before submerging the tip in the liquid. Never submerge the tip and then squeeze, as this can force air bubbles into your sample.
Step 3: Place the tip below the surface of the liquid. Keep it submerged but do not let it touch the bottom of the container, where it might pick up sediment.
Step 4: Slowly release pressure on the bulb to draw liquid up past your desired calibration mark. Draw slightly more than you need.
Step 5: Remove the tip from the liquid and wipe the outside with a lint-free wipe. Do not touch the opening, as this would wick liquid out.
Step 6: Hold the pipette vertically against the calibration mark at eye level. Touch the tip to the inside wall of the receiving container and slowly squeeze the bulb to dispense down to the mark.
Step 7: For most graduated and volumetric pipettes, touch the tip against the container wall to drain the residual drop. Check whether your pipette is calibrated for blow-out delivery, which requires expelling the last drop with the bulb.
Using a Micropipette
Step 1: Set the volume by turning the plunger dial. Never overshoot the volume range, as this damages the internal mechanism.
Step 2: Attach a clean, compatible tip and press it on firmly. A loose tip lets air escape and ruins your measurement.
Step 3: Hold the micropipette vertically and depress the plunger to the first stop. This is your aspiration point.
Step 4: Immerse the tip into the liquid at a 15 to 45 degree angle. Submerge to the recommended depth, usually 1 to 3 millimeters for small volumes and up to 6 millimeters for larger volumes.
Step 5: Smoothly release the plunger over one to two seconds. Wait one second after the plunger reaches the top to ensure all liquid enters the tip.
Step 6: Withdraw the tip from the liquid and touch it against the inside wall of the receiving vessel.
Step 7: Depress the plunger past the first stop to the second stop to blow out the residual liquid.
Step 8: Eject the tip into a waste container using the tip ejector.
Using a Dropper Pipette
Squeeze the bulb, submerge the tip, and slowly release to draw liquid. Hold the dropper vertically when dispensing for the most consistent drop size. Count drops carefully and remember that drop volume changes with liquid properties. For any measurement where accuracy matters, switch to a calibrated pipette.
How to Read a Meniscus Correctly?
The meniscus is the curved surface of a liquid inside a narrow tube. Most liquids, including water, form a concave meniscus that curves downward at the center. Mercury is a rare exception, forming a convex meniscus that curves upward.
To read a concave meniscus correctly, position your eye level with the liquid surface. Look at the bottom of the curve where the liquid meets the glass. That lowest point is your measurement line. Reading from above or below introduces parallax error that can shift your reading by several percent.
For a convex meniscus, read the top of the curve instead. Always hold the pipette at eye level, not tilted, when taking a reading. This small habit eliminates one of the most common sources of measurement error in teaching and research labs alike.
Common Pipetting Mistakes and How to Avoid Them
Our team has seen the same mistakes repeat across labs, classrooms, and home settings. Here is a checklist of errors to watch for and how to fix each one.
Reversing the pipetting order. Always depress the plunger before immersing the tip. Reversing this creates aerosols and bubbles that throw off volume.
Pipetting too fast. Aspirating or dispensing rapidly traps air in the tip. Aim for a smooth one-to-two second motion at every step.
Wrong immersion depth. Too shallow and you draw air. Too deep and you coat the outside of the tip with liquid that transfers into your sample. Match the depth to the tip size.
Using the wrong tip volume. Each tip has a volume range. Forcing a large-volume tip onto a small micropipette or vice versa leads to inconsistent seals.
Not pre-rinsing the tip. The first aspiration coats the inside of the tip with a thin film of liquid. Pre-rinse by aspirating and dispensing once before your actual measurement. This improves consistency across replicates.
Holding the pipette horizontally. After aspiration, liquid can run into the shaft and contaminate the piston. Always keep a micropipette nearly vertical when liquid is in the tip.
Ignoring temperature effects. Pipettes are calibrated at room temperature. Pipetting cold liquids or hot liquids changes the air cushion inside an air-displacement pipette, introducing error. Let samples equilibrate to room temperature when possible.
Skipping the second stop. The blow-out step on a micropipette exists for a reason. Forgetting it leaves residual liquid in the tip, under-delivering your volume.
Pipette Calibration and Maintenance Basics
Calibration is how you verify that your pipette delivers the volume it claims to. For micropipettes, gravimetric calibration is the standard method. You dispense a volume of distilled water onto an analytical balance, record the mass, and convert to volume using the density of water at that temperature.
Here is a simplified calibration procedure: Set your pipette to a target volume, such as 100 microliters. Dispense ten replicates of distilled water onto a calibrated balance. Record each mass and calculate the mean. Convert the mean mass to volume. Compare the result to the manufacturer’s tolerance specifications. If the mean falls outside tolerance, adjust the pipette or send it for service.
Calculate accuracy by comparing your mean delivered volume to the target volume. Calculate precision by computing the coefficient of variation, which is the standard deviation divided by the mean, expressed as a percentage. A coefficient of variation under one percent is generally acceptable for most micropipettes.
For maintenance, clean the exterior after each use with a lint-free wipe and 70 percent ethanol. Inspect the shaft and piston for residue buildup. Replace O-rings and seals according to the manufacturer’s schedule. Store pipettes vertically on a stand, never laid flat on the bench with liquid in the tips. Have your micropipettes professionally serviced and recalibrated at least once per year, or more frequently in high-volume labs.
Accessibility and Ergonomics in Pipetting
Pipetting is a repetitive motion task. Over time, thumb fatigue and wrist strain can degrade both comfort and precision. Choose a micropipette with a low plunger force and a contoured grip. Adjust the volume setting between pipetting sessions rather than cranking the dial under load. Take short breaks every 30 minutes to stretch your hand and wrist.
Accessibility is rarely discussed in pipetting guides, but it matters. For users who are blind or have low vision, standard graduated markings on glass pipettes are difficult or impossible to read. Some labs use talking analytical balances paired with a fixed-volume micropipette to verify dispensed volumes by mass. Positive-displacement pipettes with tactile or audible feedback at each stop can also help. If you are designing a protocol for an accessible lab, build in volume verification steps that do not rely on sight.
Repetitive strain injuries are common among researchers who pipette for hours daily. Ergonomic pipette designs, electronic pipettes that automate aspiration and dispensing, and lightweight models all reduce physical load. Investing in user comfort pays off directly in measurement consistency.
Frequently Asked Questions
Can a pipette be accurate but not precise?
Yes. A pipette can deliver the correct average volume across multiple trials while scattering individual measurements widely. In that case, it is accurate on average but imprecise. Accuracy measures closeness to the target volume, while precision measures repeatability. Both matter for reliable lab work.
How do you calculate accuracy and precision of a pipette?
Dispense several replicates of distilled water onto an analytical balance and record each mass. Accuracy equals the mean delivered volume minus the target volume, expressed as a percentage of the target. Precision equals the standard deviation of your replicates divided by the mean, expressed as a percentage. This is called the coefficient of variation. Compare both values to the manufacturer tolerance specifications.
What type of pipette has the most accuracy and precision?
Class A volumetric pipettes are the most accurate for single fixed volumes, with tolerances as tight as plus or minus 0.03 mL for a 50 mL pipette. For variable small volumes, calibrated air-displacement micropipettes from reputable manufacturers offer the best combination of accuracy and precision. Droppers are the least precise option.
Is a dropper a precise measurement tool?
No, a dropper is not a precise measurement tool. Drop size varies with surface tension, viscosity, and temperature of the liquid. A single drop of water is roughly 0.05 mL, but this changes significantly with different liquids. Use a calibrated pipette or graduated cylinder whenever accuracy matters.
Conclusion
Mastering how to use a pipette and dropper for precise measurements comes down to choosing the right tool, following proper technique step by step, and understanding the factors that introduce error. Start with the correct pipette type for your volume range. Pre-rinse your tips, pipette smoothly, hold the instrument vertically, and read the meniscus at eye level. Calibrate regularly and maintain your equipment.
Whether you are in a professional research lab or measuring ingredients at home, these habits translate directly into more reliable results. Bookmark this guide, share it with your lab group, and revisit it whenever your measurements feel inconsistent. Small adjustments in technique produce outsized improvements in accuracy and precision.