
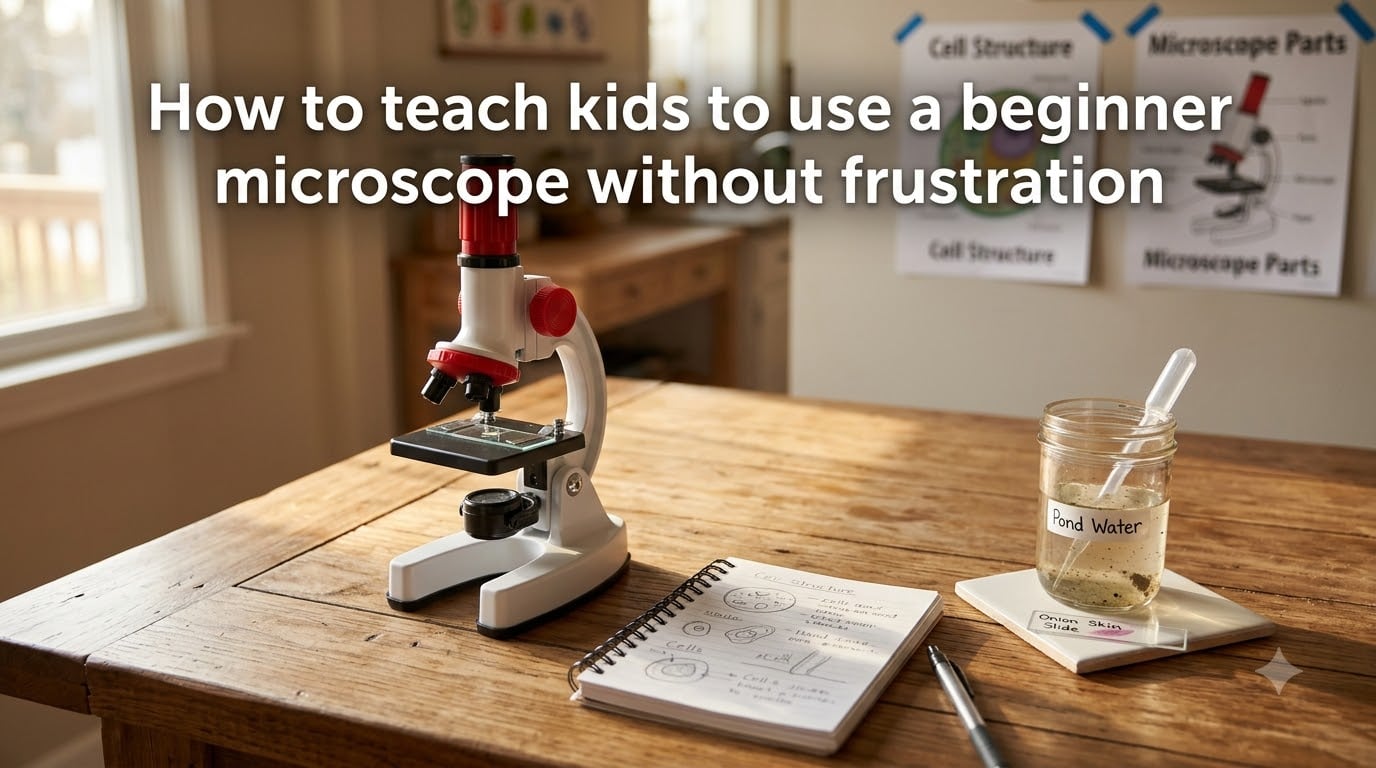
Learning how to teach kids to use a beginner microscope without frustration starts with one truth: most of the tears come before they ever see anything amazing. Our team has talked with dozens of parents and homeschool educators, and the pattern is the same. A child sits down excited, peers through the eyepiece, sees a blurry circle, gives up, and decides science is “boring.”
The good news? That moment is fixable. With the right pacing, age-appropriate equipment, and a few hard-earned lessons from parents who have already been there, you can turn that first frustrating session into a moment of wonder. I have spent the last year collecting advice from parents on r/ScienceParents and r/microscopy, and what follows is the practical playbook that came out of those conversations.
This guide covers exactly how to teach kids to use a beginner microscope without frustration, including what equipment to choose, which ages work best for which microscope, and how to run a first session that ends in “Wow!” instead of “I’m done.”
Table of Contents
Why Kids Get Frustrated with Microscopes (Common Pain Points)
Kids get frustrated with microscopes because the experience rarely matches the mental picture they brought to the table. They expect to see bacteria swimming across the slide like a nature documentary. Instead, they see a blurry blob or nothing at all. The result is disappointment, and disappointment quickly turns into “this is dumb.”
Based on dozens of parent forum threads, here are the most common pain points that trigger frustration:
Cheap optics that produce muddy, unfocused images no matter how the child adjusts the knobs.
Targets that are too ambitious (bacteria, cells) instead of starting with specimens a beginner microscope can actually resolve.
Focus knobs that are too stiff or too loose for small hands to control smoothly.
Slides that are too thick, too dry, or have air bubbles that ruin the view.
Lack of prepared specimens, so the child has nothing interesting to look at after the first try.
One parent on r/microscopy put it bluntly: “Cheap microscopes are awful and frustrating to use. The optics really matter.” Another parent added that the single biggest mistake is “not expecting to see bacteria, that requires a different scope and setup.” Managing expectations is half the battle.
Microscope Parts Every Child Should Know
The fastest way to reduce microscope frustration for kids is to teach the parts before they ever sit down to look through the eyepiece. When a child knows what each knob does, the instrument stops feeling like magic and starts feeling like a tool they can control.
Here are the seven parts every beginner should learn by name:
Eyepiece (ocular lens): The lens at the top your child looks through. Most beginner microscopes have 10x magnification here.
Objective lenses: The rotating lenses above the stage. A beginner microscope usually has three or four, marked 4x, 10x, 40x, and sometimes 100x.
Stage: The flat platform where the slide sits. Look for a stage with clips to hold the slide steady.
Focus knobs: Two stacked knobs – the coarse focus for big adjustments, the fine focus for sharp detail. Teach kids to always start with coarse focus on the lowest magnification.
Light source: Either a built-in LED below the stage (substage) or a mirror that reflects room light up through the slide.
Arm and base: The structural pieces. Teach kids to always carry a microscope with one hand on the arm and one hand under the base.
Diaphragm: Controls how much light passes through the slide. Most beginners ignore it, but adjusting it can dramatically improve contrast.
Age-Appropriate Microscopy (What to Expect at Each Age)
The right microscope for a 5-year-old is not the right microscope for a 10-year-old. Matching equipment to developmental stage prevents most of the frustration parents report. Here is the breakdown our team uses when families ask for guidance.
Ages 4-7: Start with a Stereo Microscope
Stereo microscopes are the best starting point for young children because they show three-dimensional objects, not flat slides. Kids can place a leaf, a coin, a feather, or their own fingerprint directly on the stage and see real detail. The lower magnification (typically 10x to 40x) means almost everything is in focus at once, which removes the biggest frustration trigger – constant refocusing.
At this age, the goal is wonder, not data collection. Sessions should run 5 to 15 minutes.
Ages 8-12: Move to a Compound Microscope
Once a child can handle a stereo microscope confidently and is asking “what’s inside that?” they are ready for a compound microscope. Compound scopes use prepared slides on glass, require more careful focusing, and show the cellular world that adults associate with microscopes.
Expect sessions of 15 to 30 minutes. Most children this age can learn to prepare their own simple slides with supervision.
Ages 13 and Up: Full Lab Independence
Teenagers can usually handle oil immersion, slide staining, and more advanced techniques. By this point, the frustration barrier is usually gone because they have years of careful hand control built up from earlier sessions.
How to Choose the Right Beginner Microscope?
Choosing the right beginner microscope is the single biggest factor in whether your child falls in love with science or walks away bored. Quality matters far more than the brand name on the box.
Look for these five features when shopping:
Glass optics, not plastic. Glass lenses produce sharper images and last longer than plastic ones.
Coarse AND fine focus knobs. Fine focus is essential for clear images at higher magnification.
Built-in LED light. Battery-powered LEDs are more reliable than mirror-based lighting.
Mechanical stage with clips. Keeps the slide steady while focusing.
At least three objective lenses. Gives room to grow from low to high magnification.
Avoid scopes that advertise extreme magnification like “1000x!” but cost very little. Real 1000x magnification requires oil immersion and quality lenses that cheap scopes simply do not have. A solid beginner scope in the $40 to $80 range will outperform a toy scope at any price.
Prepared Slides vs DIY Slides – Which to Start With
Prepared slides are the right starting point for any child using a beginner microscope without frustration. They come pre-loaded with specimens that are guaranteed to show interesting detail at the right magnification.
DIY slides are valuable, but they introduce three new failure points: the specimen might be too thick, the cover slip might trap air bubbles, and the water dropper technique takes practice. If a child struggles with focusing already, adding slide-prep struggles on top creates a frustration avalanche.
Our recommended sequence is:
Start with prepared slides for the first 2 to 3 sessions.
Move to simple DIY slides (a single drop of pond water with a cover slip) once your child feels confident.
Advance to stained or sectioned DIY slides later, with parental help.
This progression lets each skill build on the last instead of stacking them all on day one.
Step-by-Step First Microscope Session
A successful first microscope session takes about 20 minutes and follows a predictable rhythm. Run through this sequence with your child and the day will end with excitement, not tears.
Set up on a flat, stable surface. A kitchen table works well. Keep the scope away from the table edge.
Plug in or turn on the LED light. Make sure the light is bright and even before any slide goes on.
Start at the lowest objective lens (4x). Twist the nosepiece until it clicks into place.
Place a prepared slide on the stage and secure it with the clips. Center the specimen directly over the hole in the stage.
Look through the eyepiece with both eyes open. It feels strange at first, but closing one eye strains the face. Cover the open eye with your hand instead.
Turn the coarse focus knob slowly until something comes into view. Up moves the stage up, down moves it down. Only small turns are needed.
Switch to fine focus for sharpness. Tiny adjustments only – a quarter turn can change everything.
Once sharp at 4x, rotate to 10x and refocus with fine focus only. Never use coarse focus at 10x or higher – you can crack the slide.
Let your child explore for 5 minutes. Ask “What do you see?” and “What does it remind you of?”
End the session before interest fades. A short, exciting session beats a long, tired one every time.
Focusing Tips for Small Hands
Focusing a microscope is the single hardest skill for kids to learn, and the source of most early frustration. These three rules remove 90 percent of the struggle.
Rule 1: Always start on the lowest magnification. At 4x, almost everything is in focus at once. Kids see something immediately and stay motivated. At 40x, tiny movements make everything blur, which is demoralizing.
Rule 2: Use coarse focus only at 4x. Once you switch to 10x or higher, use only the fine focus knob. This prevents the slide from crashing into the lens and gives much more precise control.
Rule 3: Focus up, not down. Teach kids to start with the stage low and the image blurry, then slowly raise the stage until the image sharpens. Focusing downward without watching tends to push the slide into the lens.
Fun First Specimens to View
The first specimens should always reward the child with something visually interesting. Here are five guaranteed winners that work well on any beginner microscope.
Pond water: A single drop from a local pond contains paramecia, rotifers, and algae – moving creatures that feel alive.
Onion skin: Thin, translucent, and shows clear cell structure. The easiest cell to see at home.
Butterfly wing scales: The colors come from microscopic scales that look like stained glass.
Salt crystals: Square, geometric, and beautiful under magnification. A surprising crowd-pleaser.
Own cheek cells: Gentle scrape with a toothpick, smear on a slide, one drop of methylene blue stain, and you have visible human cells.
Save the “boring” specimens for later. Early sessions should feel like a magic show.
Troubleshooting Common Issues
Even with great preparation, things go wrong. Here is a quick-reference table for the most common issues parents report.
Problem: Everything is blurry and won’t sharpen. Solution: Check that the objective lens has clicked into place. A lens between magnifications is the most common cause of total blur.
Problem: The image is dark. Solution: Adjust the diaphragm to let more light through, or raise the LED brightness. Low light often looks like a focus problem.
Problem: The slide keeps moving when I touch the focus knob. Solution: Make sure both stage clips are holding the slide. A loose slide will shift with every adjustment.
Problem: I can see something but it’s not what I expected. Solution: Start over at 4x, center the specimen, then zoom in. Most “wrong” specimens are actually the right ones, just at the wrong magnification.
Problem: My child says it’s boring after 5 minutes. Solution: Switch to a different specimen immediately. Boredom usually means the current view is no longer novel, not that microscopy has failed.
Confidence-Building Activities Before Advanced Use
No competitor we found addresses this directly, and yet it may be the most important piece of the frustration puzzle. A child who feels competent around a microscope will tolerate a lot more confusion than one who feels clumsy.
Try these three confidence-building activities before moving to advanced techniques:
The “find it” game: Hide a small printed letter under a slide and ask your child to bring it into focus as fast as they can. Repeat with smaller letters. This builds hand control without scientific pressure.
The drawing challenge: Ask your child to draw exactly what they see at 4x, then 10x. Drawing forces close observation and creates a keepsake of their progress.
The microscope journal: Give your child a small notebook to log each specimen, magnification, and one sentence about what they saw. Reviewing past entries builds pride and shows growth over time.
These activities build the muscle memory and emotional confidence that turns a beginner microscope into a long-term hobby instead of a one-time experiment.
How to Make Microscopy a Family Activity
Microscopy sticks when it becomes a shared habit. Solo science feels lonely after the novelty fades, but family science keeps showing up on the calendar.
Pick a “microscope night” once a week. Each family member brings one specimen to examine. Take turns at the eyepiece and talk about what you see. Younger siblings can dictate descriptions for an older sibling to write down.
Connect microscopy to whatever your family already does. Cooking night becomes “what does an onion cell look like?” Hiking becomes “can we find pond water on the way home?” Gardening becomes “what does soil actually contain?” These links turn microscopy from a stand-alone lesson into a way of seeing.
Finally, photograph what your child sees through the eyepiece using a phone camera held against the eyepiece. Sharing these photos with grandparents, teachers, or online communities creates external recognition that fuels internal motivation.
Frequently Asked Questions
How to use a microscope step by step for kids?
Start with a prepared slide on the lowest magnification (4x). Turn on the LED light, secure the slide with the stage clips, and look through the eyepiece with both eyes open. Use the coarse focus knob first to find the image, then switch to fine focus for sharpness. Move to 10x only after the image is clear at 4x, and use only fine focus at higher magnifications.
How to focus a microscope for kids?
Teach three rules. Always start at the lowest magnification (4x). Use only the coarse focus knob at 4x, and only the fine focus knob at 10x or higher. Focus upward rather than downward so the slide does not crash into the lens.
What age do kids start using microscopes in school?
Most children begin formal microscopy instruction in elementary school, around age 7 to 8. However, younger children (ages 4 to 7) can begin with a stereo microscope and solid objects. Children ages 8 to 12 are typically ready for a compound microscope with prepared slides and simple DIY slides.
What are three rules to remember when focusing a microscope?
First, always start at the lowest magnification. Second, use coarse focus only at 4x and fine focus at higher magnifications. Third, focus upward rather than downward to avoid damaging the slide or lens.
Final Thoughts on Frustration-Free Microscopy
Teaching kids to use a beginner microscope without frustration is not really about microscopes. It is about pacing, expectations, and the small wins that build confidence over time. Choose a quality scope with glass optics, match the equipment to your child’s age, start with prepared slides, and end every session before interest fades.
Run the first session this week using the step-by-step plan above. Pick one specimen from the fun-first list. Give your child fifteen minutes at the eyepiece, and you will almost certainly hear “Can we do this again tomorrow?” That question is the real measure of success.