
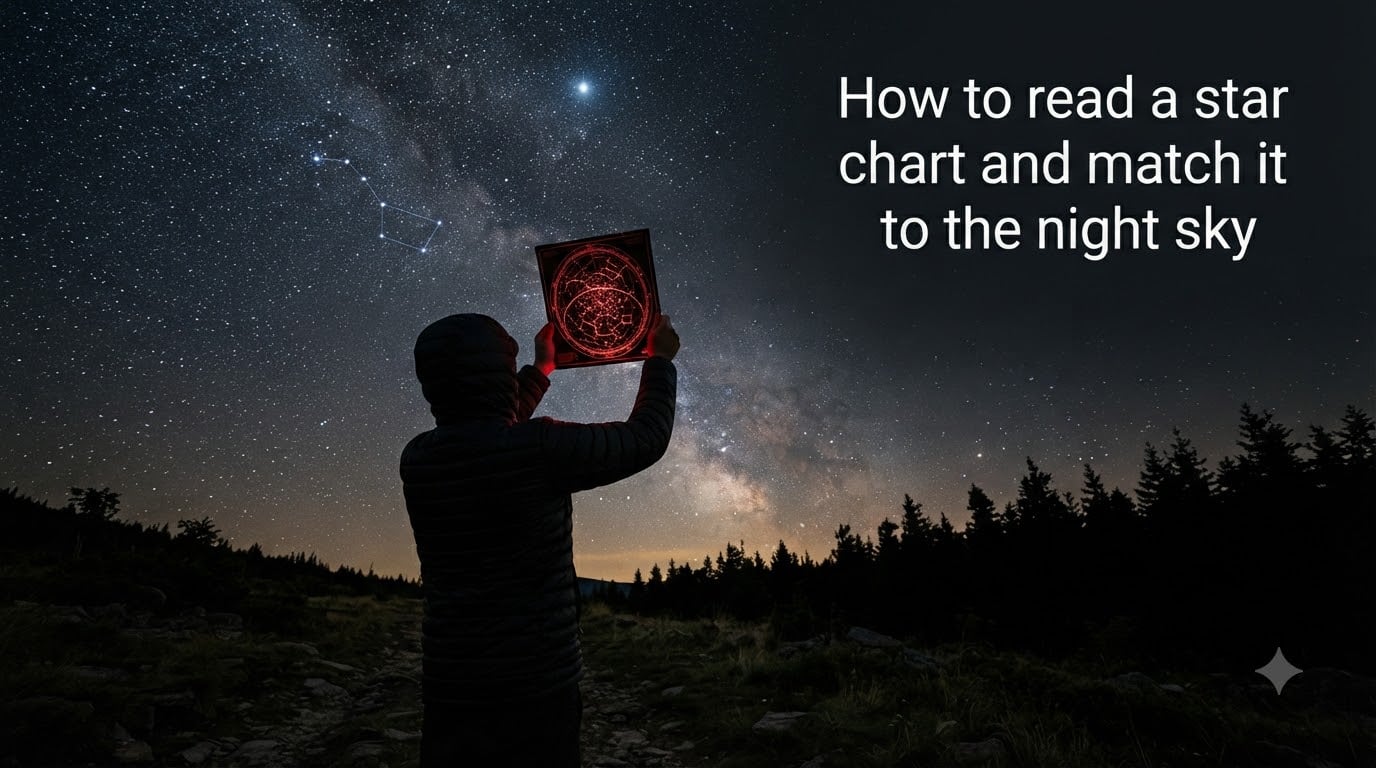
Learning how to read a star chart and match it to the night sky used to feel like decoding a foreign language to me. The dots, lines, and reversed directions looked nothing like the sky overhead.
After a few seasons of trial and error on my back porch with a red flashlight and a planisphere, the symbols started to click. Now I can point at Orion, find Polaris, and trace planets along the ecliptic without app help.
This guide shares the step-by-step method I wish I’d had on night one. I’ll cover the chart’s key elements, why charts feel reversed, and the simple orientation trick that turns a flat page into a window on the sky.
Table of Contents
What Is a Star Chart and Why Use One?
A star chart is a flat map of the night sky. It shows where stars, constellations, planets, and deep-sky objects sit at a specific date, time, and location.
Think of it as a road map for the sky. Instead of streets and highways, you see dots and patterns arranged around an overhead view of the celestial sphere.
People use star charts to identify constellations, find planets, locate dim galaxies, and plan observing sessions. They work whether you are a beginner learning the Big Dipper or an intermediate observer hunting for nebulae.
Charts come in three common forms:
Printed monthly sky charts from magazines and astronomy websites, designed for a specific date and time.
Planispheres, the rotating star wheels that adjust to any date and time.
Digital apps and interactive maps that update automatically based on your device’s clock and GPS.
I keep a printed planisphere by my back door and a digital app on my phone for cloudy nights when I just want to plan ahead.
Key Elements of a Star Chart Explained
Every star chart uses the same basic visual language. Once you learn it, you can read any chart you pick up.
Stars Shown as Dots
Each star appears as a dot. The size of the dot shows how bright the star is in the night sky. Brighter stars get bigger dots.
Constellation Lines
Constellations are patterns of stars connected by thin lines. The lines are not real – they are visual aids to help your eye group stars into recognizable shapes like Orion or Leo.
The Ecliptic Line
The ecliptic is the path the Sun traces across the sky over a year. The Moon and planets travel close to this line, so it is one of the most useful features on any chart. Zodiac constellations sit along the ecliptic.
Direction Labels
The edges of the chart are marked with N, S, E, and W for the four cardinal directions. These labels are the key to orienting the chart correctly.
Symbols for Deep-Sky Objects
Galaxies, nebulae, and star clusters are marked with small symbols. A filled circle might mean a globular cluster, while a stretched oval often means a galaxy or nebula. Most beginner charts keep these symbols to a minimum.
Understanding Star Magnitude and Dot Sizes
Star magnitude measures how bright a star appears from Earth. The system works on a logarithmic scale where lower numbers mean brighter stars.
Here is how the magnitude scale works in practice:
Negative magnitudes (like Sirius at -1.46) are the brightest stars and planets.
Magnitude 1 stars are the brightest in the night sky.
Magnitude 6 is the faintest star most people can see with the naked eye under a dark sky.
When you look at a star chart, the bigger the dot, the brighter the star. Tiny dots represent dim stars you will only see under dark skies.
Most beginner charts show stars down to magnitude 4 or 5, which is what you can realistically see from a suburban backyard. More detailed charts go down to magnitude 6 or 7 for use with binoculars.
Cardinal Directions and Why Charts Look Reversed
The single biggest point of confusion for beginners is that star charts feel reversed compared to Earth maps.
On a road map, north is up. On a star chart, north is also up – but only when you face south. The moment you turn to face north, the chart needs to flip so north stays at the bottom.
This reversal happens because a star chart is drawn as if you are looking up at the sky from the ground. Your right hand points west when facing south, but your right hand points east when facing north. The chart reflects this, which is why it can feel backwards at first.
Finding True North with Polaris
If you live in the Northern Hemisphere, Polaris (the North Star) marks true north on every chart. Find Polaris and you instantly know which way you are facing.
To find Polaris, locate the Big Dipper and follow the two stars at the end of its bowl upward. The next moderately bright star you hit is Polaris.
Southern Hemisphere Orientation
Southern Hemisphere users face north when stargazing and orient the chart the same way. There is no bright south pole star, so navigators rely on the Southern Cross (Crux) to find south.
Step-by-Step: How to Read a Star Chart and Match It to the Night Sky
This is the practical routine I use every clear night. It works for printed charts, planispheres, and digital apps.
Step 1: Pick a Clear, Dark Night
Check the weather and moon phase. A bright moon washes out fainter stars and makes matching the chart harder. New moon nights or nights when the moon has set are ideal.
Step 2: Set the Chart for the Right Date and Time
If you are using a monthly chart, pick the one for your current date. For a planisphere, rotate the wheel so today’s date lines up with the current time. Digital apps do this automatically.
Step 3: Face One Cardinal Direction
Pick a direction to start – north is easiest because Polaris anchors the view. Stand facing that direction with your feet planted.
Step 4: Hold the Chart Overhead with the Matching Label at the Bottom
Hold the chart above your head, tilted slightly back. The label on the chart’s edge matching the direction you face should be at the bottom of the chart. The stars on the chart will line up with the stars above you.
Step 5: Tilt and Rotate the Chart to Match the Sky
Look up at the sky, then look at the chart. Tilt the chart forward or back until the patterns feel similar. The chart’s center represents the zenith directly overhead.
Step 6: Match One Recognizable Constellation First
Pick the brightest, most distinctive constellation visible and find it on the chart. Once you have one match, the rest of the sky fills in around it.
Easy Constellations to Start With
Beginners do best starting with a few easy-to-spot constellations. These are the patterns I recommend learning first.
Big Dipper (Ursa Major)
The Big Dipper is a seven-star ladle shape visible year-round across most of the Northern Hemisphere. Use the two stars at the end of its bowl as pointers to find Polaris.
Orion
Orion is the winter showstopper. Look for three bright stars in a row – his belt – framed by four stars marking his shoulders and knees. The reddish star Betelgeuse marks one shoulder.
Cassiopeia
Cassiopeia is the W or M shape opposite the Big Dipper from Polaris. It rotates through the year but is always visible somewhere in the northern sky.
Summer Triangle
Three bright stars – Vega, Deneb, and Altair – form a large triangle high overhead on summer nights. It is one of the easiest patterns to spot once you know the three stars.
Using a Planisphere for Adjustable Date and Time
A planisphere is a two-disc star wheel that lets you set the date and time like a clock. The top disc has a window cut out that shows only the stars visible at that moment.
To use one, rotate the inner disc until the current date lines up with the current time. Hold it overhead, face the matching direction, and the visible sky shows through the window.
Planispheres are calibrated for a specific latitude range, so pick one matched to where you live – usually 30-40, 40-50, or 50-60 degrees north for North American observers.
Practical Tips for Reading the Night Sky
These tips come from years of backyard observing and advice shared by experienced stargazers on astronomy forums.
Use a red flashlight to read charts in the dark. Red light preserves your night vision while letting you see the page.
Allow 20-30 minutes for your eyes to fully adapt to darkness. Avoid looking at phones or white lights during this time.
Stand still and scan slowly. Moving your eyes quickly across the sky causes you to miss faint stars.
Bring a chair and dress warmly. Most stargazing sessions last longer than expected, and standing still gets cold fast.
Practice the same constellation each session. Repetition is how the patterns stick in your memory.
Dealing with Light Pollution and Location
Light pollution is the biggest variable most beginner guides skip. Urban and suburban skies show only the brightest stars and planets, while dark rural skies reveal thousands more.
The Bortle scale rates sky darkness from Class 1 (excellent dark sky) to Class 9 (inner-city sky). Most backyard observers work in Class 5 to 7 conditions, where only stars brighter than magnitude 4 or 5 are visible.
If your local sky is light polluted, choose a chart designed for naked-eye use at your limiting magnitude. Save the detailed deep-sky charts for trips to darker locations.
Light pollution maps can help you find darker sites within driving distance. State parks, national forests, and designated dark sky reserves are good starting points.
Seasonal Changes in the Night Sky
The night sky shifts through the year because Earth orbits the Sun. Each season brings its own set of prominent constellations.
Winter skies feature Orion, Taurus, Gemini, and Canis Major. Summer skies showcase the Summer Triangle, Scorpius, Sagittarius, and the bright band of the Milky Way. Spring and fall are transition seasons with shorter nights and changing patterns.
Charts account for this by being dated to a specific moment. A chart for January 15 at 10 pm will not match what you see in July. Always reset your chart or app for the current date and time.
FAQ: Common Star Chart Questions
How do I read a star chart?
Hold the chart overhead with the direction label matching where you face at the bottom. The stars on the chart will line up with the stars in the sky above you. Start by matching one bright constellation, then build outward from there.
How to use a star chart for stargazing?
Pick a clear night, set the chart for the right date and time, and face one cardinal direction. Hold the chart overhead so the matching edge label is at the bottom, then tilt it until the patterns match the sky. Use a red flashlight to read it without ruining your night vision.
How to read stars at night?
Allow 20-30 minutes for your eyes to adapt to the dark, then let your gaze scan slowly across the sky. Pick the brightest pattern you see and try to identify it on your chart first. Once one constellation is matched, the surrounding sky becomes easier to navigate.
What is the best star chart for beginners?
A planisphere is the best beginner star chart because it adjusts to any date and time. Pair it with a monthly sky chart from an astronomy magazine for current highlights, and a smartphone app for nights when you want the chart to update automatically.
Conclusion: Practice Turns Charts Into the Night Sky
Learning how to read a star chart and match it to the night sky comes down to three habits: hold the chart overhead facing the matching direction, anchor on one bright constellation first, and practice on a few clear nights each season.
Red light, dark skies, and patience turn confusion into confidence. The first time you match Orion’s belt on the page to three stars in the sky, the whole chart starts to make sense.