
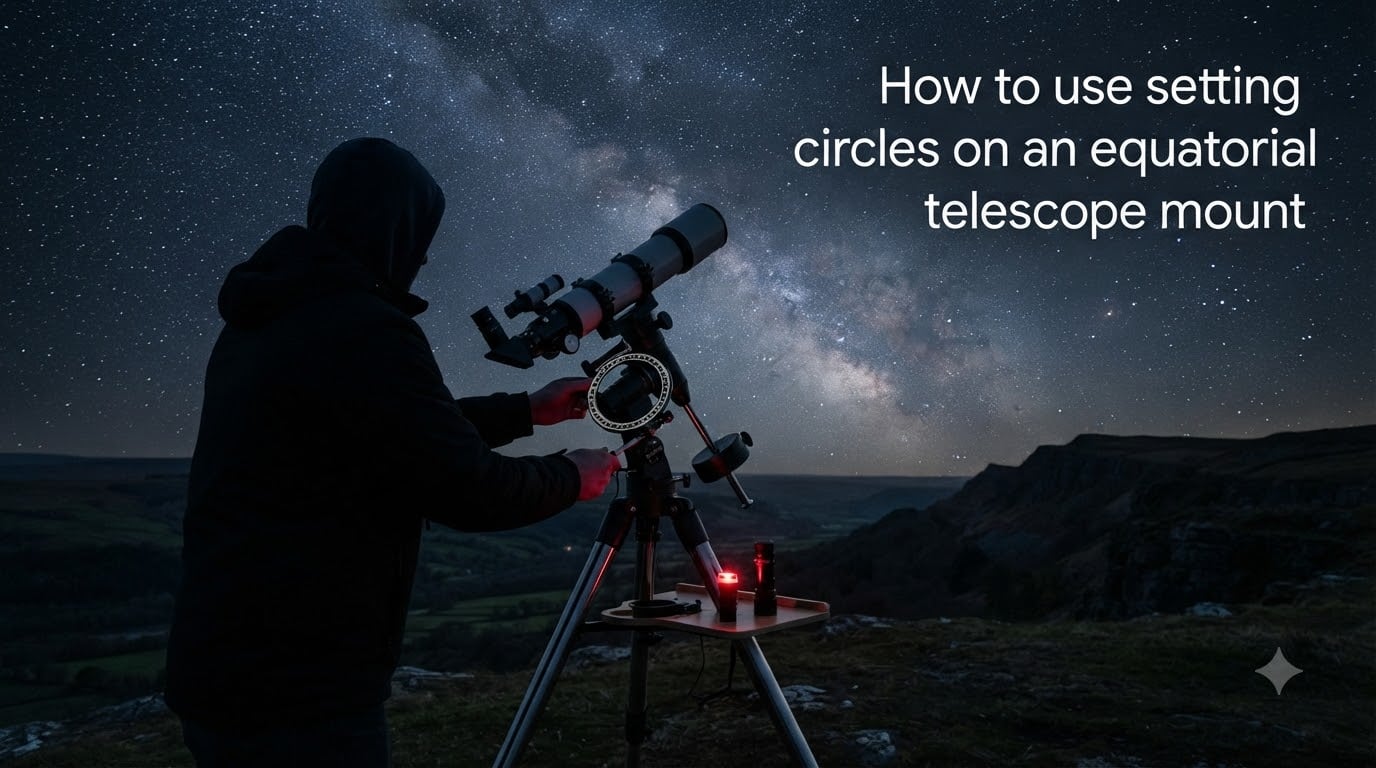
Last summer I spent three nights trying to find the Crab Nebula with my 8-inch German equatorial mount. I had read the manuals, aligned the finder, and even practiced reading the setting circles in daylight. When I finally looked through the eyepiece, I was staring at empty space about a degree off target. That frustration taught me something important: setting circles are not magic, but a teachable skill. In this guide, I will walk you through how to use setting circles on an equatorial telescope mount the way I wish someone had taught me from the start, with the calibrations, mistakes, and shortcuts that actually work in 2026.
You will learn what setting circles are, how the celestial coordinate system connects to your dials, and the precise steps required to calibrate the right ascension (RA) and declination (Dec) circles. We will also cover the offsetting method, compare setting circles to star hopping and GoTo, and troubleshoot the most common beginner errors. By the end, you will have a repeatable workflow for finding faint deep-sky objects without a computerized mount.
Table of Contents
What Are Setting Circles and Why They Matter on an Equatorial Mount?
Setting circles are graduated scales mounted on the two rotating axes of an equatorial mount. They display the Right Ascension and Declination coordinates of whatever the telescope is pointed at. In theory, you dial in the coordinates of any catalogued object and the mount tells you where to look. In practice, the dials are only as accurate as your alignment, your polar alignment, and the mechanical precision of the mount itself.
Setting circles matter because they unlock an old-school technique that still beats GoTo in certain situations. When you observe in a light-polluted backyard where deep-sky objects are hard to see in a finderscope, or when you want to locate an object too faint to star-hop from, the circles let you navigate the sky purely by numbers. They also work during partial cloud cover when you cannot identify a single bright star to hop from. And they cost nothing to use, since they are already built into your mount.
The honest limitation is that mechanical setting circles on modern German equatorial mounts are small, often hard to read, and accurate only to a couple of degrees even after careful calibration. Experienced observers sometimes call them “decorative.” That reputation is fair in poor conditions, but the technique remains genuinely useful when you learn the workflow and compensate for the imprecision. Treat them as a precision tool that needs a clean setup, not a magic dial.
Setting circles: graduated numeric scales on an equatorial mount’s RA and Dec axes that show the celestial coordinates of the telescope’s pointing direction.
Understanding Right Ascension and Declination Coordinates
The sky uses a coordinate system similar to latitude and longitude on Earth. Declination (Dec) acts like latitude, measuring how far north or south an object is from the celestial equator, in degrees from minus 90 to plus 90. Right Ascension (RA) acts like longitude, measuring how far east an object is along the celestial equator, but in hours, minutes, and seconds of time from 0h to 24h. The reason RA is measured in hours is that the sky appears to rotate once every 24 hours, so each hour of RA equals 15 degrees of arc.
When you look up the coordinates of the Andromeda Galaxy in a star atlas or planetarium app, you will see something like RA 0h 42m 44s, Dec +41 degrees 16 arcminutes. The RA circle on your mount reads in hours and minutes, while the Dec circle reads in degrees. Setting circles let you match those numbers to the current position of the telescope, provided everything is calibrated.
Right Ascension (RA): the celestial equivalent of longitude, measured eastward in hours, minutes, and seconds from 0h to 24h, where 1 hour equals 15 degrees.
Declination (Dec): the celestial equivalent of latitude, measured in degrees north (positive) or south (negative) of the celestial equator, from minus 90 to plus 90.
Two practical tips make coordinate reading easier. First, ignore the seconds of RA when using mechanical circles; they cannot resolve that level of detail. Second, RA increases to the east, but the RA circle on most mounts reads in the opposite direction of how the telescope moves. Always check your mount’s manual to know which way the numbers increase before you start dialing.
Quick Reference: Bright Stars and Their Coordinates
Before you start calibrating, memorize a few reference stars and their approximate coordinates. These are the stars you will use to set your circles.
Vega in Lyra: RA 18h 37m, Dec +38 degrees 47 arcminutes
Sirius in Canis Major: RA 6h 45m, Dec minus 16 degrees 43 arcminutes
Arcturus in Bootes: RA 14h 16m, Dec +19 degrees 11 arcminutes
Capella in Auriga: RA 5h 17m, Dec +46 degrees 00 arcminutes
Altair in Aquila: RA 19h 51m, Dec +8 degrees 52 arcminutes
Essential Prerequisites: Polar Alignment and Finderscope Calibration
Setting circles only work if your mount is polar-aligned and your finderscope is aligned with the main telescope. Skip these steps and the circles will send you to empty sky every time. The polar alignment is the foundational step because the entire equatorial coordinate system is anchored to the celestial pole. If your mount’s polar axis does not point accurately at Polaris (in the Northern Hemisphere) or Sigma Octantis (in the Southern Hemisphere), the coordinate system is tilted relative to the sky.
Polar alignment: the process of aligning the mount’s right ascension axis parallel to Earth’s rotational axis, so it points at the celestial pole.
For most beginner uses, a rough polar alignment using the mount’s polar-alignment scope and the date/time markings is enough. Place Polaris in the small circle, not perfectly centered, and lock the altitude and azimuth adjustments. Then perform a two-star alignment through the GoTo hand controller if you have one, or just slew to a known bright star and confirm it sits in the center of a low-power eyepiece. The mechanical circles can be calibrated to whatever your actual polar alignment is, which is partly why the technique works even with imperfect setups.
Next, check the finderscope. Center a distant terrestrial object (a chimney, a power pole) in the main telescope using a low-power eyepiece, then adjust the finderscope’s three or six alignment screws until the same object sits on the crosshair. The finderscope is what you use to center each reference star, so any misalignment introduces error before you even read the circles.
How to Use Setting Circles on an Equatorial Telescope Mount: Step-by-Step Calibration
Now that the mount is polar-aligned and the finder is true, here is the calibration workflow I use every clear night. Each step takes about two minutes the first time, and roughly 30 seconds once you have practiced.
Set the Dec circle to zero. Move the telescope until the counterweight bar is horizontal and the optical tube is level. Loosen the Dec setting circle and rotate it until it reads zero. Lock the circle down. This puts the Dec dial in a known reference position.
Set the RA circle to zero. With the counterweight bar still horizontal, loosen the RA setting circle and rotate it to read 0h 0m. Tighten the lock. The RA circle is now calibrated to the local meridian.
Pick a bright reference star near the celestial equator. A star with Dec close to zero is best because small RA errors show up clearly. Altair (Dec +8) or Spica (Dec minus 11) work well. Look up its current RA and Dec in a planetarium app such as Stellarium or SkySafari.
Slew the mount until the finderscope shows the reference star. Use the slow-motion controls. Confirm the star is centered in the main telescope’s eyepiece. Do not nudge the OTA in RA or Dec after this; only use the slow-motion knobs.
Rotate the RA circle to match the star’s RA. With the star still centered in the eyepiece, loosen the RA setting circle clamp and turn the dial until the printed number matches the current RA of the reference star. Lock the clamp. The RA circle is now calibrated to the sky.
Reconfirm Dec by rotating the Dec circle. Loosen the Dec dial clamp and rotate it until the number matches the star’s catalogued Dec. Lock the clamp. The Dec circle is now calibrated. The two circles are now accurate enough to dial in any catalogued object.
Use the slow-motion controls to dial in your target. Look up the RA and Dec of your target object. Move the mount in RA until the RA circle reads the target’s RA. Move the mount in Dec until the Dec circle reads the target’s Dec. The target should be in or near the eyepiece field of view.
Use the finderscope to fine-center the target. Mechanically, the circles will be off by a degree or two. Look through the finderscope and scan in small circles around the indicated position. The target should appear within a roughly 2-degree radius. Center it in the finderscope and recheck the main eyepiece.
After using the circles once, calibration drifts as the mount tracks the sky. Reset the RA circle whenever you slew to a new bright alignment star, and treat the Dec circle as fixed once calibrated to the celestial equator star.
The Offsetting Method: Finding Faint Objects From a Known Star
Offsetting is the technique that makes setting circles genuinely useful. Instead of trusting the circles to land directly on a faint object, you slew to a known bright star, calibrate the circles, then dial in the RA and Dec differences between that star and your target. The smaller the offset, the more accurate the result.
Here is a real example from my own observing log. I wanted to find the Dumbbell Nebula (M27) in Vulpecula. I centered Vega, locked the RA clamp, and dialed the RA circle to 18h 37m. I then moved the mount in RA until the RA circle read 19h 59m, the RA of M27. The dial had to rotate 1 hour and 22 minutes eastward, which corresponds to about 20.5 degrees of sky. Then I moved the Dec circle from +38 degrees 47 arcminutes (Vega’s Dec) down to +22 degrees 43 arcminutes (M27’s Dec), a 16-degree drop. After both moves, M27 was sitting just outside the finderscope field, and one final nudge put it in the eyepiece.
The offsetting method works because the circles are accurate over short angular distances. Calibration errors that throw you off by a degree at one part of the sky tend to be similar a few degrees away, so the delta between two close coordinates is reliable. For objects more than 30 degrees from your reference star, recalibrate to a nearer star before dialing in the new target.
Setting Circles vs Star Hopping vs GoTo: Honest Comparison
Each method has strengths, and serious observers often combine them. Setting circles are slow to set up but require no batteries, work in light-polluted skies, and need only a printed star atlas. Star hopping is intuitive and works on any mount, but it requires knowing bright stars and is slow when the target is far from a recognizable pattern. GoTo is fast and accurate, but it depends on batteries, software alignment, and clear skies for star sensors, and it black-boxes the coordinate system you are trying to learn.
If you are learning the sky, setting circles are the best teacher because they force you to read coordinates and understand the celestial grid. If you just want to see a target quickly, GoTo wins. If you observe away from power, the circles are unbeatable. I keep all three techniques in my toolkit and pick based on the night.
Common Mistakes and Troubleshooting Setting Circles
After a few years of teaching beginners, I have catalogued the same mistakes over and over. Fixing them turns setting circles from a frustration into a reliable tool.
RA drifts because the circle is loose. Loosen the RA setting circle clamp, set the RA, then fully tighten the clamp. A loose clamp lets the dial rotate freely with the mount.
Confusing RA and hour angle. The RA circle is set when the mount is polar-aligned and tracking sidereal time. The hour angle circle is set when the counterweight bar is horizontal. Mixing them up causes objects to land on the wrong side of the meridian.
Moving the optical tube by hand after calibration. Always use the slow-motion controls. Pushing the tube re-aligns the mount’s clutches and throws off the circle readings.
Using the wrong time scale. RA values in star atlases are in sidereal time, not local time. Adjust for the difference using a planetarium app, or set the RA circle from a known star rather than from a clock.
Forgetting to recalibrate after slewing a long distance. Mechanical circles drift slightly across the sky. Always resync the RA circle to a bright star when you move more than a couple of hours in RA or a few hours in sidereal time.
If your circles consistently land on empty sky by several degrees, suspect mechanical backlash or loose mount clamps. Tighten the worm gears and recheck. If the error is small and consistent, you are probably tracking the right object but your finderscope is misaligned. Recalibrate the finder first.
Digital Setting Circles and Modern App Alternatives
Digital setting circles (DSCs) solve the readability problem of mechanical dials. They use rotary encoders on the RA and Dec axes to display precise coordinates on a small handheld computer. Brands like Sky Commander, JMI, and StellarCAT sell DSC retrofit kits for older German equatorial mounts. They cost less than a GoTo system but deliver similar accuracy to within a degree or so.
Smartphone apps are a free alternative. Apps like Stellarium, SkySafari, and PS Align use your phone’s GPS and motion sensors to figure out where the telescope is pointed. Combined with a cheap Bluetooth encoder, you can build a digital setting circle system for a few hundred dollars. The tradeoff is that phones run out of battery in cold weather and need a red-light screen mode to preserve night vision.
For deep-sky observers on a budget, DSCs hit a sweet spot. They handle the precision that mechanical circles cannot, they keep the educational value of reading coordinates, and they work without an internet connection in remote sites. If you already own an equatorial mount, a DSC upgrade is often cheaper than replacing the mount with a GoTo.
Frequently Asked Questions
How well do setting circles work to find celestial objects?
Mechanical setting circles are accurate to within roughly 1 to 2 degrees after careful calibration when used with the offsetting method. They are not precise enough for go-to-style point-and-look use, but they reliably bring faint deep-sky objects into the finderscope field of view from a known reference star. Digital setting circles improve accuracy to within a fraction of a degree.
Why are setting circles considered decorative rather than functional?
Users with modern German equatorial mounts often call them decorative because the dials are small, hard to read in the dark, and accurate only after careful polar alignment and calibration. Most beginners expect plug-and-play precision that the mechanical circles cannot deliver. With practice and the offsetting method, they become functional and useful.
What is the offsetting method for finding objects with setting circles?
The offsetting method slews from a known bright reference star to a faint target using the difference in their RA and Dec coordinates. Because calibration errors are similar across short angular distances, the offset between two nearby stars is more accurate than dialing in absolute coordinates. It is the most reliable way to use mechanical setting circles in practice.
Why is polar alignment essential before using setting circles?
Polar alignment orients the entire equatorial coordinate system against the celestial pole. If the polar axis is tilted, the RA and Dec circles all read from a slightly rotated frame, and every object you dial in will be off by a similar amount. Rough polar alignment is enough for finder-fields, but precise targets require precise alignment.
How do I calibrate RA setting circles on an equatorial mount?
Center a bright star of known Right Ascension in the eyepiece, then loosen the RA setting circle clamp and rotate the dial until its number matches the star’s catalogued RA. Lock the clamp. The RA circle is now synchronized to the sky for the rest of the session, as long as you polar-aligned before slewing.
What is the difference between RA and Dec setting circles?
The RA (Right Ascension) circle measures eastward position in hours, minutes, and seconds along the celestial equator. The Dec (Declination) circle measures north-south position in degrees and arcminutes from the celestial equator. Together they specify any point on the celestial sphere, the same way latitude and longitude specify any point on Earth.
Final Thoughts on Setting Circles
Setting circles are not a shortcut, but a skill. The first time you use them, expect to spend twenty minutes finding one object. The thirtieth time, you will find that same object in under five minutes, and you will understand the sky far better than any GoTo user ever will. Keep practicing the offsetting method, recalibrate the RA circle to a bright star before every long slew, and treat the circles as a precision tool that needs a clean setup.
In 2026, the most underrated upgrade to a German equatorial mount is still the simple act of learning to read its built-in dials. Once you can use setting circles on an equatorial telescope mount with confidence, you stop depending on batteries and software, and you start seeing the sky as a coordinate system you can navigate by hand. That skill pays off for the rest of your life as an observer.