
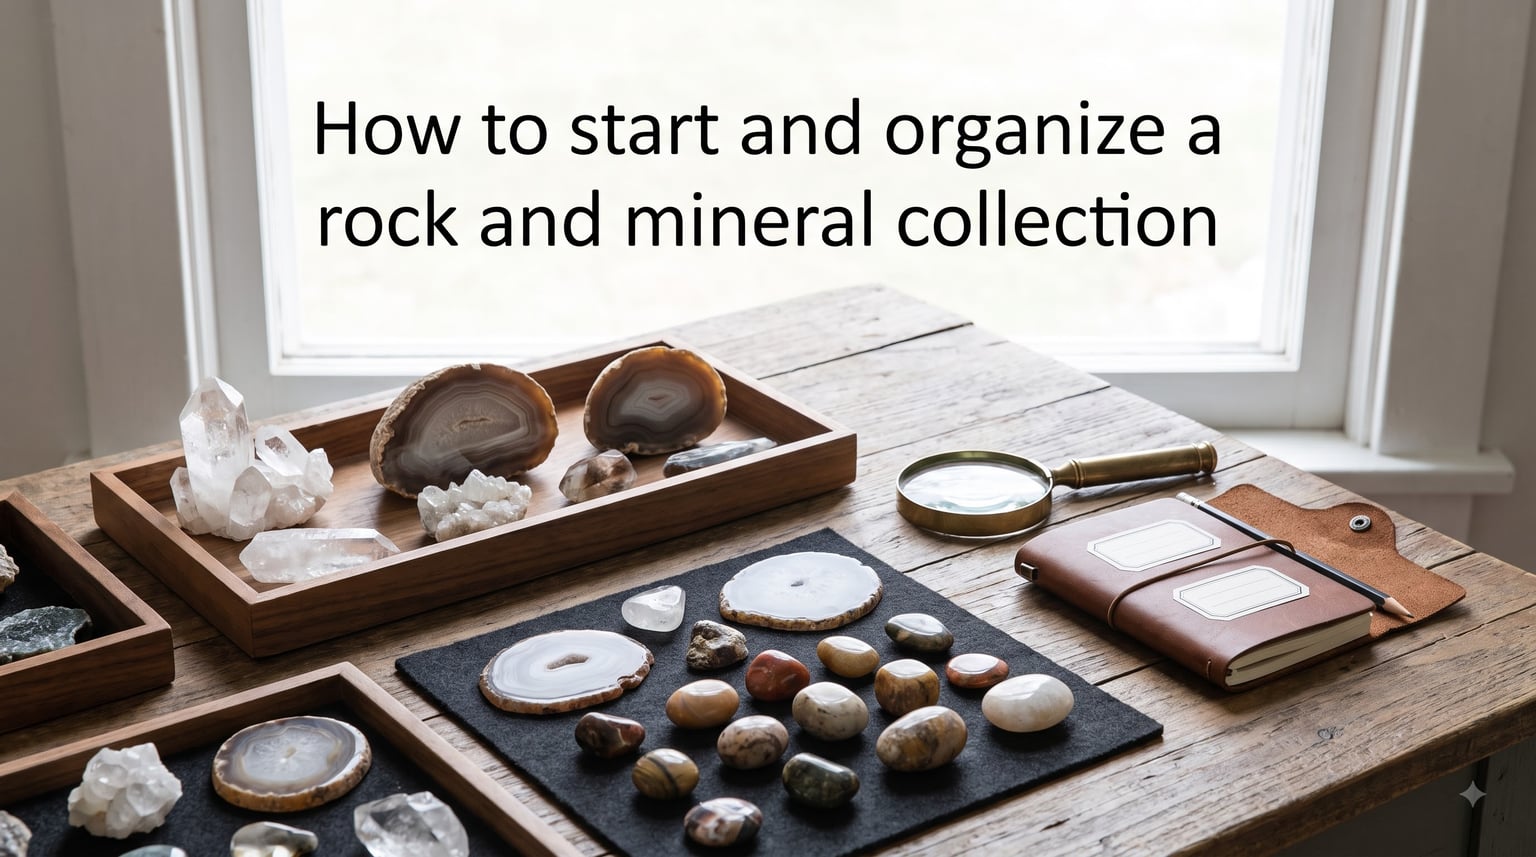
I still remember my first rock. It was a chunk of rose quartz I picked up on a family trip when I was nine, shoved into a sock in my backpack because I had no bag for it. Forty years later, that same beat-up crystal sits on my desk. It is scratched, chipped, and worth almost nothing in dollars, but it is the reason I now own a collection of more than 600 specimens.
If you are reading this, you are probably standing where I stood: curious about how to start and organize a rock and mineral collection and unsure what comes after the first handful of pretty stones. This guide covers every step I wish someone had spelled out for me, from finding your first ten rocks to labeling, storing, and growing a collection you can be proud of in 2026 and beyond.
We will walk through how to identify specimens, what tools you actually need, where to find rocks legally and safely, and how to organize everything so you do not end up with a garage full of mystery stones. There is a reason the American Museum of Natural History, the Michigan Mineralogical Society, and dozens of regional clubs all teach this hobby the same way. It works.
Table of Contents
Why Start a Rock and Mineral Collection?
Rock collecting, sometimes called rockhounding, is one of the oldest hobbies on Earth. People have been picking up interesting stones for thousands of years. The appeal is simple. You walk outside, find something that has been buried for millions of years, and bring it home to study and admire. That single loop, find, identify, organize, display, is what makes this hobby so sticky.
There are practical reasons to start too. Collecting rocks gets you outside in a focused way. It teaches basic geology and mineralogy without feeling like school. It builds a network of friends at local mineral clubs and rock shows. And a well-organized collection, even a small one, becomes a personal museum you can pass down or trade from.
You do not need a science background. The rock community is famously welcoming to beginners. Most experienced collectors I know will happily walk a newcomer through identification for an hour at a show without asking for anything in return. Your collection becomes your ticket into that world.
How to Start and Organize a Rock and Mineral Collection: Step-by-Step
The process breaks into seven clear steps. Each builds on the last, and you can start small at any point. Beginners often skip ahead to display cases before they have learned to identify what they own. Do not be that person. Spend time on the early steps and your collection will be stronger for it.
Step 1: Learn the Basics of Rocks and Minerals
Before you grab your first hammer, spend an hour learning the difference between rocks and minerals. Rocks are aggregates of one or more minerals. Minerals are naturally occurring inorganic solids with a defined chemical makeup. Granite is a rock made of quartz, feldspar, and mica. Quartz is a mineral. That distinction is the foundation of everything you will do later.
There are three rock families to know. Igneous rocks form from cooled magma or lava, think granite and obsidian. Sedimentary rocks form in layers from compressed sediments, think sandstone and limestone. Metamorphic rocks form when heat and pressure reshape existing rock, think marble and slate. Each family tells a different story about Earth’s history, and learning to spot the differences is half the fun.
For minerals, focus on six properties beginners can test in the field. Hardness (Mohs scale, 1 to 10), streak (the color it leaves on a porcelain plate), luster (metallic, glassy, dull), cleavage (how it breaks along planes), fracture (how it breaks when it does not cleave), and specific gravity (how heavy it feels for its size). With those six tests plus color, you can identify the most common minerals in your area without any lab equipment.
Step 2: Gather Your Collecting Tools
You can start a collection with almost nothing. I have pulled great specimens out of creek beds with nothing but my hands and a careful eye. But a few basic tools make the work safer and more productive. Here is the kit I recommend for your first season of rock hunting.
Essential tools for beginners:
Geologist’s hammer or rock pick with a flat head and a pointed tip. Estwing is the brand most collectors buy first.
Safety glasses rated for impact. Rock chips fly. Wear them every single time.
Work gloves to protect your hands from sharp edges and cold water.
A hand lens or magnifying glass, 10x magnification is the standard for mineral identification.
A sturdy backpack or bucket to carry what you find. Old milk crates work great for heavy specimens.
Newspaper, tissue, or cloth bags for wrapping individual specimens so they do not scratch each other.
A permanent marker and small notebook for recording the location the moment you collect.
Optional but helpful:
A streak plate (unglazed porcelain) for testing mineral streaks.
A small bottle of dilute hydrochloric acid for testing calcite (10 percent muriatic acid from a hardware store works).
A UV flashlight to spot fluorescent minerals.
A smartphone with a GPS app so you can mark exact collecting spots.
Safety warning: Never collect rocks without safety glasses. Hammering rock sends sharp fragments flying at high speed. One chip in the eye is enough to end your collecting days. Wear the glasses.
Step 3: Find Rocks and Minerals in the Field
Most beginners think rock collecting means driving to a mine. It does not. Your own neighborhood is full of specimens. Start by walking slowly along a stream bed, lake shore, or freshly dug construction site. Look at the ground with the sun behind you. Light rakes across pebbles and exposes color, crystal faces, and banding that you would miss in flat light.
Good beginner locations are everywhere once you know to look:
Stream and river beds, where water has already done the sorting and exposed fresh surfaces.
Gravel pits and road cuts that show rock layers in cross-section.
Quarries, but only with permission. Many operating quarries prohibit collecting for safety and legal reasons.
Lake and ocean beaches, especially after storms that churn up new material.
Construction sites and new road construction, where bedrock is freshly exposed (always ask permission).
Your own backyard, where glacial deposits and local geology may have left interesting stones in the soil.
Before you go, do 30 minutes of homework. Search “[your state or region] geology” plus “mineral collecting sites.” Mindat.org, the largest mineral database on the internet, has locality pages for nearly every spot on Earth. Most state geological surveys publish free PDF guides to local rocks. The Michigan Mineralogical Society and similar regional clubs post collecting maps their members share freely. This research step is one most guides skip, and it is the single biggest difference between coming home with five forgettable pebbles and twenty identifiable specimens.
Legal and ethical notes: National parks and most state parks prohibit removing anything. Bureau of Land Management land often allows small-scale collecting for personal use. Private land requires the owner’s permission, and offering to share a few finds is a great way to build goodwill. Never collect in active mines without explicit permission from the operator.
Step 4: Identify What You Found
Identification is where most beginners stall. You come home with a bag of rocks, sit at the kitchen table, and realize you have no idea what you are looking at. That is normal. Even experienced collectors hit the field guides on a regular basis.
Start with the basics. Look at color, but do not trust color alone. Many minerals come in multiple colors. Test hardness by trying to scratch the specimen with a steel knife (around 5.5 on Mohs scale). If the knife scratches it, hardness is below 5.5. If the specimen scratches the knife, it is harder than 5.5. Try the streak test by dragging the specimen across an unglazed porcelain tile. The color of the powder is often more diagnostic than the surface color.
For serious identification, you need a regional field guide. Some excellent options include:
National Audubon Society Field Guide to Rocks and Minerals, good for North America broadly.
Simon and Schuster’s Guide to Rocks and Minerals, with clear photos and beginner-friendly descriptions.
State-specific guides, often available from your state’s geological survey for free as a PDF.
You can also use free online tools. Mindat.org lets you search by color, hardness, locality, and dozens of other filters. The rock identification subforum on Reddit is friendly to beginners who post clear photos. Many local mineral clubs run identification nights where experienced collectors will identify a whole box of unknowns for you.
Step 5: Clean and Prepare Your Specimens
Field specimens are dirty. Cleaning them reveals the true color, luster, and crystal structure. But cleaning the wrong way can destroy a perfectly good specimen. Start gentle and work up only as needed.
For most rocks, plain water and a soft brush are enough. A toothbrush works well on small crystals. For clay stuck in crevices, soak the specimen in water for a few hours, then scrub. For iron staining, a short soak in oxalic acid (wood bleach from a hardware store) often clears it up. For calcite or other acid-soluble minerals, never use acid, just water and brushing.
Avoid pressure washers on fragile specimens. They can blow crystals right off the matrix. Avoid ultrasonic cleaners until you know your specimen is solid, because vibrations can separate loose pieces. When in doubt, clean less. A muddy specimen with a readable label is better than a broken specimen with a sparkly surface.
Once clean, let every specimen dry completely before storage. Trapped moisture causes rust on iron-rich minerals and mold on paper labels. A cookie sheet on a sunny windowsill works great for drying a small batch.
Step 6: Organize and Label Your Collection
This is the step most guides underplay, and the step that separates a pile of rocks from a real collection. The goal is simple. Twenty years from now, you should be able to pick up any specimen and know what it is, where you found it, and when you collected it.
Start labeling in the field. The moment you pick up a specimen, wrap it in a piece of paper and write the location and date directly on the paper with a permanent marker. I cannot tell you how many beautiful pieces I have found over the years that became “mystery rocks” because I did not label them in the moment. Field labels should include at minimum:
Date of collection
Specific location (GPS coordinates or detailed description)
Bedrock type or formation if known
Your name or collector number
At home, choose an organization system that matches your interest. Three approaches work well:
By mineral type: All quartz together, all feldspar together, all calcite together. Best for mineralogy-focused collectors.
By locality: All specimens from one locality grouped together. Best if you collect the same sites repeatedly.
By rock family: Igneous in one section, sedimentary in another, metamorphic in a third. Best for geology-focused beginners.
Pick one and stick with it. Mixed systems get chaotic fast. Most experienced collectors organize by mineral or locality, and that is a good default for 2026 collectors building their first serious set.
For each specimen, create a permanent label or index card with:
Mineral or rock name (or tentative name if uncertain)
Chemical formula for minerals
Locality, region, and country
Date collected
How acquired (field collected, purchased, traded, gift)
Any notes on distinguishing features or tests performed
For larger collections, consider a digital catalog. A simple spreadsheet with the same fields works for hundreds of specimens. Free dedicated apps include Rocklogger (Android) and Mineral Database. Several collectors I know use Airtable, which lets you add photos, filter by any field, and sync across devices. The exact tool matters less than the habit of recording every specimen before it goes into storage.
Step 7: Display and Store Your Collection
Display and storage are two different jobs. Display is what you want to look at every day. Storage is what protects the rest. Mixing them is how specimens get chipped.
For display, beginners often start with what they already own. A bookshelf with specimens grouped by color or type, a shadow box mounted on the wall, or a glass-front cabinet from a thrift store. None of these are wrong. The key is to keep display pieces away from edges where they can be knocked off, and to make sure the shelf can hold the weight. A single piece of galena weighs more than you think.
For storage, you want protection. The classic choice is the perky box, a small cardboard tray with a clear plastic lid made specifically for mineral specimens. They stack, they are cheap, and they let you see what is inside without opening. Larger specimens go in individual boxes or padded bags, sorted into a drawer cabinet with shallow drawers. Hardware stores sell small parts cabinets that work well for a beginner collection and can be expanded over time.
Common storage mistakes beginners make:
Storing soft minerals (like fluorite or calcite) next to hard ones (like quartz or topaz). The hard ones scratch the soft ones.
Leaving specimens in direct sunlight. Many minerals fade, especially amethyst and rose quartz.
Storing specimens in basements or attics with humidity swings. Heat and moisture destroy paper labels and can corrode some minerals.
Piling specimens on top of each other. Even small shifts cause chips over time.
When your collection starts to outgrow your space, and it will, consider rotating display pieces seasonally and keeping the rest in proper storage. A collection of 200 well-organized specimens is more impressive and more useful than 2,000 rocks crammed into shoeboxes.
Growing Your Collection: Clubs, Shows, and Trading
Once you have a working system for finding, identifying, and organizing your rocks, you are ready to grow. The fastest way to grow a serious collection is to plug into the community.
Local mineral clubs are the single best resource for any beginner. Most regions have at least one, often several. A typical club meets monthly, runs field trips to local collecting sites, hosts guest speakers, and maintains a club library of identification resources. Annual dues are usually modest, between $20 and $50, and many clubs lend starter tools to new members. Search “[your state] mineralogical society” or “[your city] rock club” to find one near you.
Rock and mineral shows are the other growth engine. Major shows like Tucson in February and Quartzsite in January draw dealers from around the world. Smaller regional shows run throughout the year and are easier for beginners to navigate. At your first show, bring cash in small bills, ask dealers what they recommend for a new collector, and do not be afraid to walk away from a deal. Many shows also have swap areas where you can trade your duplicates for things you do not have.
Trading specimens with other collectors is the cheapest way to fill gaps in your collection. Most collectors end up with more of certain minerals than they want. Trade those duplicates for things you need. The Michigan Mineralogical Society and similar groups run formal trading sessions at meetings, and online groups like the r/rockhounds subreddit have active trade threads.
Museums and university collections are also worth visiting. Even if you cannot collect there, museums let you see specimens of a quality you would never otherwise encounter. Comparing your finds to museum pieces is one of the best ways to learn what to look for.
Budget-Friendly Rock Collecting Tips
You do not need money to start a serious collection. Most of the best beginner specimens are free for the finding. Here is how to stretch a small budget.
First, collect locally before traveling. Every region has interesting minerals. The upper Midwest is famous for Lake Superior agates. The Southeast has amethyst and kyanite. The Southwest has copper minerals and petrified wood. The Pacific Northwest has jasper and thunder eggs. Search “[your region] free rock collecting sites” and you will find local options that cost only gas money.
Second, make your own tools when you can. A rock hammer is essential, but you can substitute a brick hammer from a hardware store for $15 in a pinch. Streak plates can be made from broken floor tiles. A hand lens can wait until you know which magnification you prefer.
Third, only buy what you cannot find. If agates are common in your area, do not buy them. Spend your budget on minerals that are scarce where you live or that come with verified locality data. A small specimen with a clear locality is more valuable for your education than a large pretty piece from “somewhere in Brazil.”
Fourth, attend club auctions and silent auctions. Clubs often hold annual auctions where members donate duplicates. Prices are usually a fraction of what you would pay at a show. Many clubs also run beginner tables where new members can take home free specimens to start their collection.
Frequently Asked Questions
What is the best way to organize a rock collection?
The best way to organize a rock collection is by either mineral type, locality, or rock family, picked once and applied consistently. Start by labeling every specimen in the field with the location and date. At home, group similar items together, store them in perky boxes or drawer cabinets, and keep a digital or paper catalog with the mineral name, locality, date collected, and how you acquired it.
How do I start collecting rocks as a beginner?
To start collecting rocks as a beginner, gather a basic kit (geologist hammer, safety glasses, gloves, hand lens, wrapping paper, permanent marker), pick a nearby location like a stream bed or gravel bar, and spend an afternoon collecting 10 to 20 specimens. Label each piece in the field with date and location, then identify them at home using a regional field guide or Mindat.org.
Are rock collections worth money?
Rock collections can be worth money, but most beginner collections are valued more for learning than for dollars. Common minerals like quartz, calcite, and feldspar are abundant and worth little. Rare specimens from famous localities, large crystals, or unusual minerals like benitoite or rhodochrosite can sell for hundreds to thousands of dollars. Most collectors treat their collections as a personal museum first and an asset second.
How do I find gemstones in rocks for beginners?
Beginners can find gemstones in rocks by visiting known gem-bearing locations, learning which minerals form crystals, and using simple field tests. Stream beds and gravel deposits often concentrate heavier gemstones. Look for conchoidal fracture, glassy luster, and crystals that catch the light. Local gem and mineral clubs can point you to beginner-friendly sites in your area.
What type of person collects rocks?
Rock collectors come from every background. They are teachers, retirees, parents looking for an outdoor hobby with their kids, geologists, artists, and anyone curious about Earth history. There is no single profile. The common thread is curiosity about the natural world and patience for the slow, rewarding work of finding, identifying, and organizing specimens.
Is selling rocks profitable?
Selling rocks can be profitable but rarely for beginners. Common minerals are too abundant to fetch much. Profit comes from selling rare specimens, cutting and polishing material, or running a small rock and gem business at shows. Most collectors sell only duplicates to fund the next purchase rather than to make a living.
Conclusion
Learning how to start and organize a rock and mineral collection is really about building a small system you can stick with. Find a few good specimens in your area. Label them in the field. Identify them at home with a regional guide. Store them so they do not damage each other. Add to the collection when you find or trade for something interesting. Repeat for the next several decades.
The hobby rewards patience and consistency far more than budget or equipment. Your first ten rocks matter less than the habit of recording where you found them and how you identified them. Start small, label everything, join your local mineral club, and your collection in 2026 will be something you are genuinely proud to show off.