
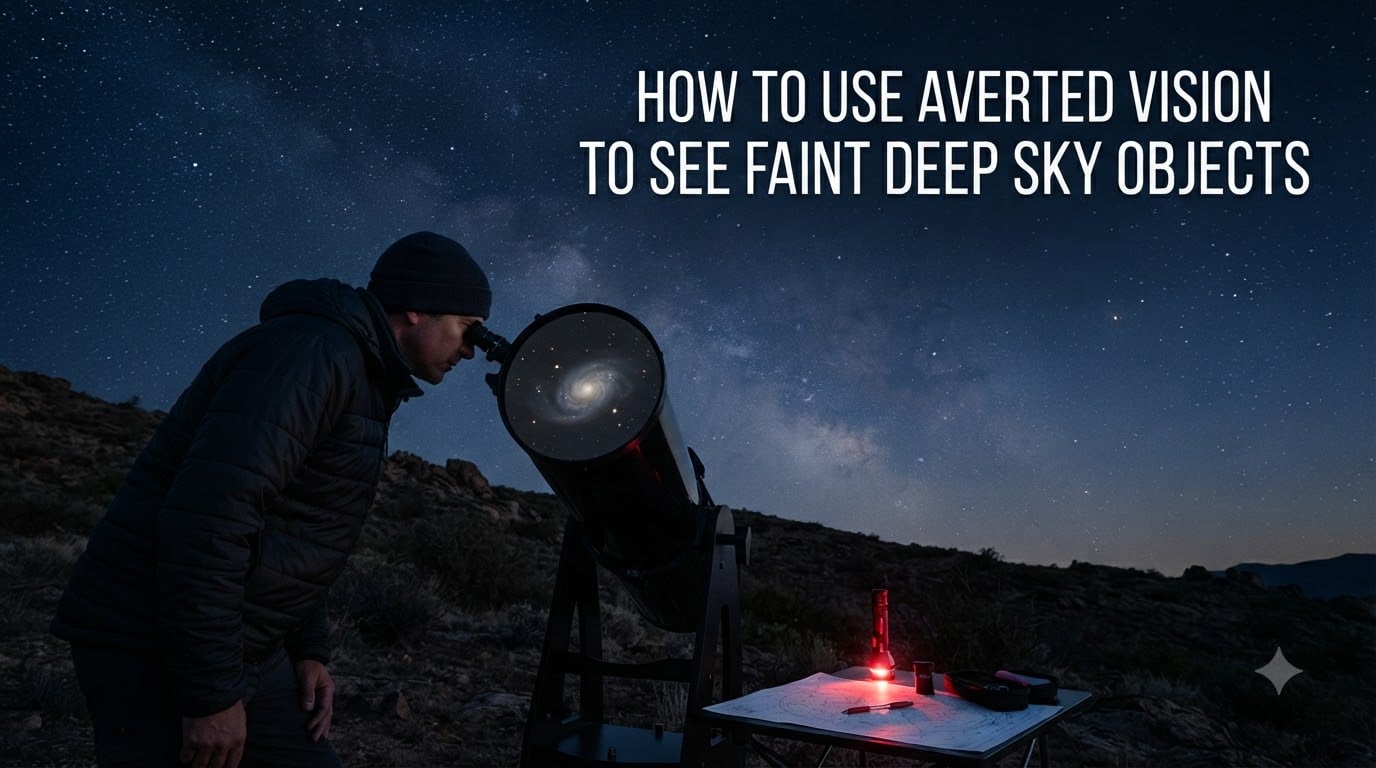
If you have ever aimed your telescope at a faint galaxy and seen nothing but a dim smudge, the fix is rarely more magnification or a bigger scope. The fix is almost always a small shift in where your eye is looking. In this guide I will show you how to use averted vision to see faint deep sky objects, and why this simple trick can reveal detail you missed on your first hundred attempts.
Averted vision is the single most underrated technique in amateur astronomy. I have watched experienced observers gasp the first time a galaxy “pops” into view after they learned to look slightly off to the side. The technique is free, requires no equipment, and can make your eye up to 40 times more sensitive to faint light. Let me walk you through the science, the prep, and the exact steps that work under a real night sky.
Table of Contents
What Is Averted Vision and Why Does It Work for Deep Sky Objects
Averted vision is a stargazing technique where you look slightly to the side of a faint object instead of straight at it. By shifting your gaze, you move the object’s image off the center of your retina and onto a region packed with light-sensitive rod cells. The result is that dim galaxies, nebulae, and star clusters become noticeably brighter and easier to see.
Direct vision uses the fovea, the tiny pit at the back of your eye responsible for sharp detail and color. The fovea is full of cone cells, which need lots of light to fire. Faint deep sky objects do not produce enough light to trigger cones, so they vanish when you stare straight at them. Averted vision routes the same faint light to rod cells, which are far more sensitive and can detect signals hundreds of times dimmer than cones can.
This is why the technique works. It is not magic and it is not a trick of imagination. It is basic eye physiology, and once you understand it, you will never go back to squinting through an eyepiece again.
How Your Eyes See: Rods vs Cones Explained
Your retina contains two main types of photoreceptors: rods and cones. Cones handle bright light, color, and fine detail, and they cluster in the fovea at the center of your vision. Rods handle dim light, motion, and peripheral awareness, and they dominate the outer 20 degrees of your retina.
Here is the key detail for stargazers. Rods are most concentrated about 12 to 20 degrees off-center. That sweet spot is exactly where you want faint starlight to land. Rods also use a pigment called rhodopsin (sometimes called visual purple) that breaks down in bright light and regenerates in darkness. That regeneration process is what we call dark adaptation.
One more quirk: rods do not detect red light well. That is why astronomers use red flashlights at night. Red light lets you see your star charts without resetting your rhodopsin levels.
Dark Adaptation: The 40-Minute Prep Your Eyes Need
Averted vision will not work if your eyes are still adapted to daylight or a bright living room. You need full dark adaptation, and that takes time. Plan for at least 30 to 40 minutes of total darkness before you start chasing faint objects.
During dark adaptation, your pupils dilate and rhodopsin rebuilds in your rod cells. The process is non-linear. Your eyes adapt fastest in the first 10 minutes, then improvements slow down. By 40 minutes most observers are operating near maximum sensitivity. Older eyes often need even longer.
To protect your dark adaptation, follow these rules:
Avoid bright white lights for the full 40-minute window. Use a red flashlight or a red filter on your phone.
Cover or dim any nearby LEDs on equipment, including your telescope’s power indicator.
Stay off your phone screen unless it is set to a deep red night mode. Even a quick glance at a blue message will set you back 10 minutes.
Avoid looking at the moon for extended periods when you are chasing faint deep sky objects.
Skip the cigarette. Tobacco smoke constricts blood vessels in the retina and reduces night vision.
Step-by-Step: How to Use Averted Vision to See Faint Deep Sky Objects
Here is the procedure I use every clear night, refined over several years of observing from a backyard with moderate light pollution.
Step 1: Center the object in your eyepiece. Use direct vision to put the target squarely in the middle of the field of view. Take a moment to confirm your position.
Step 2: Shift your gaze 8 to 16 degrees off-center. Move your eye slightly toward the edge of the field while keeping the object in your peripheral vision. Most observers do best around 12 degrees off-center. Try both the nasal side (toward your nose) and the temporal side (away from your nose) to find your personal best angle.
Step 3: Hold your gaze steady. Do not sweep your eye back and forth. Pick a spot on the eyepiece field stop and fix your gaze there. The image of your target will sit about 12 degrees off your line of sight.
Step 4: Let the detail emerge. Faint nebulosity and outer galaxy arms often take 5 to 15 seconds to “grow” into view as your brain integrates the rod-cell signal. Be patient.
Step 5: Try scope rocking if the object is very faint. Gently tap the telescope tube or slowly vary your averted angle by a degree or two. The motion stimulates your retina’s ganglion cells and makes dim objects flicker into awareness. This is a useful trick when you are unsure whether you are actually seeing something.
Step 6: Return to direct vision briefly to reset. If you lose the object, glance back at the center of the field, then repeat the averted step. This keeps both rod and cone systems engaged.
Best Offset Angle and Where to Look
For most faint targets, an offset of 8 to 16 degrees works well. Twelve degrees is the commonly cited sweet spot and a reliable starting point. Different object types respond differently:
Galaxies: 12 to 16 degrees works best, since their light is spread across a wide, faint disk.
Planetary nebulae: 8 to 12 degrees, since these are compact and bright enough to handle smaller offsets.
Diffuse nebulae: 12 to 20 degrees, since faint outer regions often need the most rod-rich area of your retina.
Globular clusters: 6 to 10 degrees, since the core is bright enough to register with cones and the outer halo benefits from rods.
Many observers find they get slightly better results looking toward the nasal side (toward the nose) because there are more rods and fewer blood vessels blocking light on that side of the retina. Experiment and trust your own results.
Practice Tips: Building the Habit on Easy Targets
The best way to learn averted vision is on a target that responds to it dramatically. My favorite practice object is the Blinking Planetary Nebula, NGC 6826 in Cygnus. When you stare directly at it, the central star dominates and the nebula fades. When you avert your gaze, the nebula suddenly blooms into view. The “blinking” effect trains your eye and brain in seconds.
Other great practice targets include:
M33 (Triangulum Galaxy): A large, low-surface-brightness galaxy that responds strongly to averted vision.
M81 and M82: The Bode’s Galaxy pair in Ursa Major, where averted vision reveals the faint outer arms.
The Veil Nebula: A supernova remnant whose wisps only appear when you look slightly off-center.
Give yourself at least five minutes on each target before deciding it is invisible. Our brains are wired to discard low-contrast signals, and it takes repeated exposure for the faint image to feel real.
Common Mistakes to Avoid When Using Averted Vision
After coaching dozens of new observers, I see the same handful of mistakes over and over. Avoid these and your success rate will jump immediately.
Giving up too soon. Most beginners wait 30 seconds, see nothing, and assume the object is not there. Faint detail often takes 10 to 30 seconds of steady averted gazing to register.
Checking your phone. One quick glance at an unfiltered phone screen can wipe out 15 minutes of dark adaptation. Turn on red mode or cover the screen entirely.
Using too much magnification. Higher magnification spreads faint light across a smaller area and makes objects dimmer per unit area. Use a lower-power eyepiece for finding deep sky targets, then switch to higher power only after you have confirmed the object is visible.
Staring off-center too far. If you look too far away, the object leaves your rod-rich zone and you will see nothing at all. Stay within the 8 to 16 degree window.
Forgetting to breathe normally. Breath-holding and tense posture actually reduce retinal blood flow. Stay relaxed, breathe steadily, and the signal will come through cleaner.
Confusing averted imagination with averted vision. When you stare at empty space for a long time, your brain invents faint details. Tap the scope or shift your gaze slightly to confirm whether the detail is real. If it disappears with motion, you were imagining it.
Frequently Asked Questions
How do you use averted vision to see faint deep sky objects?
Look slightly to the side of your target, about 8 to 16 degrees off-center, so its light falls on the rod-rich area of your retina. Hold your gaze steady on a nearby point for 10 to 30 seconds and let faint detail emerge in your peripheral vision.
How long does dark adaptation take?
Dark adaptation takes at least 30 to 40 minutes to reach near-maximum sensitivity. Your pupils dilate quickly, but the rhodopsin pigment in your rod cells regenerates slowly. Avoid bright lights, smartphones, and white flashlights during that window.
Why does averted vision work for astronomy?
The center of your retina (the fovea) is packed with cone cells that need bright light. The outer retina is packed with rod cells that detect very faint light. Averted vision moves the faint object’s image from the fovea to the rod-rich periphery, making it up to 40 times easier to see.
Do you need a telescope to use averted vision?
No. Averted vision works with the naked eye and with binoculars too. It is especially helpful for spotting faint meteors, the Milky Way’s faint structure, zodiacal light, and dim stars at the edge of a constellation.
What is the best offset angle for averted vision?
Twelve degrees off-center is a reliable starting point for most observers, with a useful range of 8 to 16 degrees. Galaxies and diffuse nebulae often respond best at the higher end, while compact planetary nebulae work well at the lower end. Try both nasal and temporal directions to find your personal best.
Final Thoughts: Make Averted Vision a Habit
Learning how to use averted vision to see faint deep sky objects is one of the highest-leverage skills you can develop as an amateur astronomer. It costs nothing, works with any telescope or binoculars, and instantly upgrades every observing session you have from this point forward.
Pick one easy target on your next clear night, give your eyes a full 40 minutes of darkness, and try the 8 to 16 degree offset. The first time a faint galaxy blooms into view through averted vision, you will understand why experienced observers describe this technique as the single biggest unlock in deep sky observing.